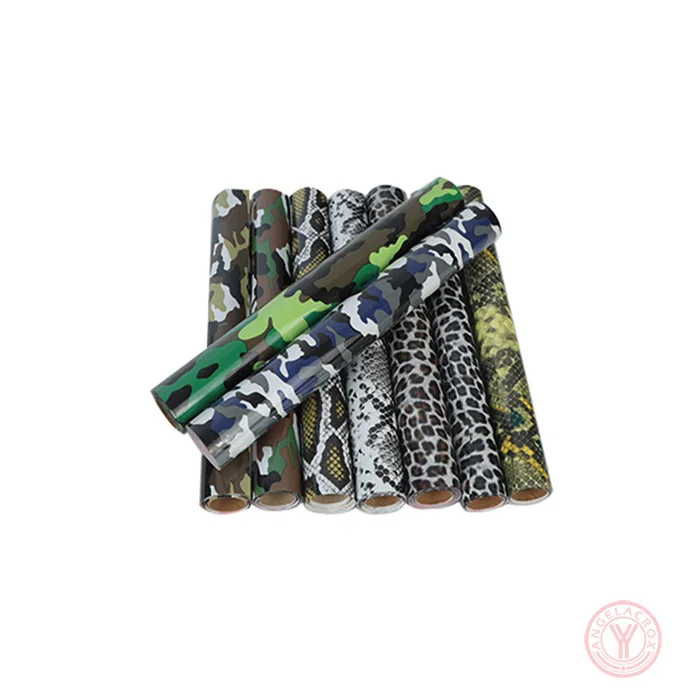
Description
Send Inquiry
Advantages
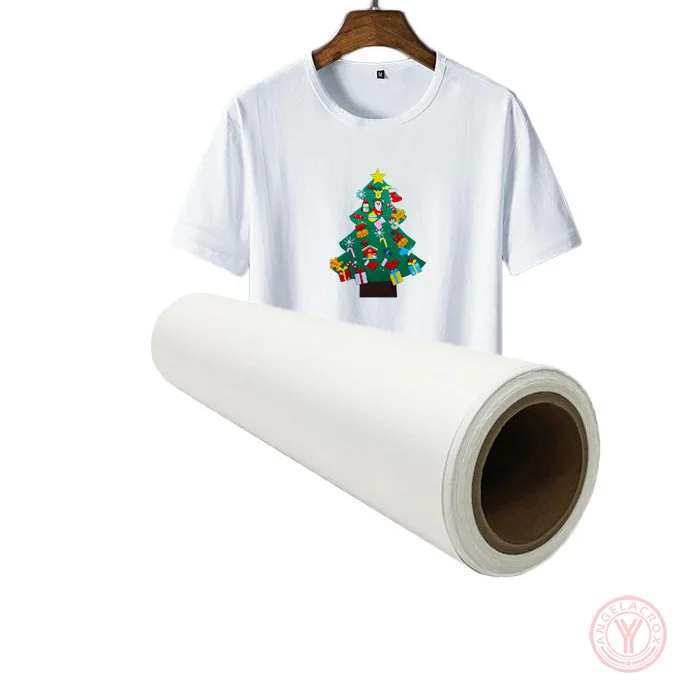
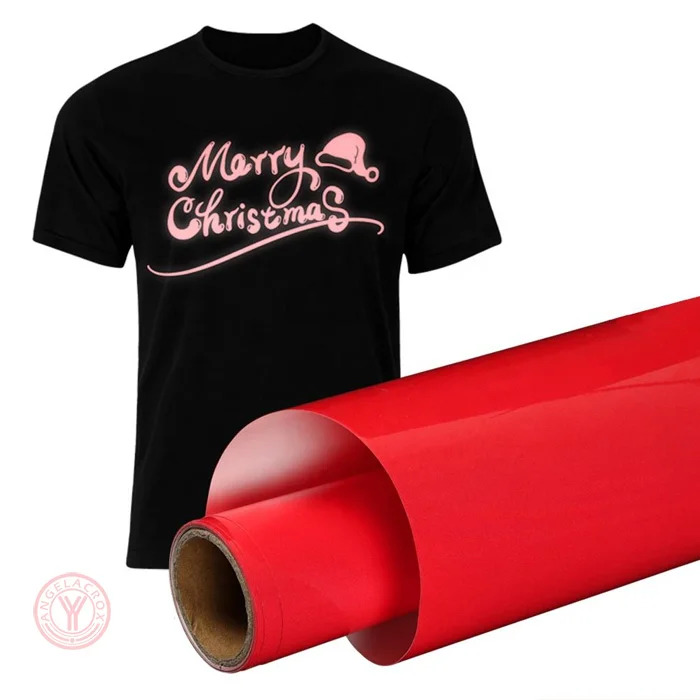
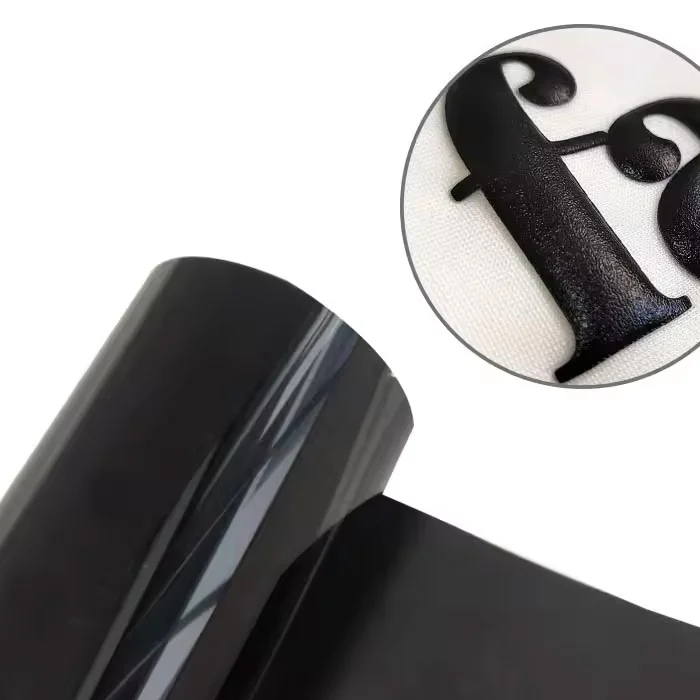
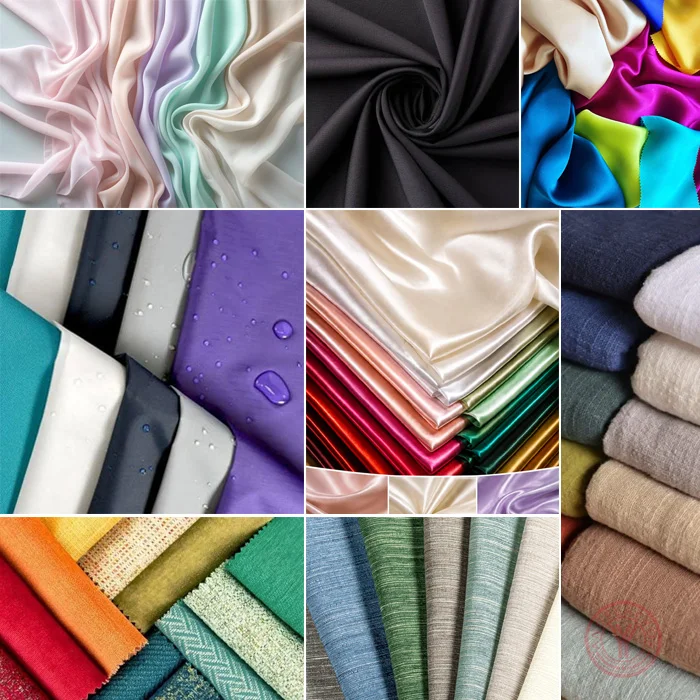
- Wide Fabric Compatibility: Suitable for light, dark, stretchy and specialty fabrics, including nylon, satin, acrylic, silk, textured and cotton blend fabrics.
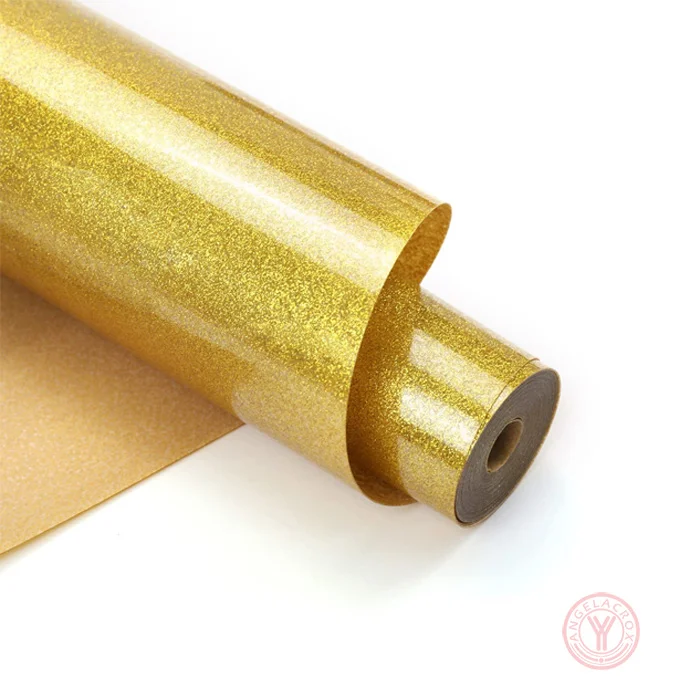
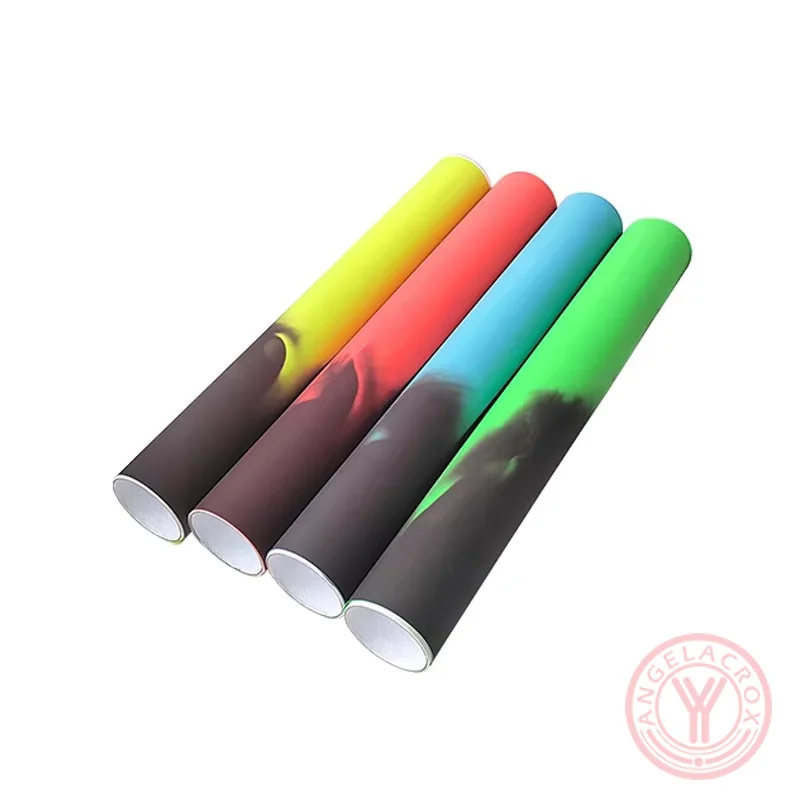
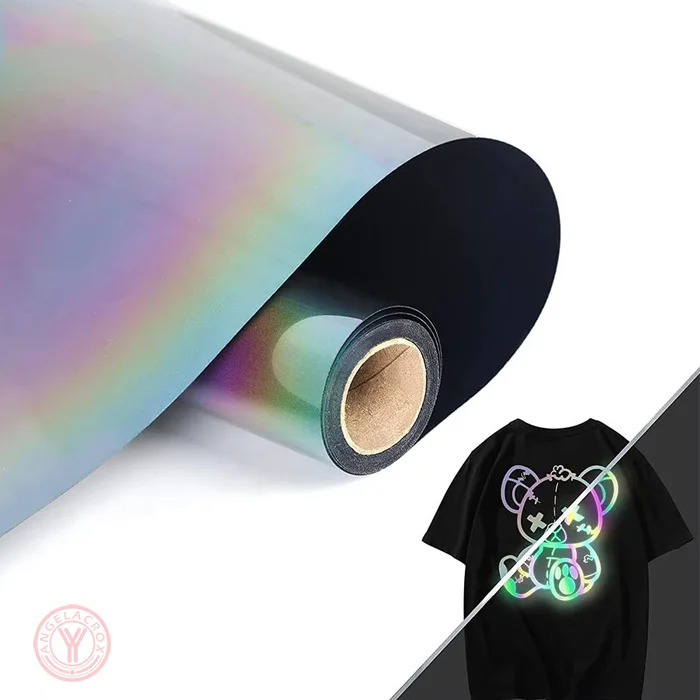
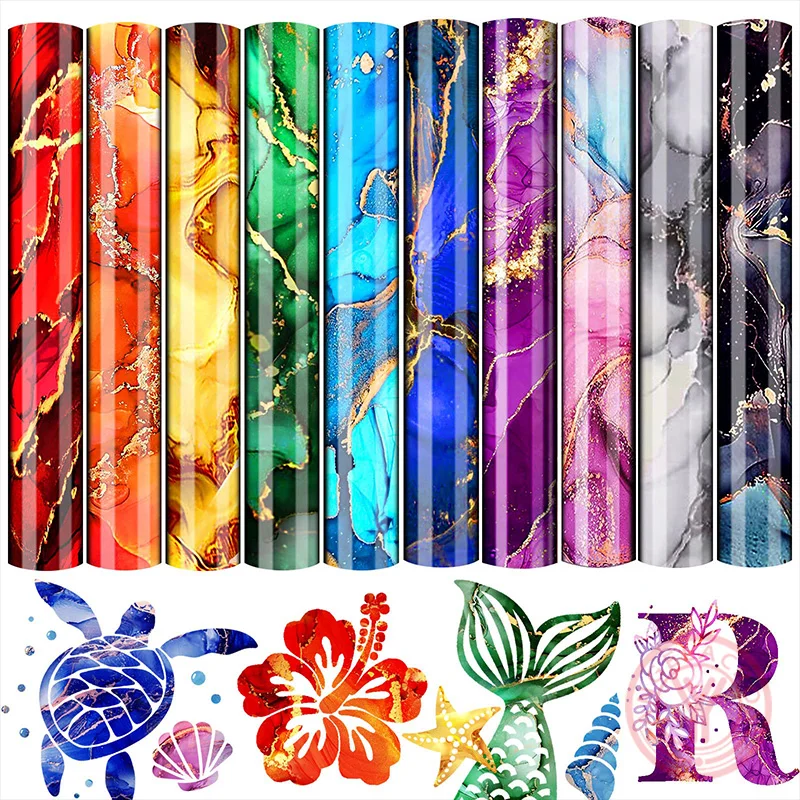
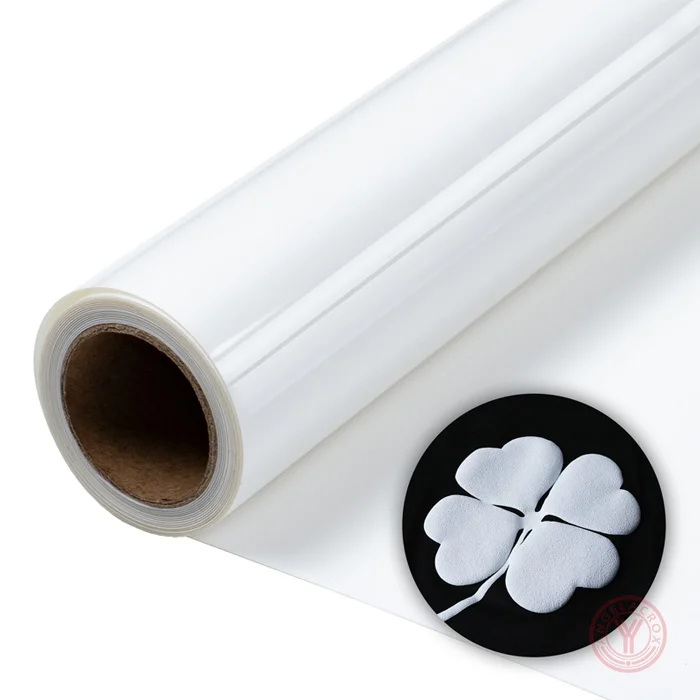
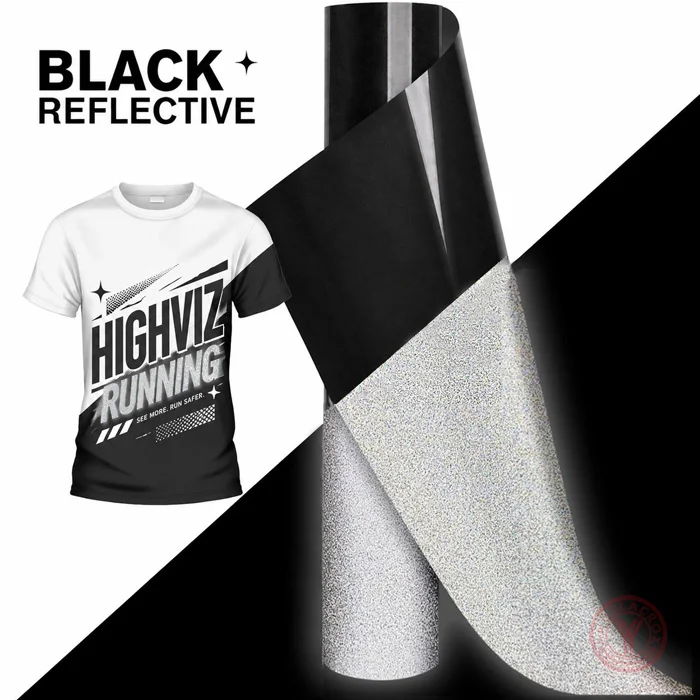
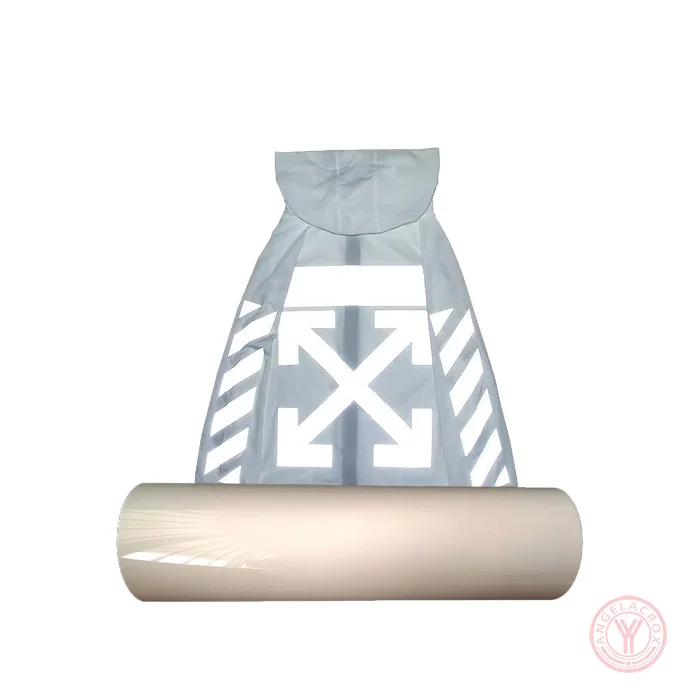
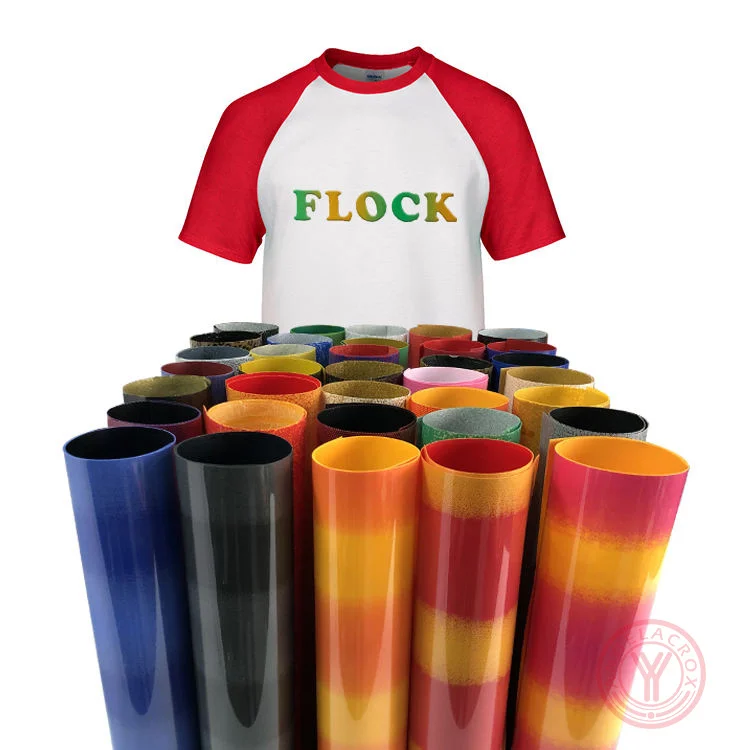
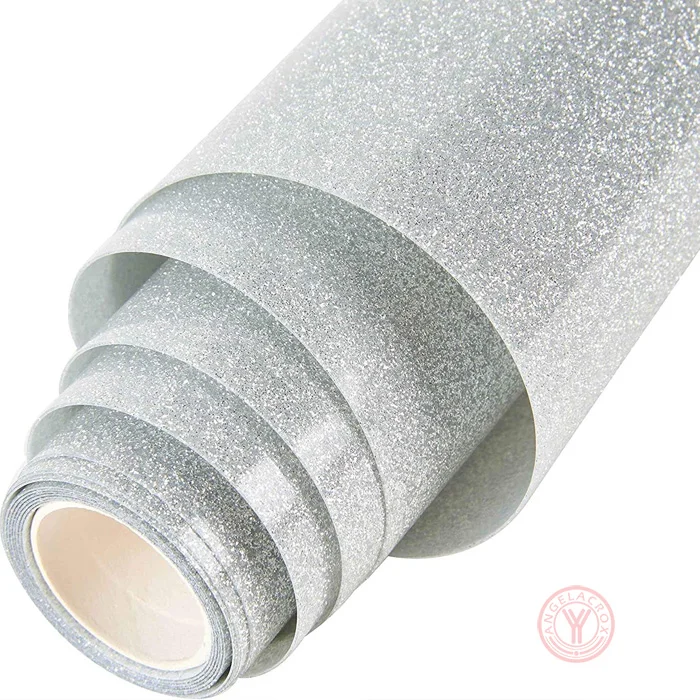
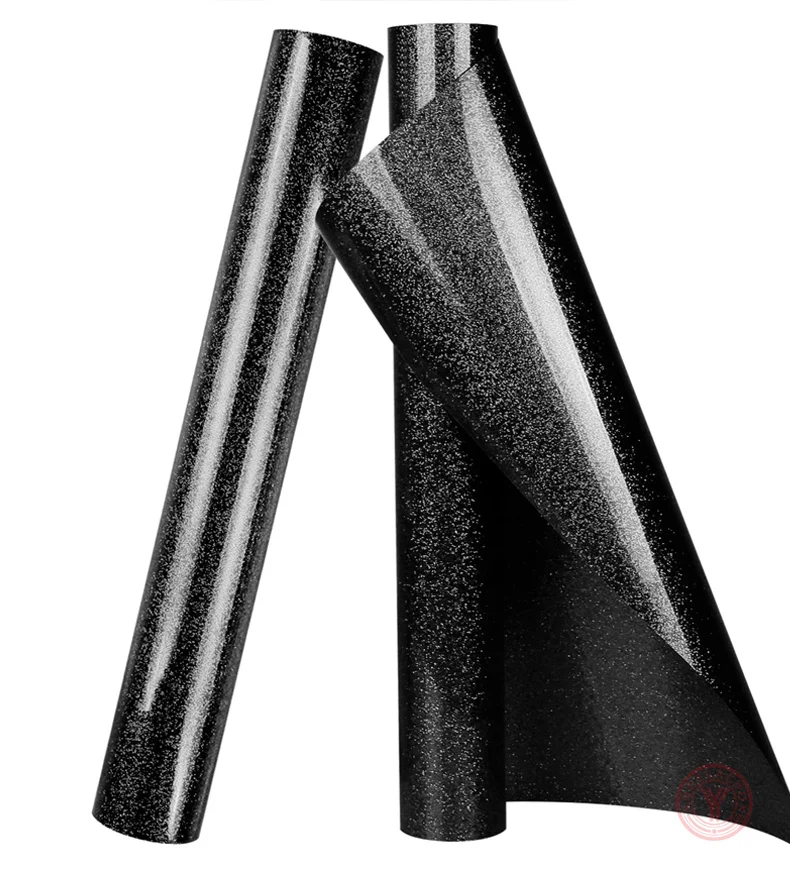
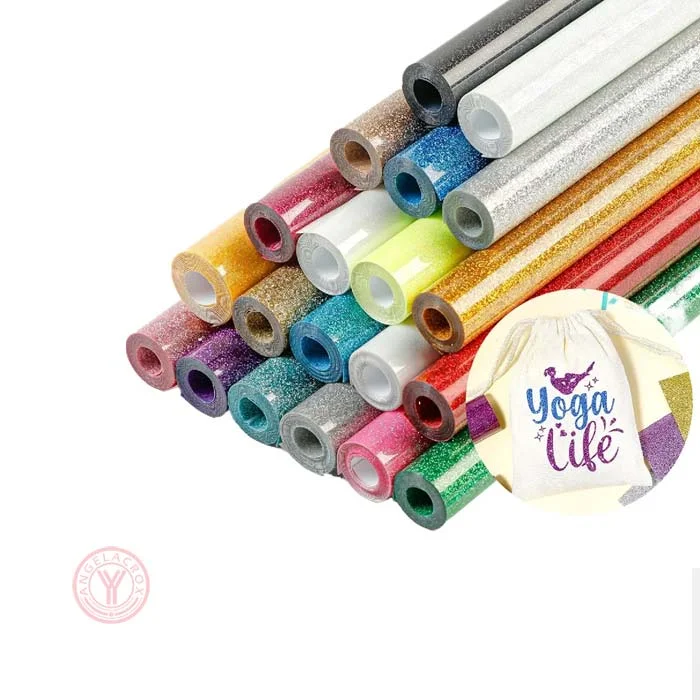
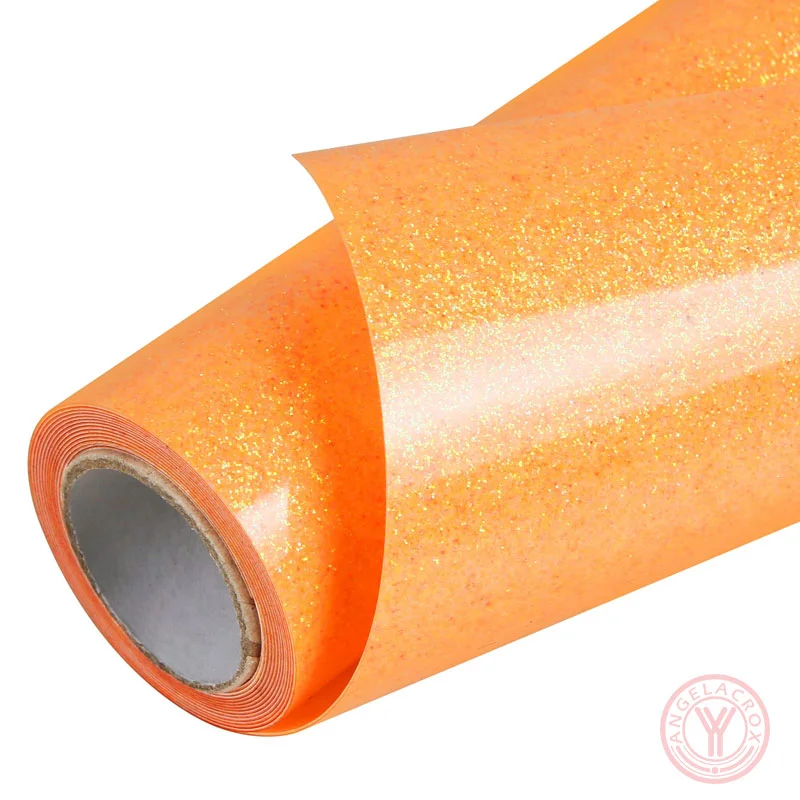
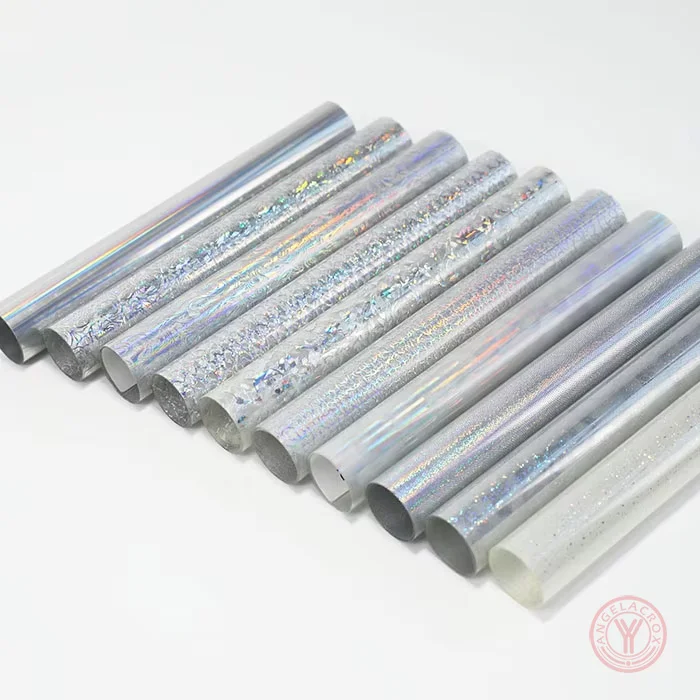
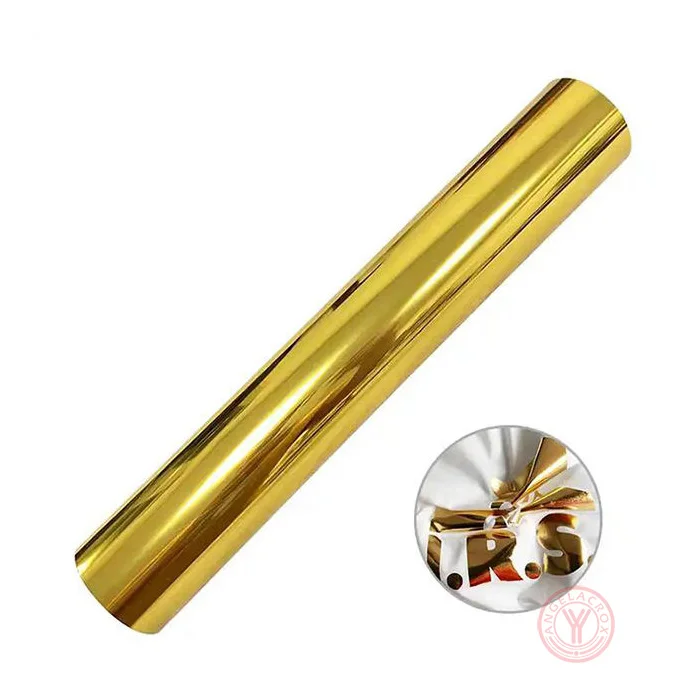
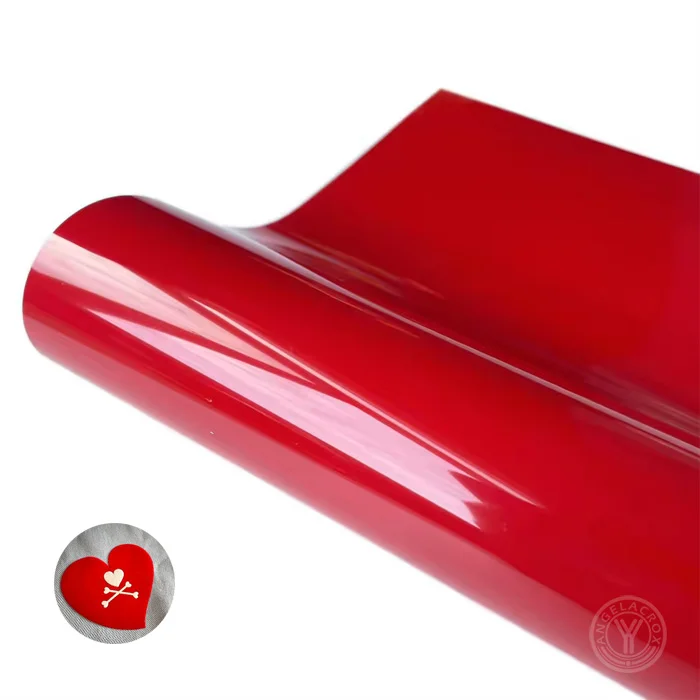
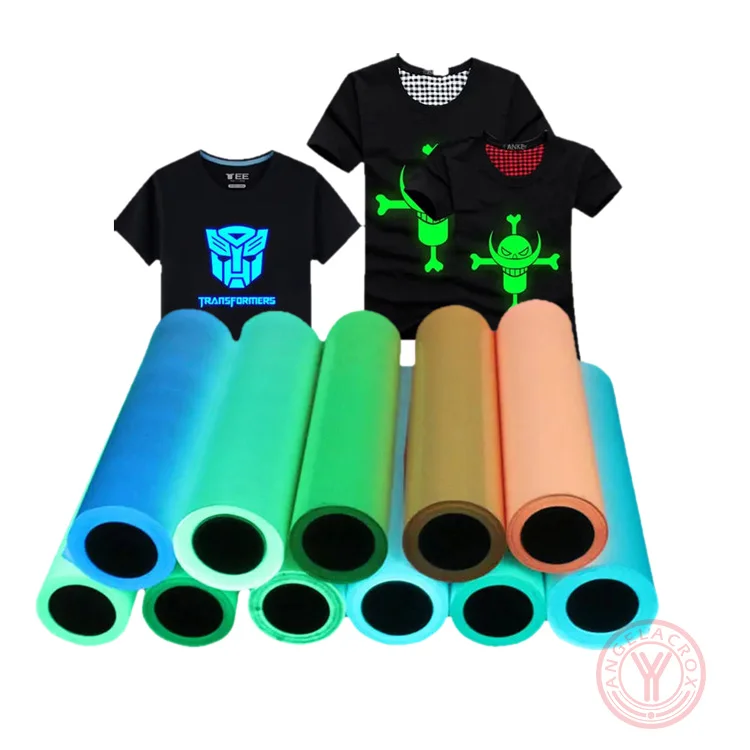
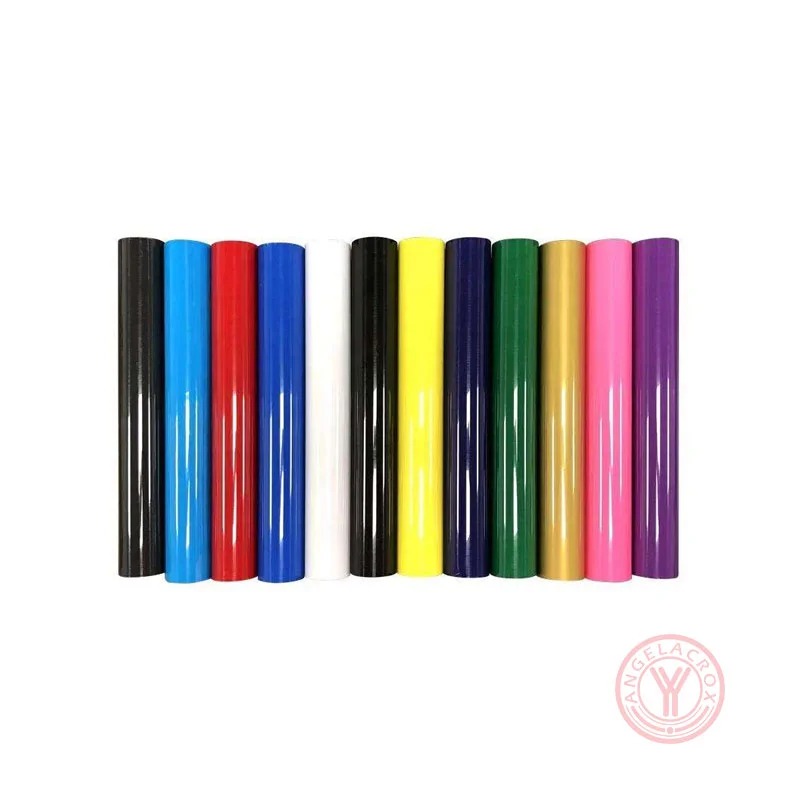
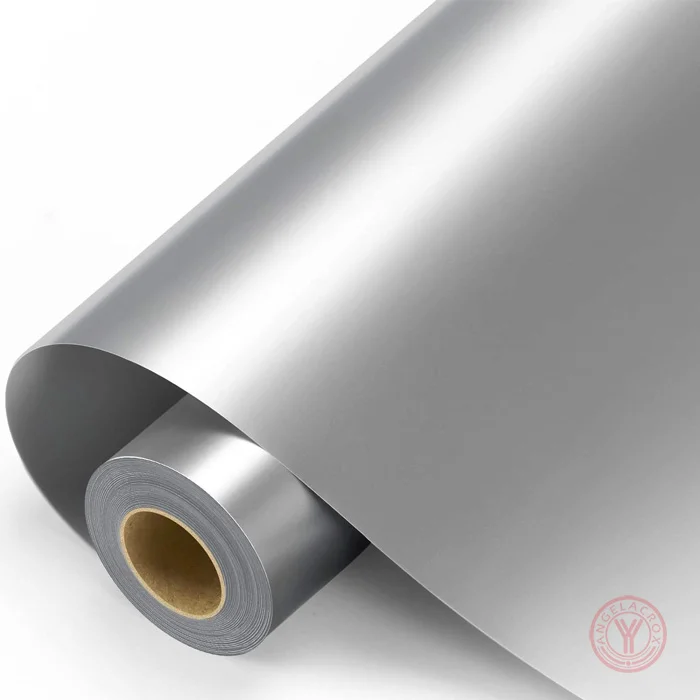
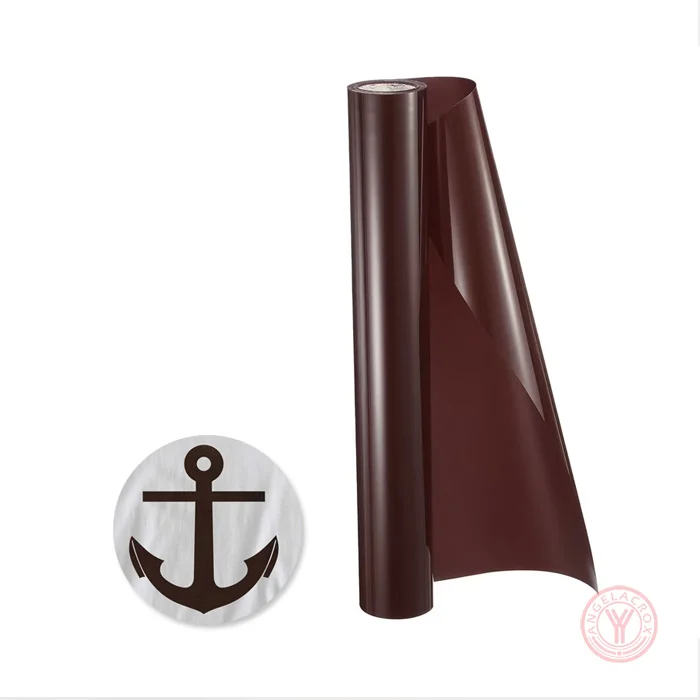
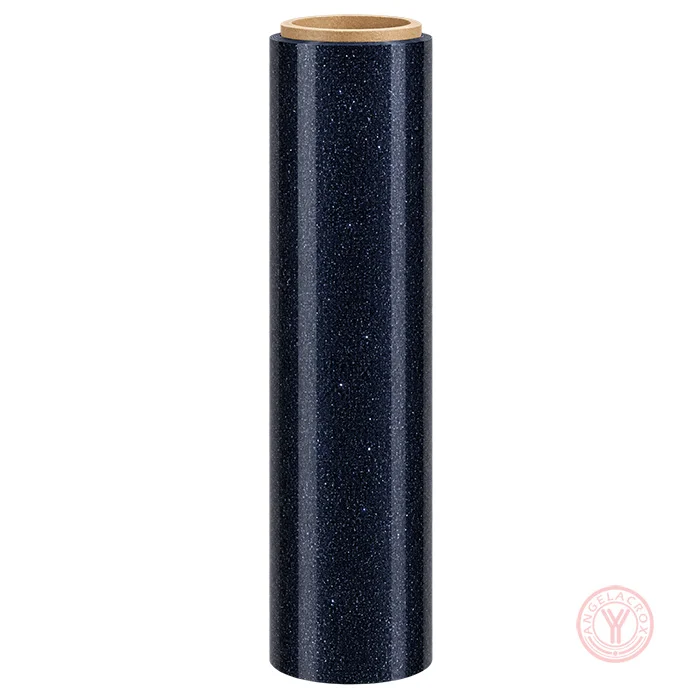
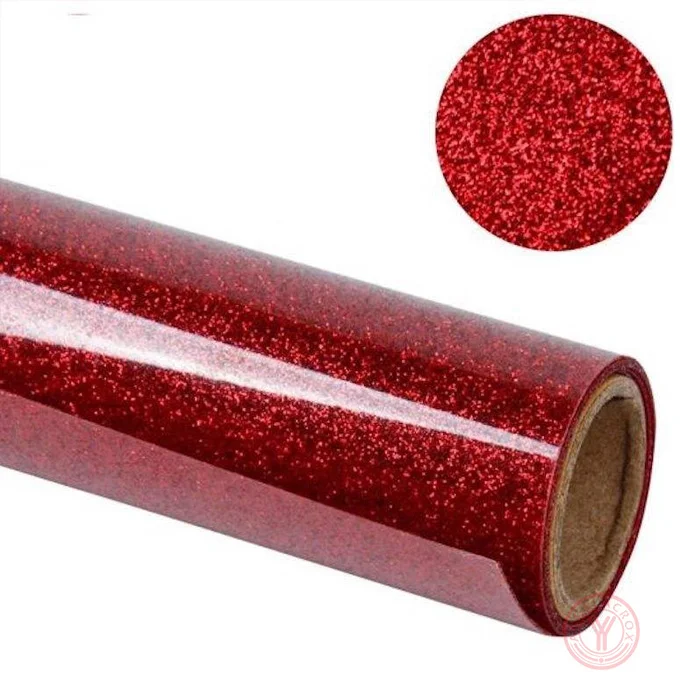
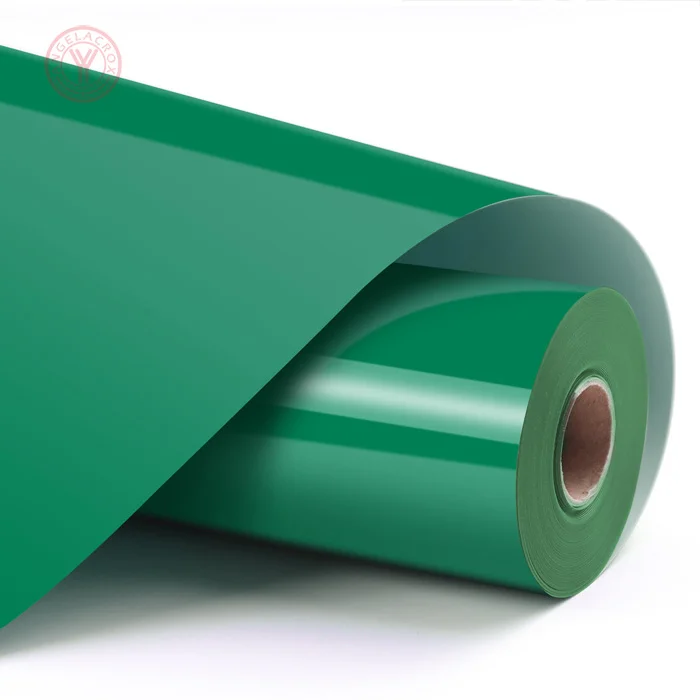
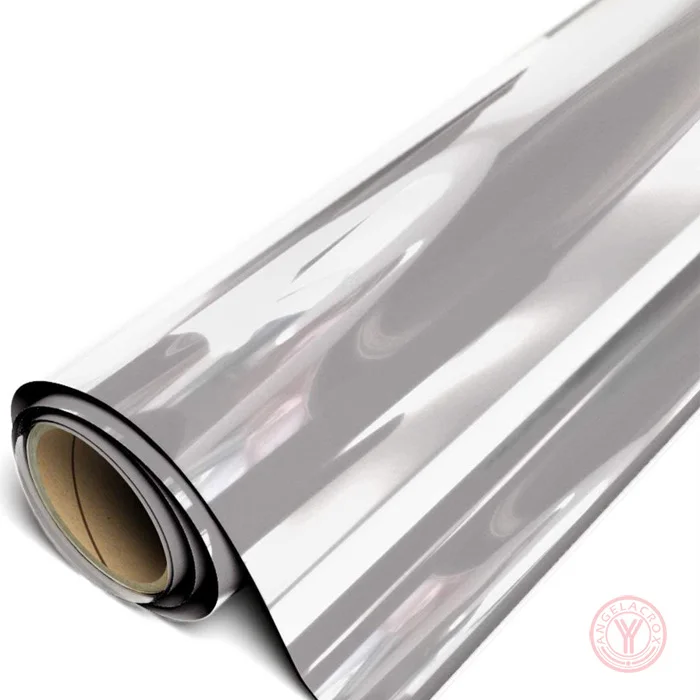
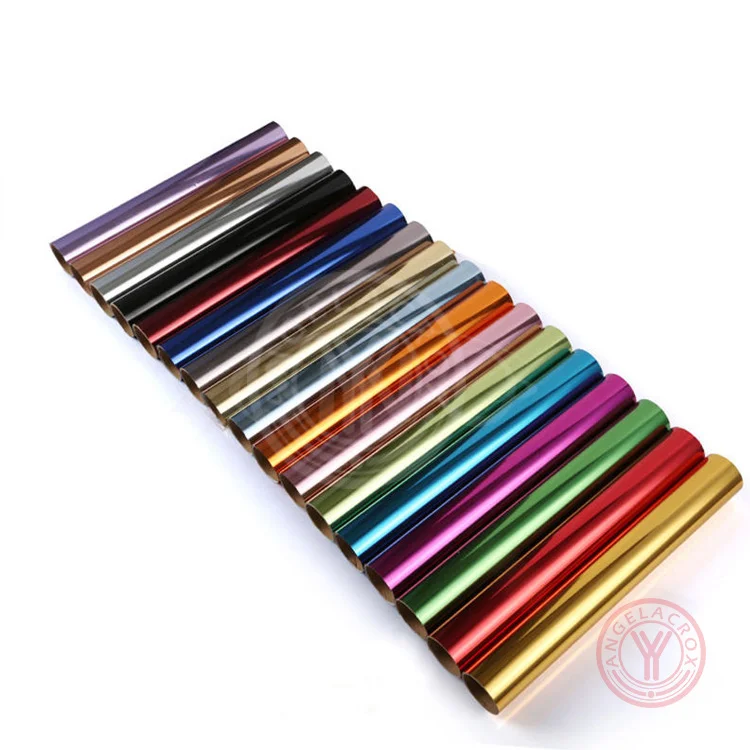
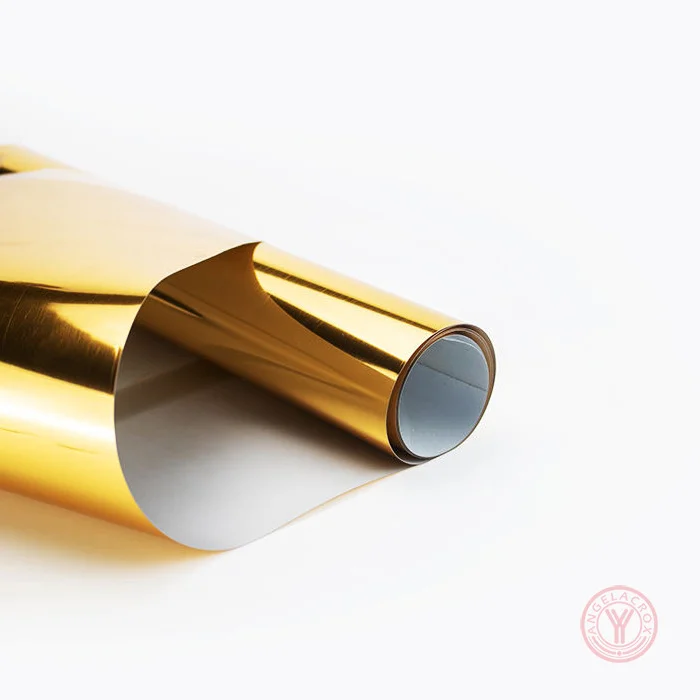
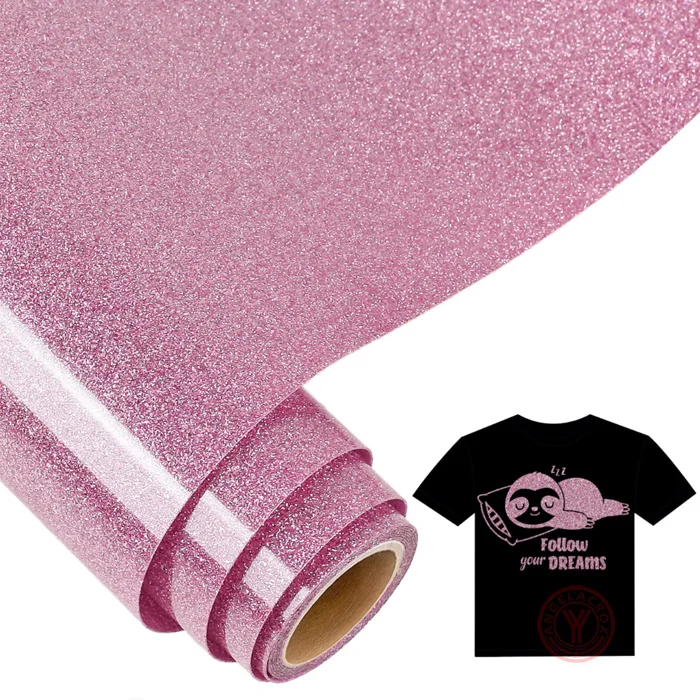
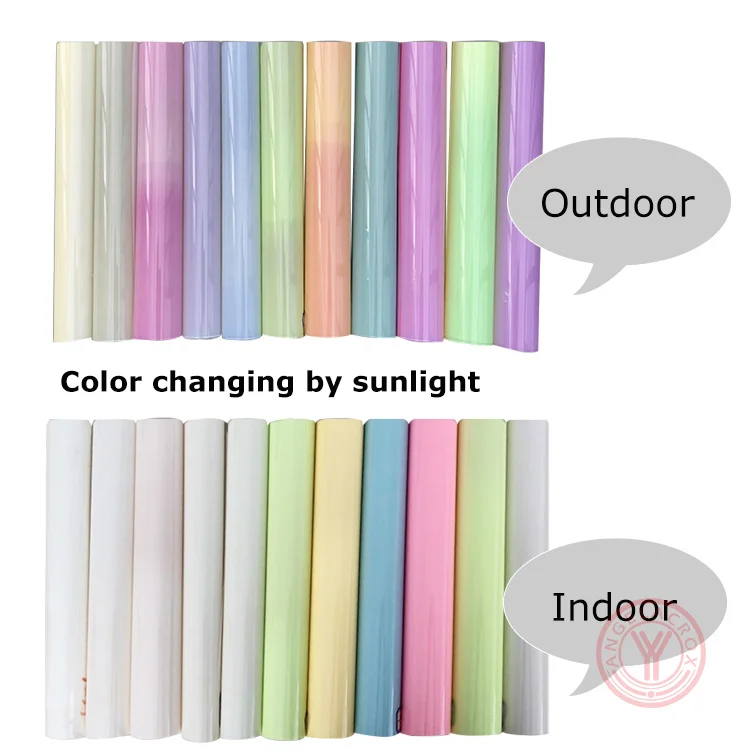
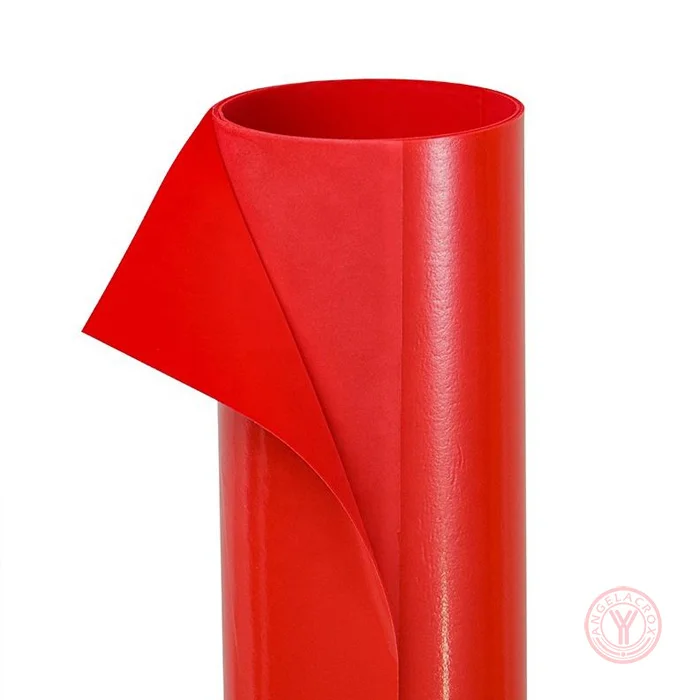
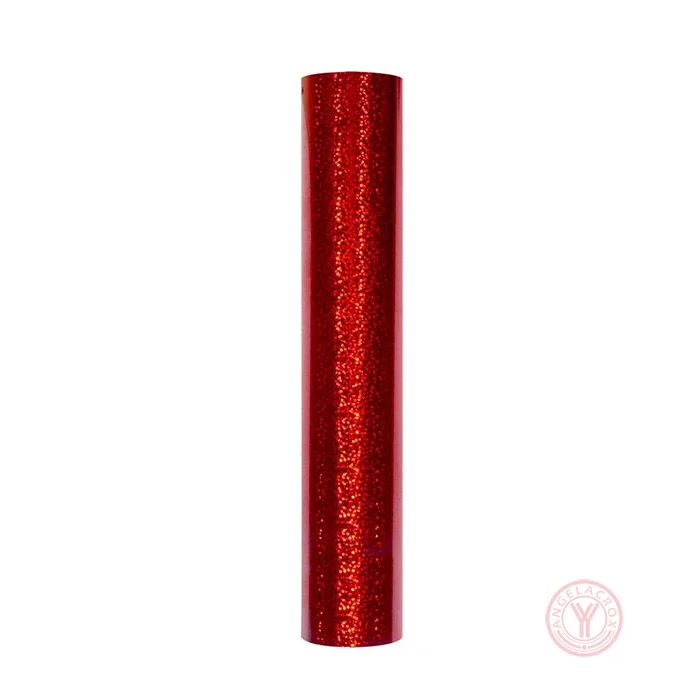
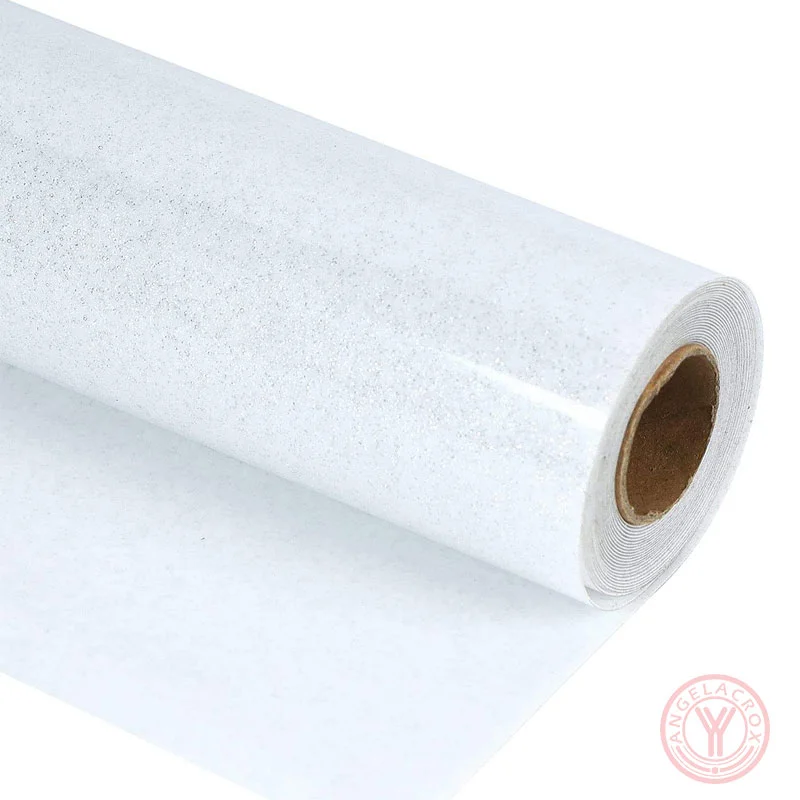
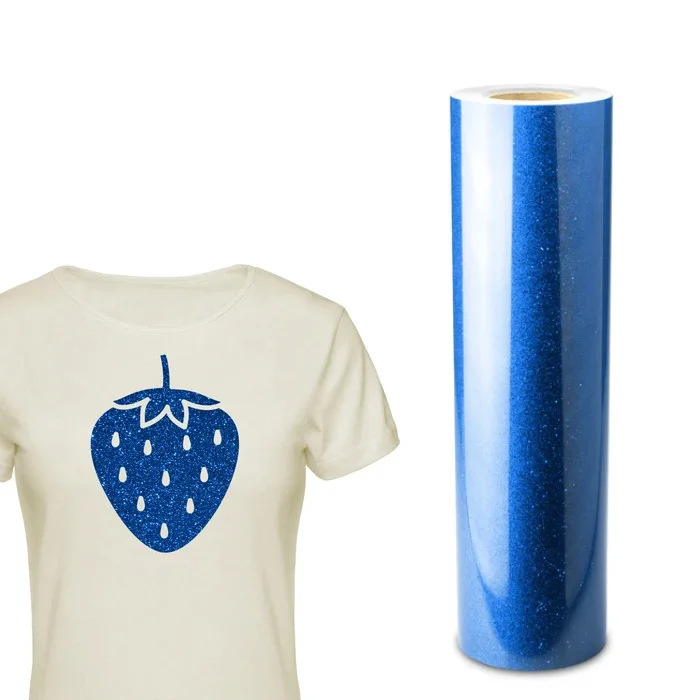
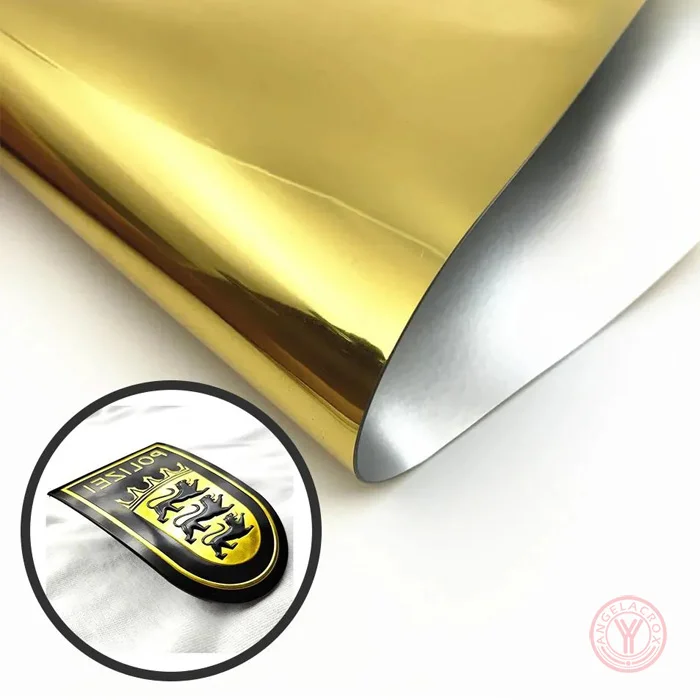
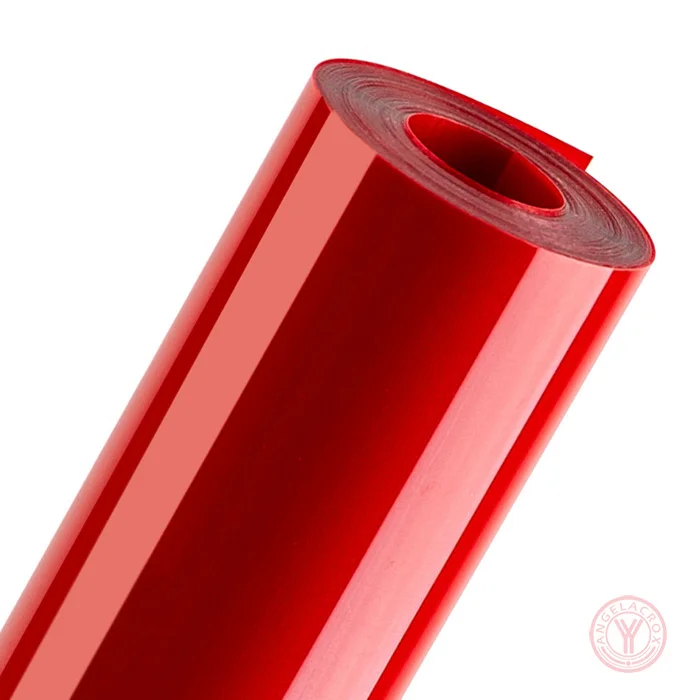
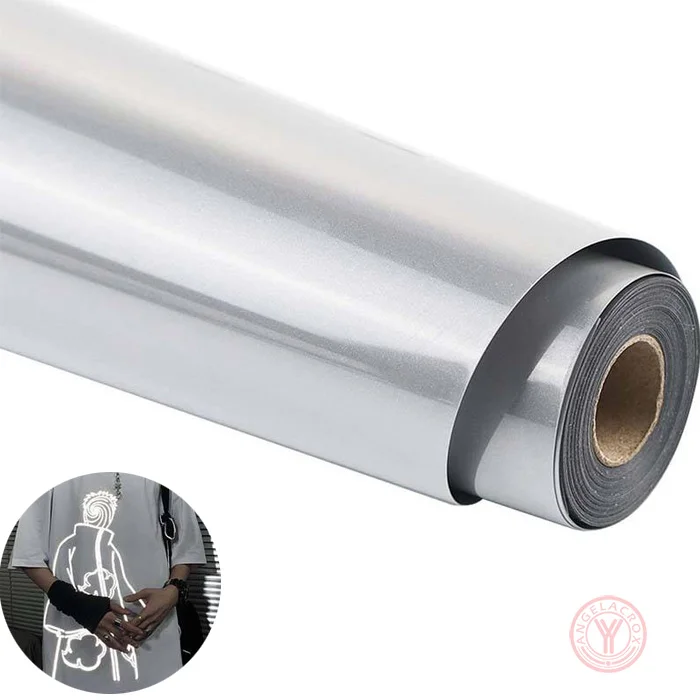
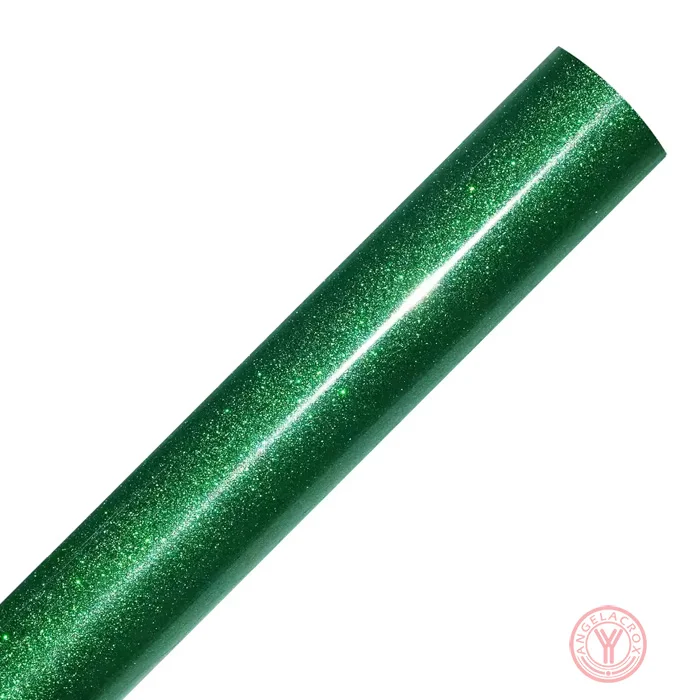
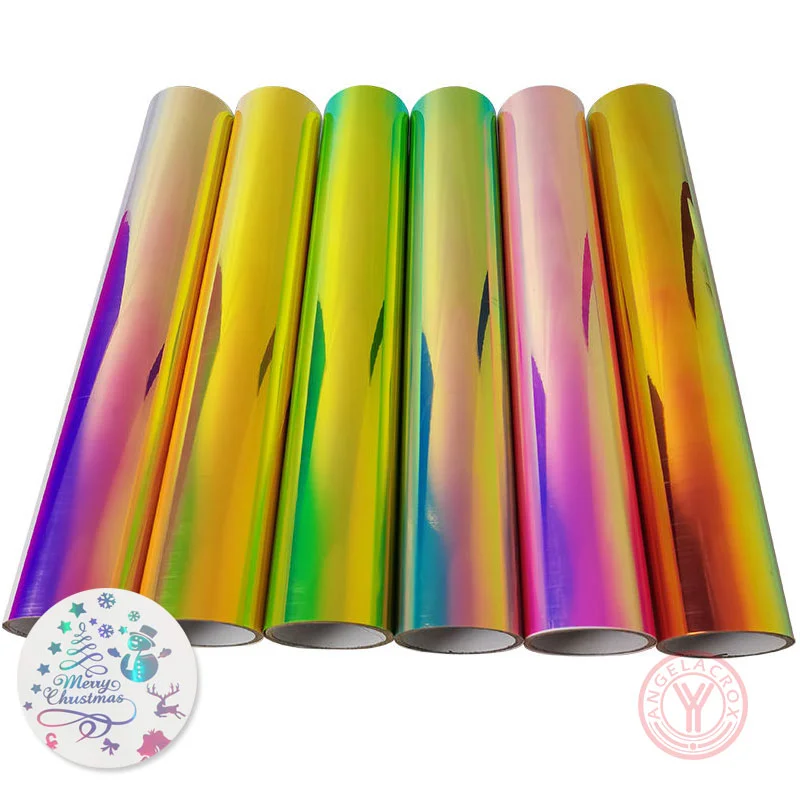
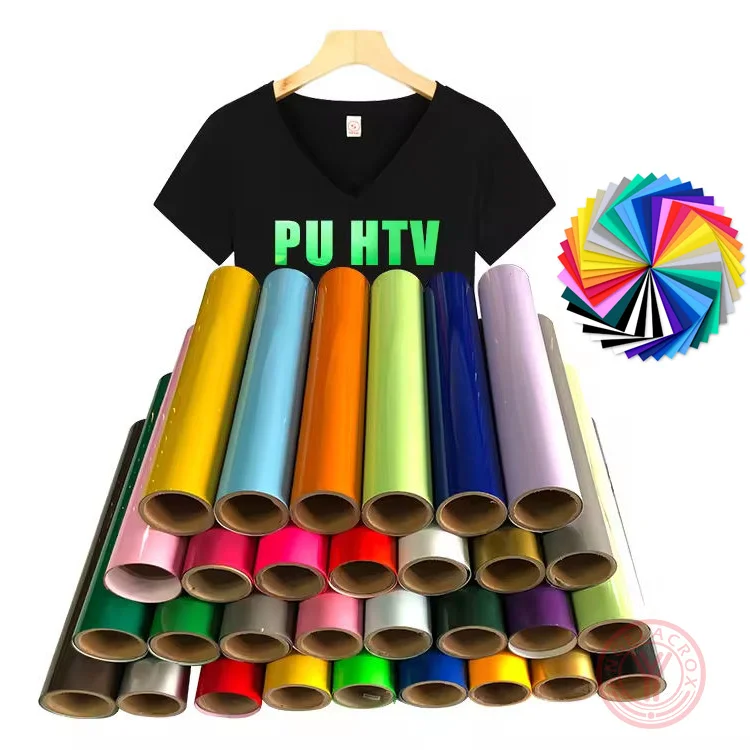
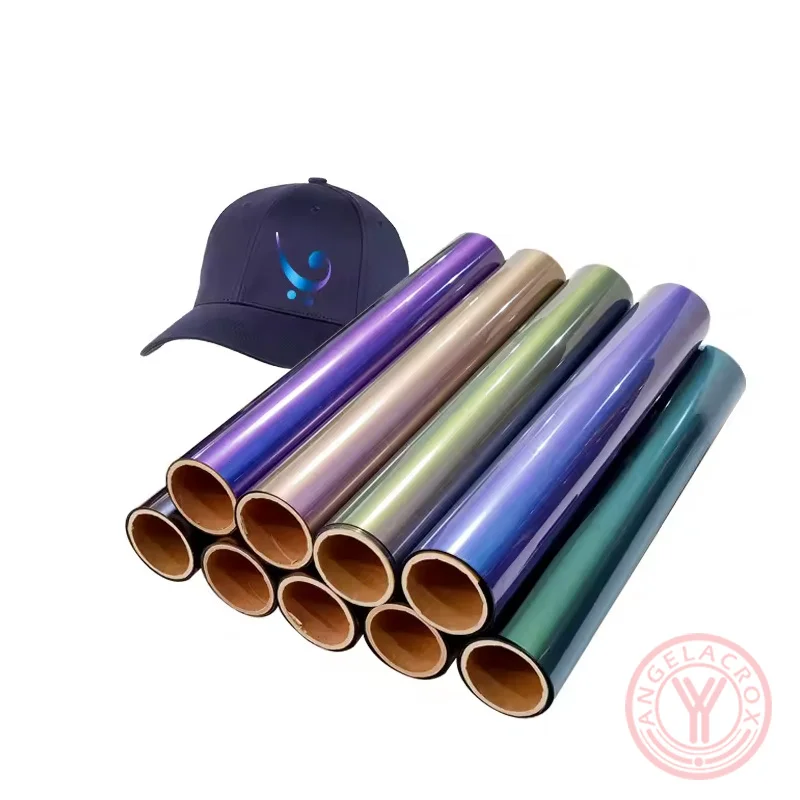
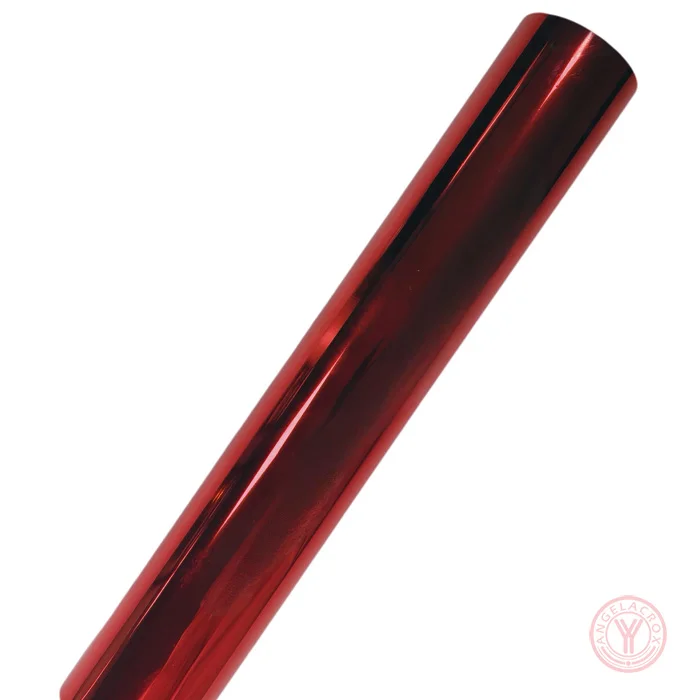
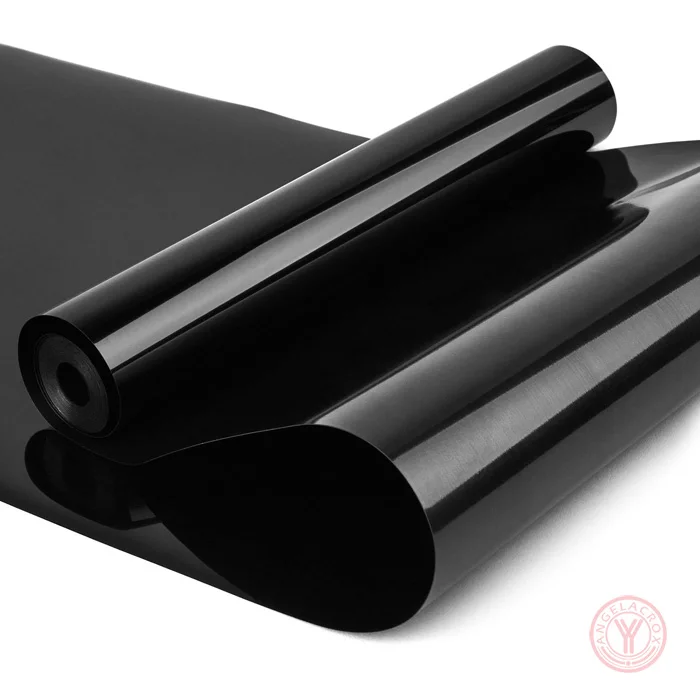
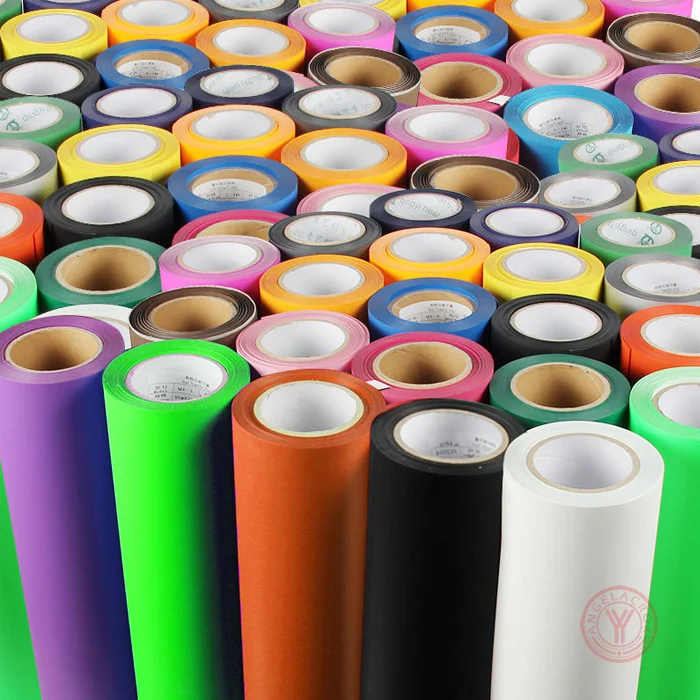
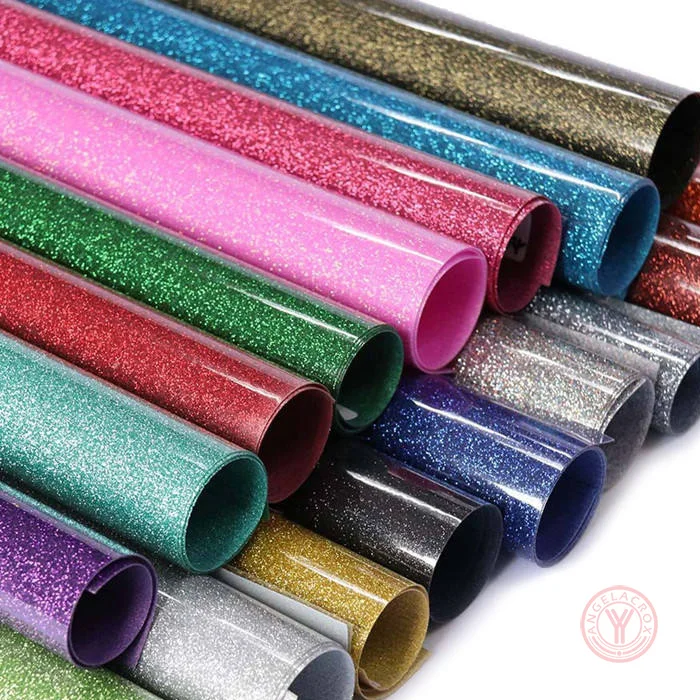
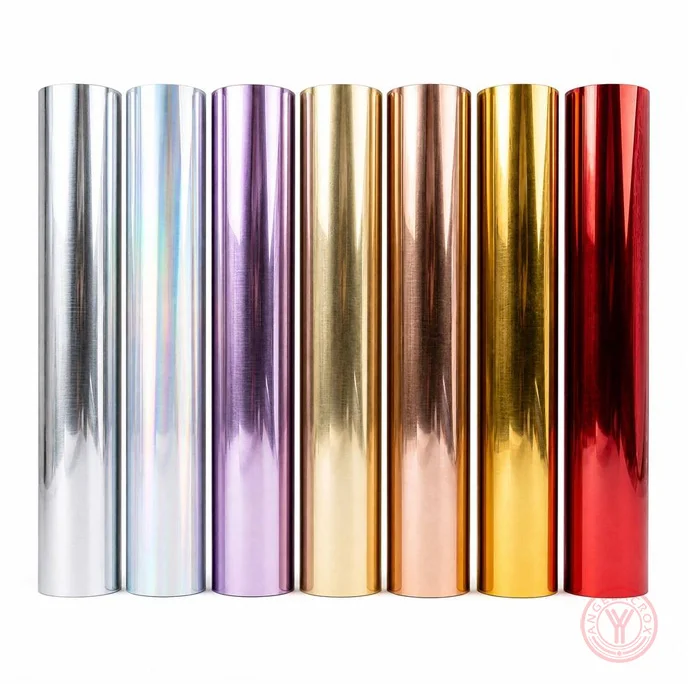
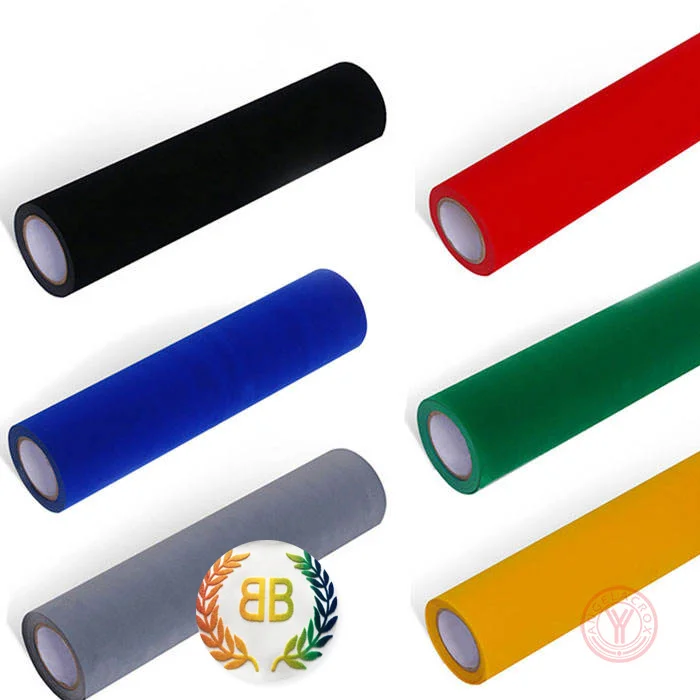
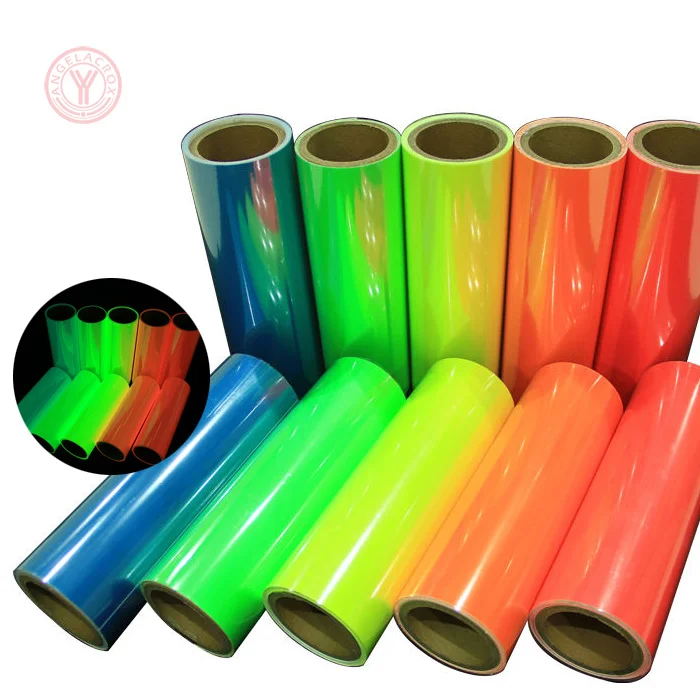
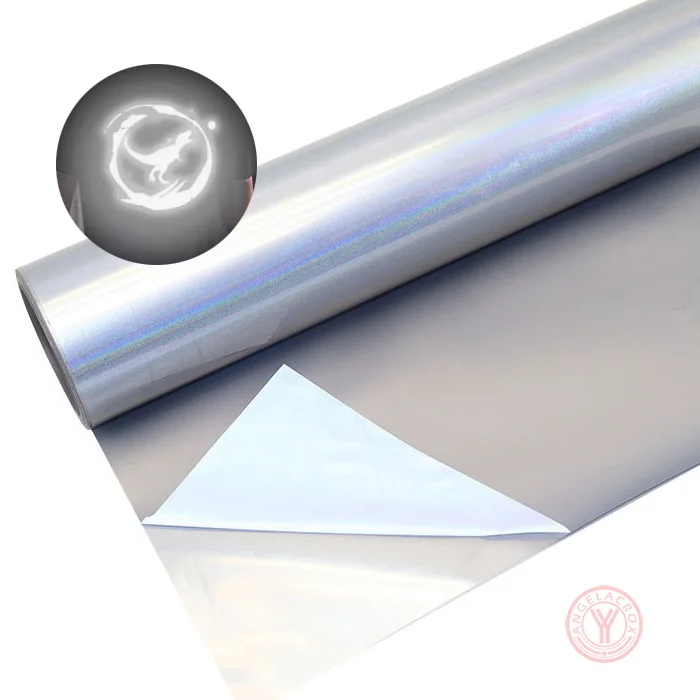
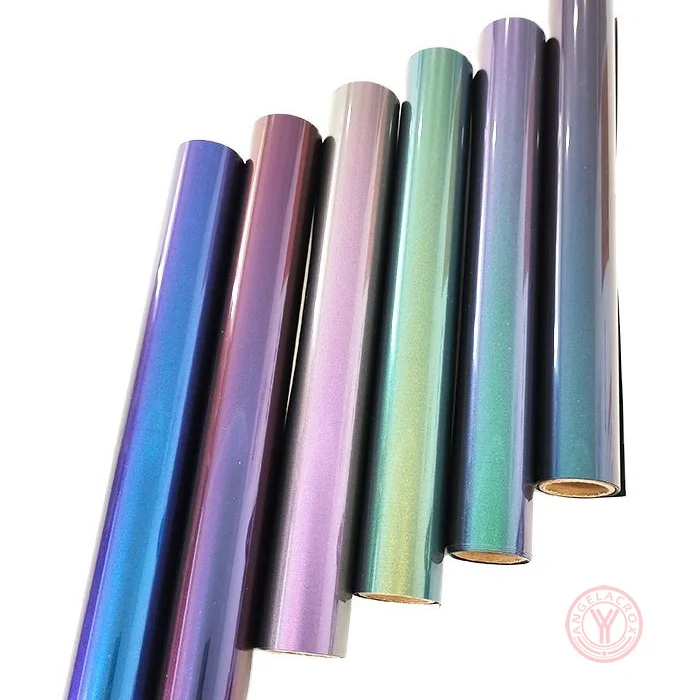
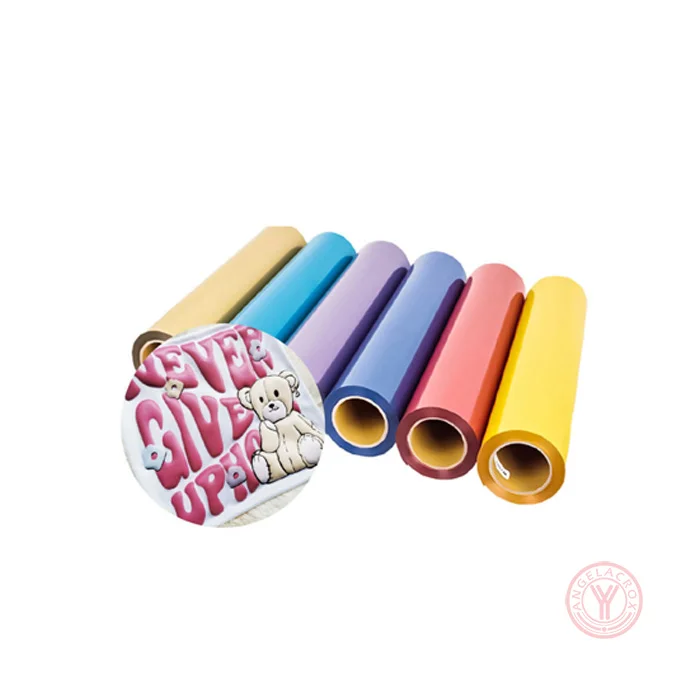
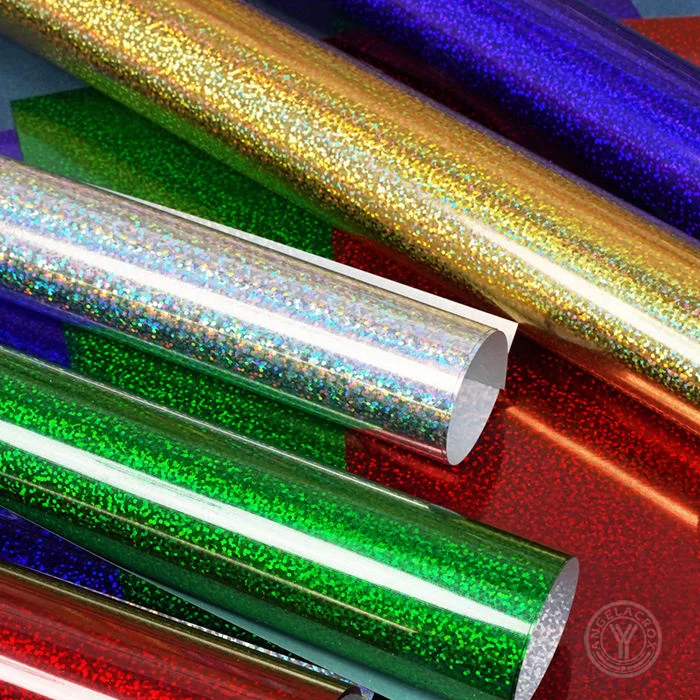
- Multiple Surface Finishes: Available in matte and glossy surfaces, with glitter, metallic, flock, puff, reflective, holographic, chameleon and other specialty effects.
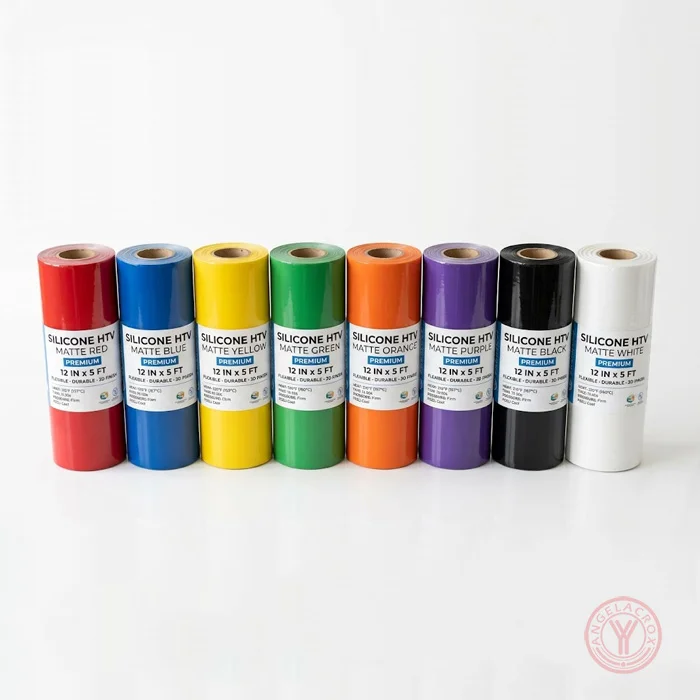
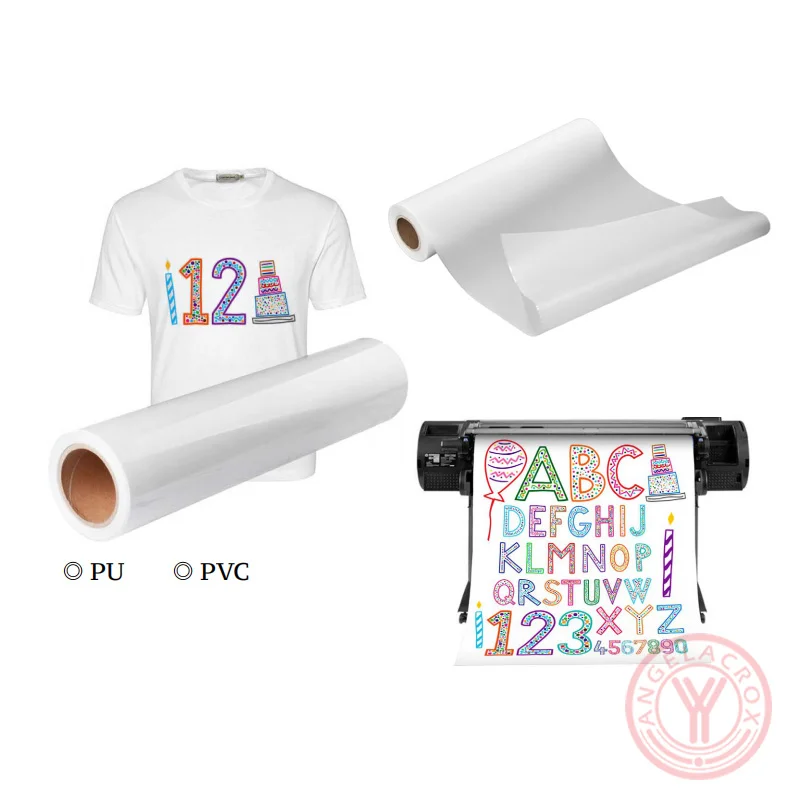
- Multiple Material Options: PU, TPU, PET, silicone and PVC constructions are available to match different fabric types and performance requirements.
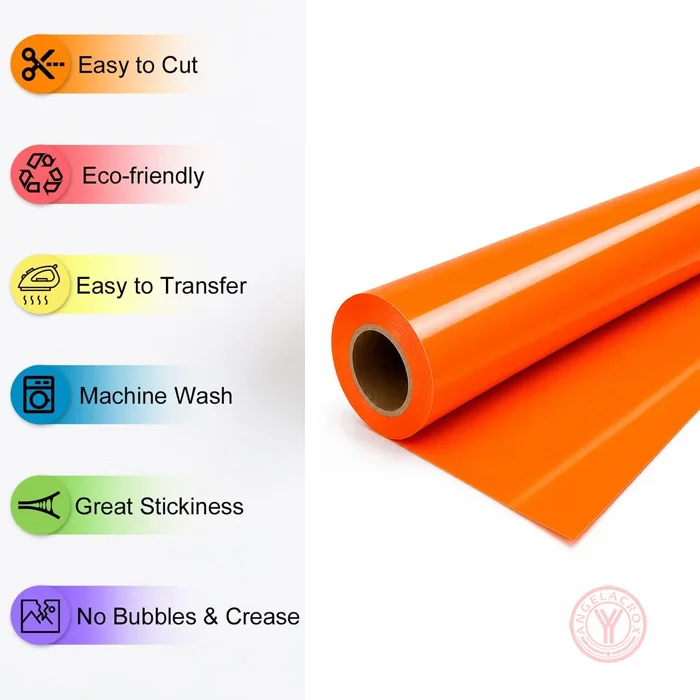
- Easy Cutting & Weeding: Designed for clean cutting and efficient weeding, helping maintain fine details and clear edges during garment decoration.
- Reliable Heat Transfer: Stable bonding and consistent transfer performance with product-specific temperature, pressure and pressing time recommendations.
- Custom Specifications: Custom finish, size, thickness and material options are available for specific product requirements and production needs.
Specifications
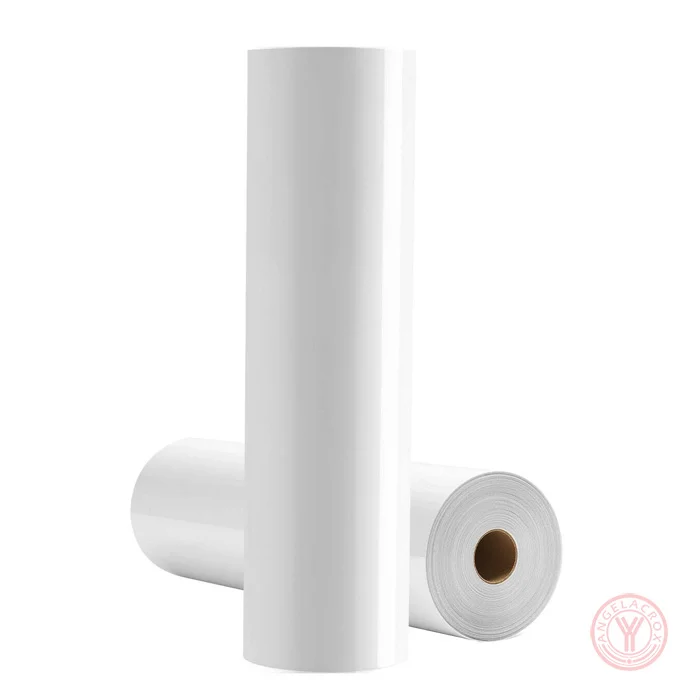
| Product Name | Fabric HTV Vinyl |
| Compatible Fabrics | Light fabric, dark fabric, stretchy fabric, nylon, satin, acrylic, silk, textured fabric, cotton blend fabric |
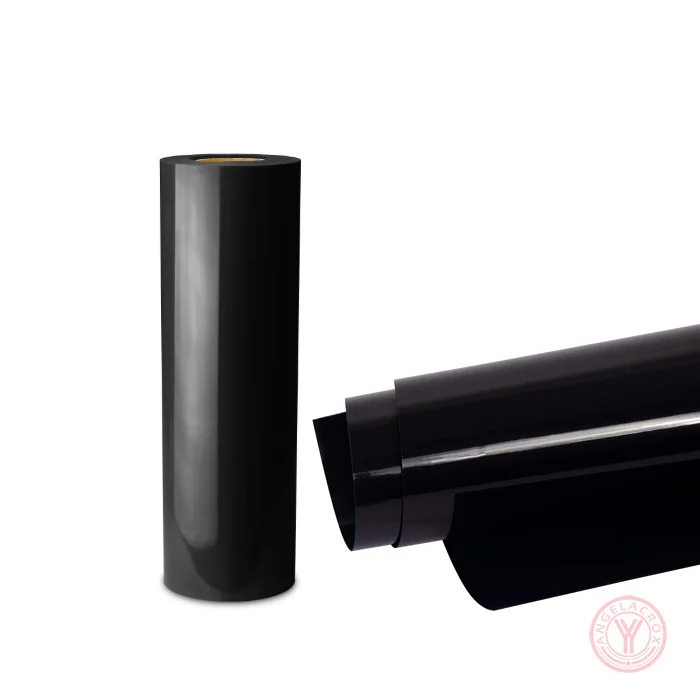
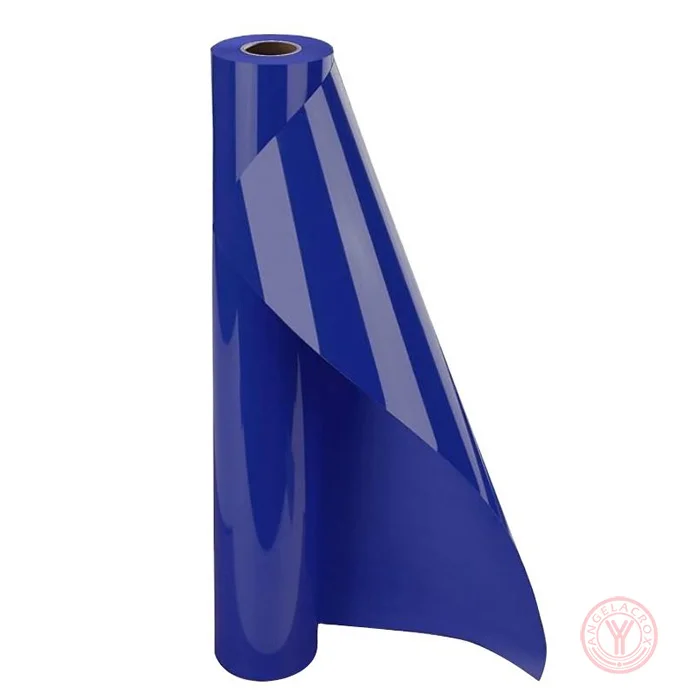
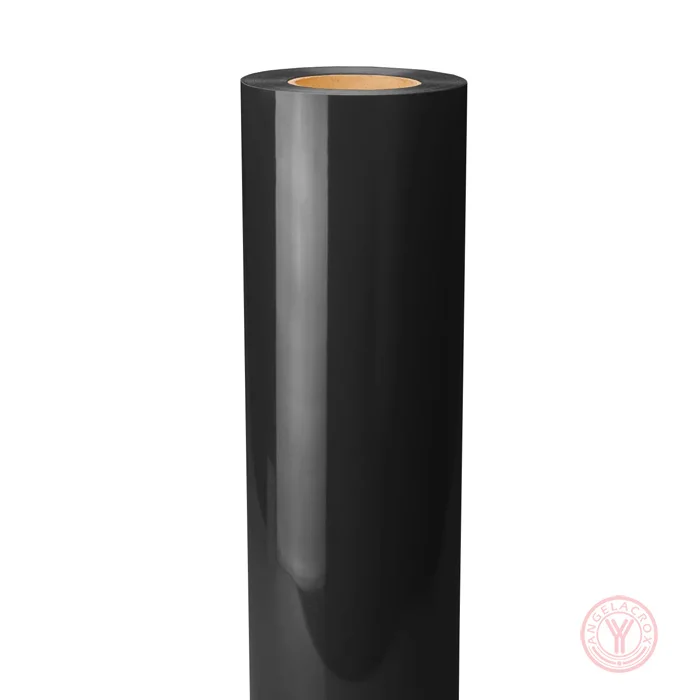
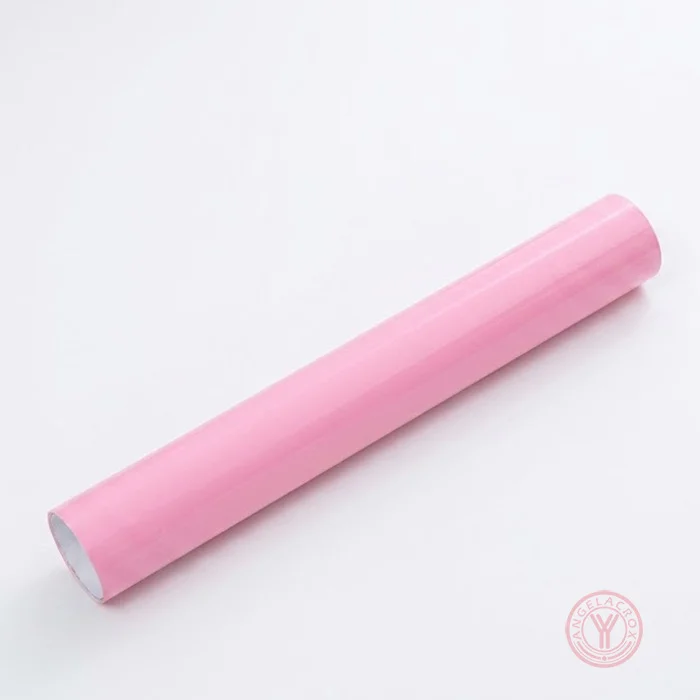
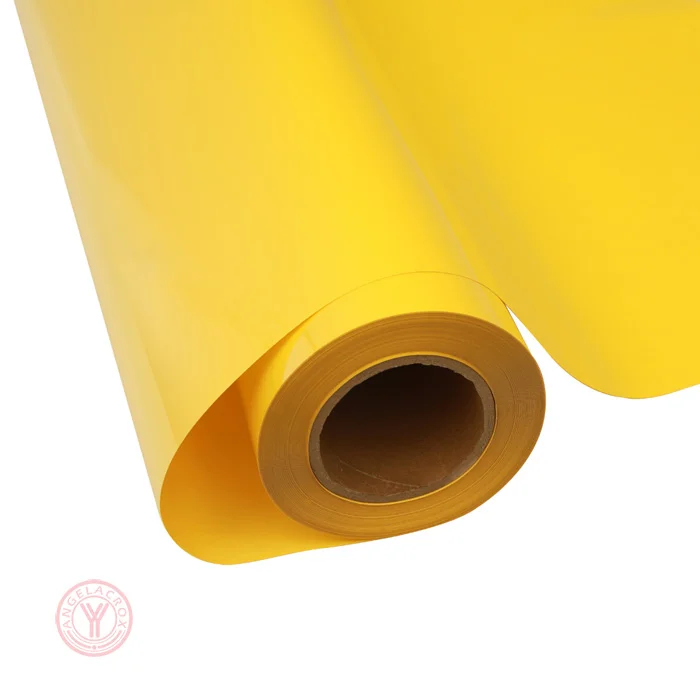
| Surface | Matte, glossy |
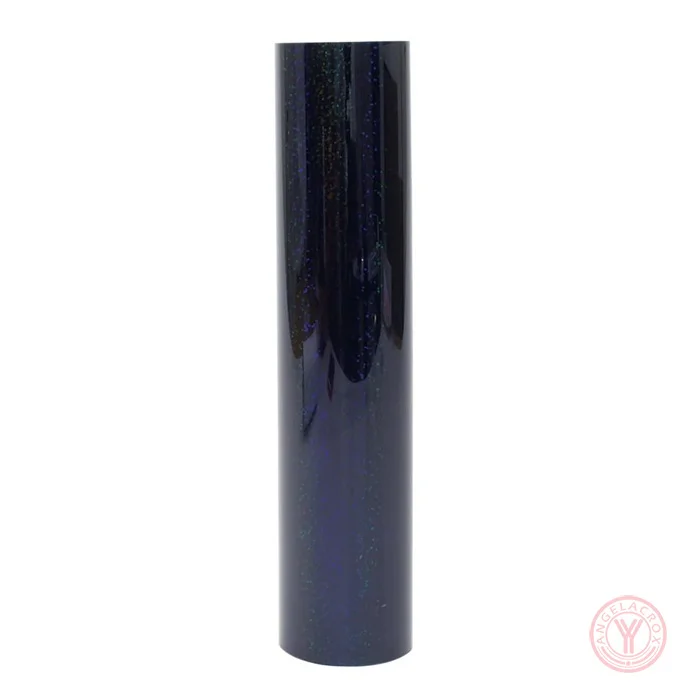
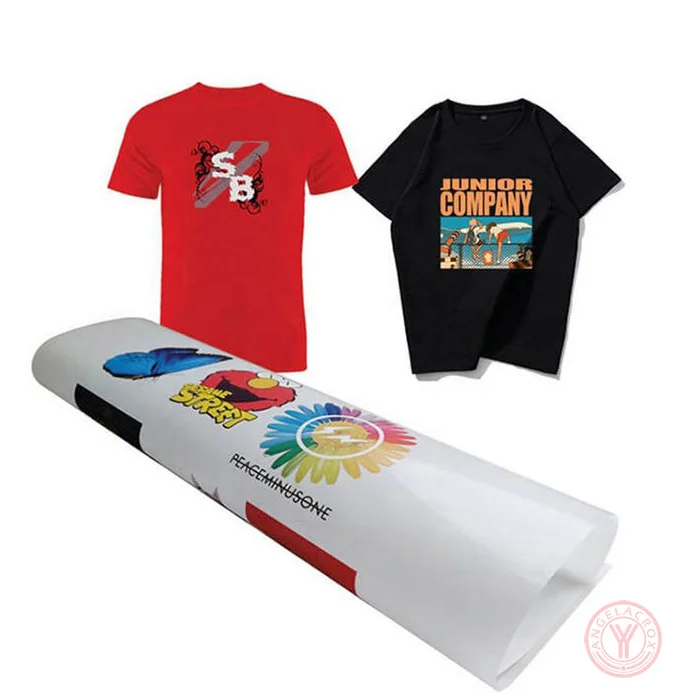
| Special Effects | Glitter, metallic, flock, glow in the dark, reflective, chameleon, puff, holographic, printable, thermochromic, patterned |
| Material Options | PU, TPU, PET, silicone, PVC |
| Size | 50cm*25m;Customizable |
| Thickness | 0.04 - 1mm;Customizable |
| Transfer Method | Heat press |
| Transfer Temperature | 140–145°C |
| Pressing Time | 8 - 15s |
| Pressure | Medium |
| Peel Method | warm or cold peel |
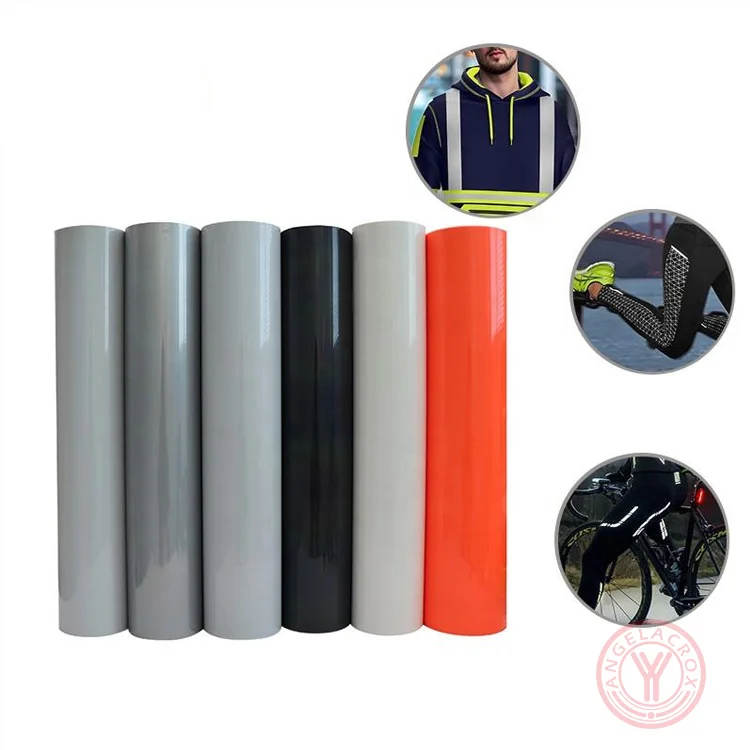
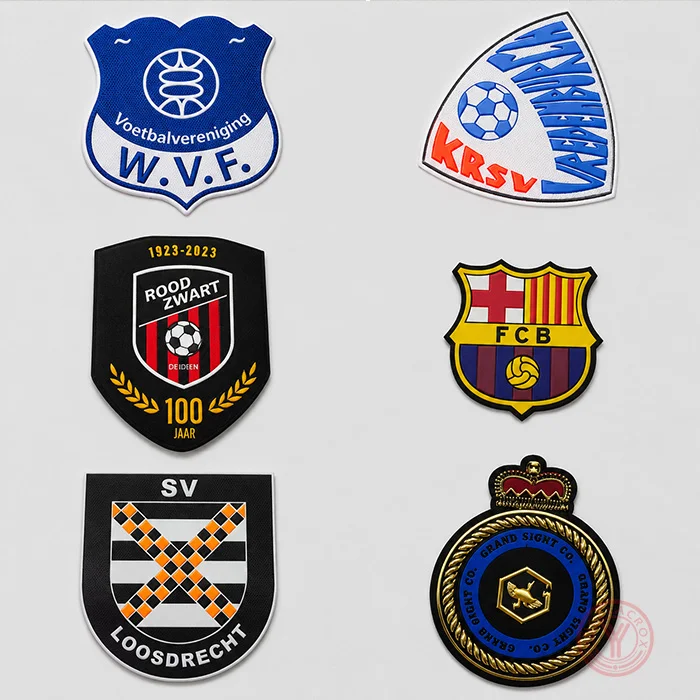
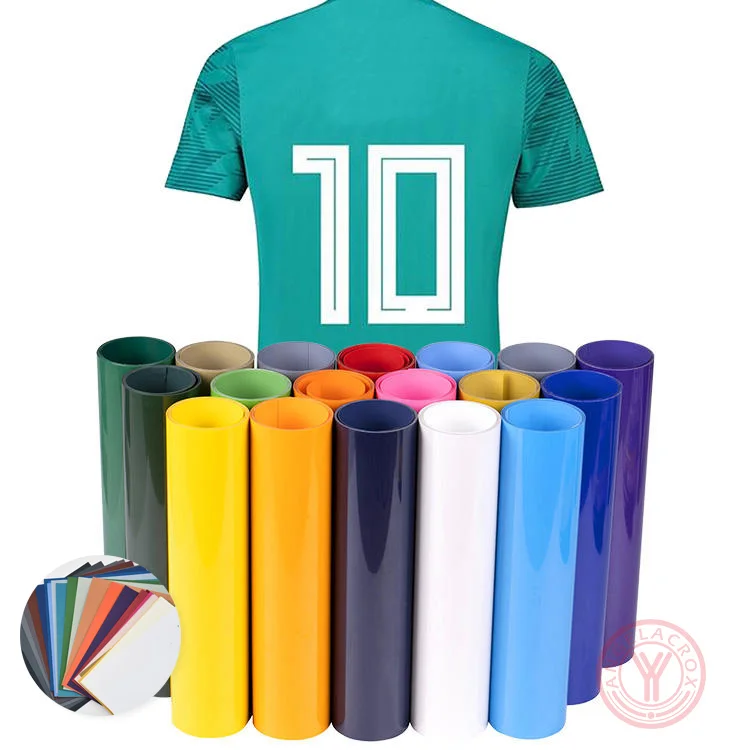
| Application | T-shirts, sportswear, workwear, uniforms, fashion garments, bags and custom apparel |
| MOQ | 1 roll |
| Sample | Free samples,Standard samples: 1 working day; custom samples: 3 working days |
How to Use Fabric Heat Transfer Vinyl
- 1. Prepare the Fabric: Make sure the fabric is clean, dry and free from oil, dust and moisture. Pre-press the fabric briefly to remove moisture and wrinkles.
- 2. Cut the Design: Place the HTV on the cutting plotter with the correct side facing the blade. Mirror the artwork before cutting and select the cutting settings according to the material.
- 3. Weed the Design: Remove the excess vinyl carefully, keeping the required letters, graphics and fine details on the carrier film.
- 4. Position the Design: Place the weeded design on the fabric with the adhesive side facing down. Check the position and make sure the design is flat before pressing.
- 5. Heat Press: Apply the recommended temperature, pressure and pressing time for the selected HTV. Different materials and finishes require different transfer conditions, so follow the product-specific instructions.
- 6. Peel the Film: Peel the carrier film according to the recommended hot, warm or cold peel method for the selected material.
- 7. Final Press: For products that require it, cover the transferred design and apply a short final press according to the product instructions. Allow the garment to cool before further handling.
Important: Always test the HTV on the actual fabric before bulk production, especially for nylon, satin, silk, acrylic, textured fabrics and other specialty textiles. Different fabrics and HTV constructions may require different temperature, pressure and pressing time.