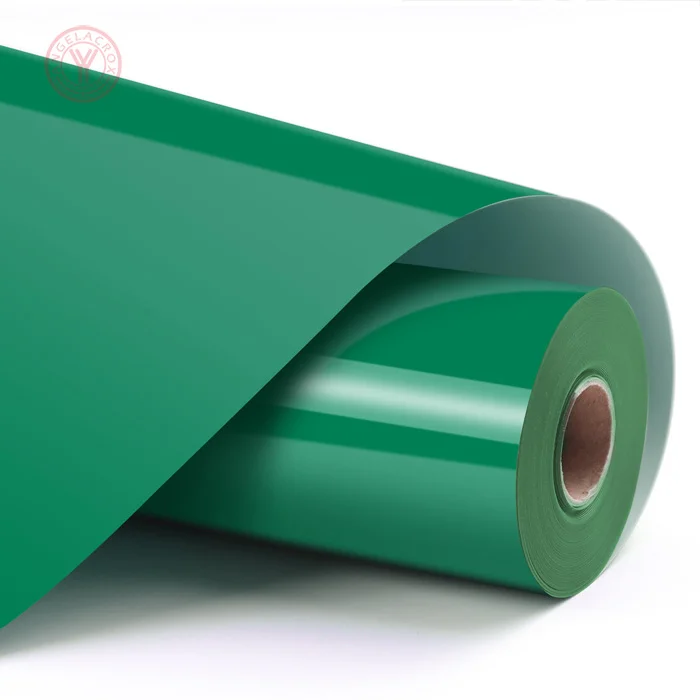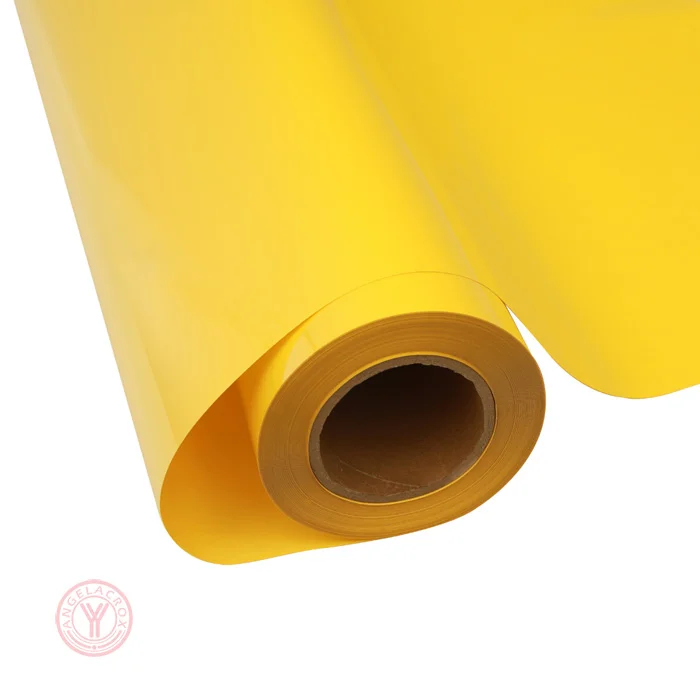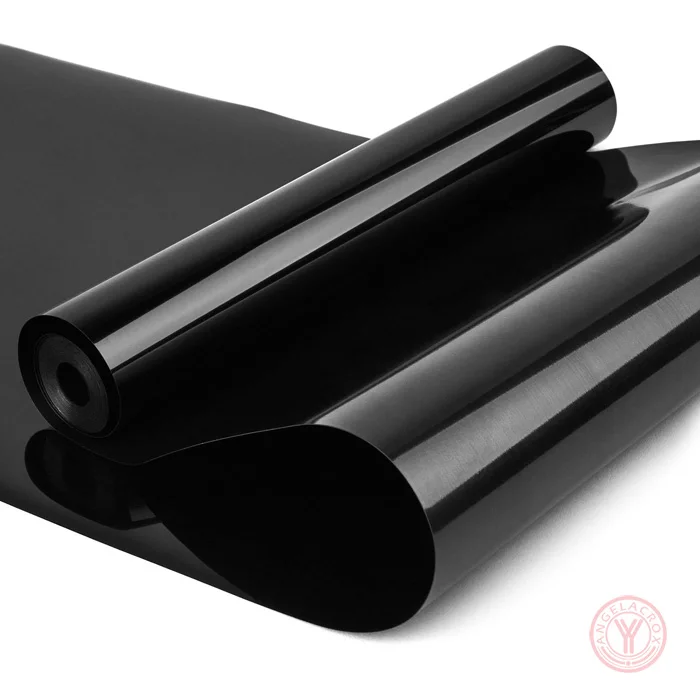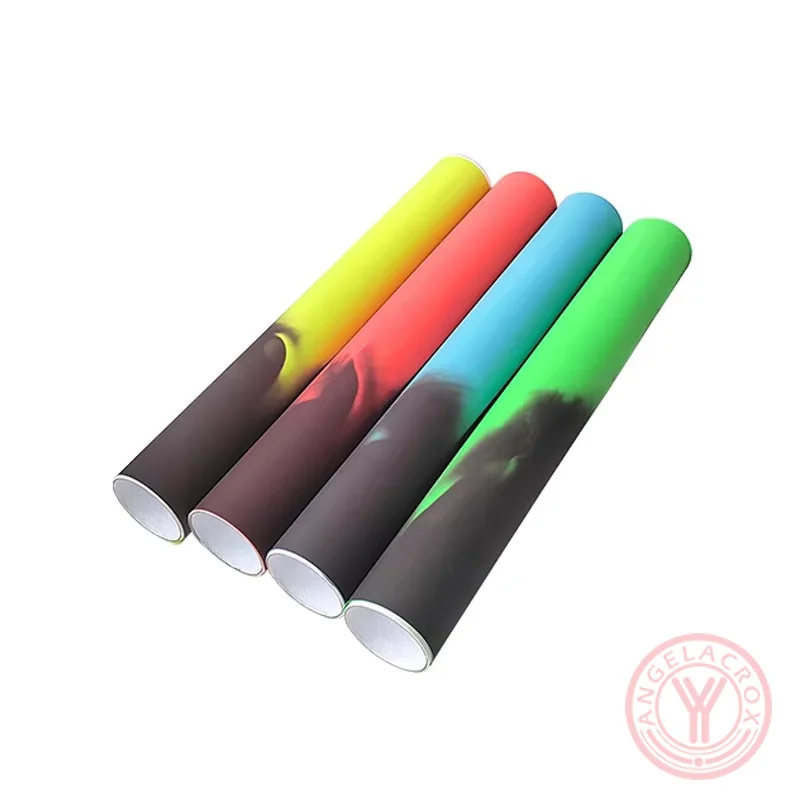
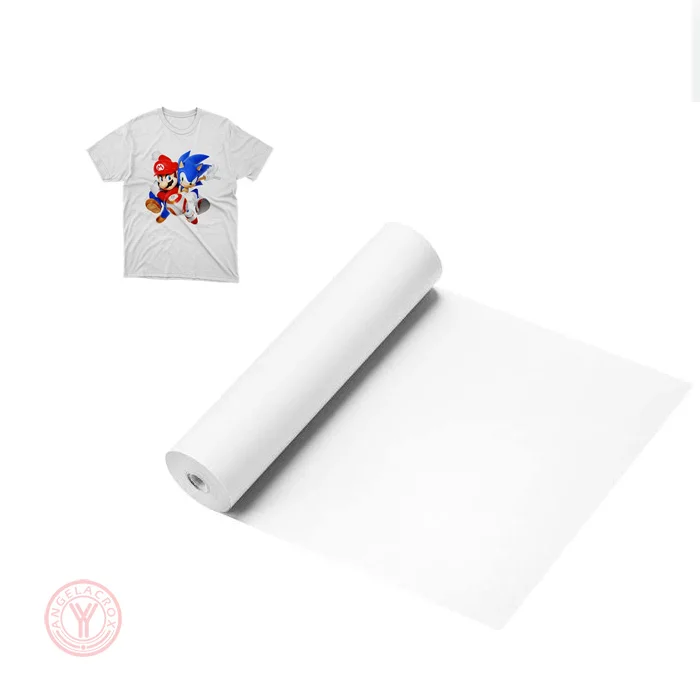
Description
Send Inquiry
Features
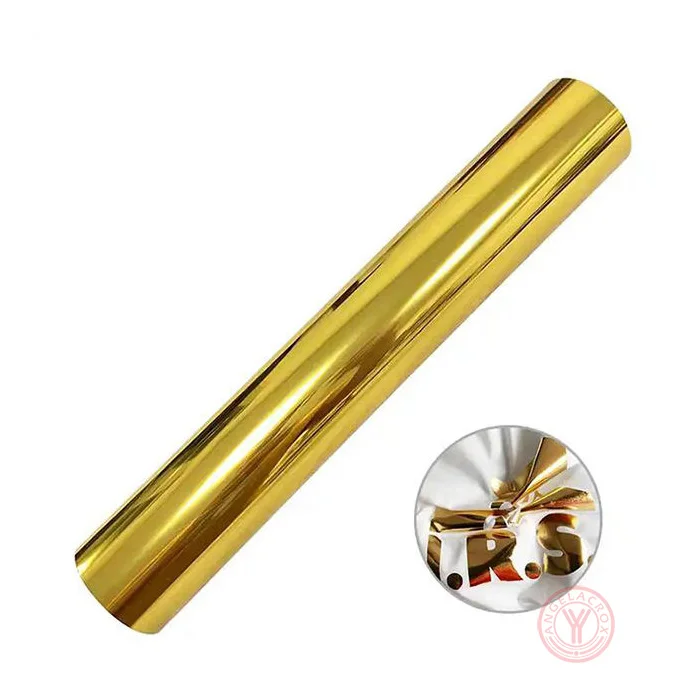
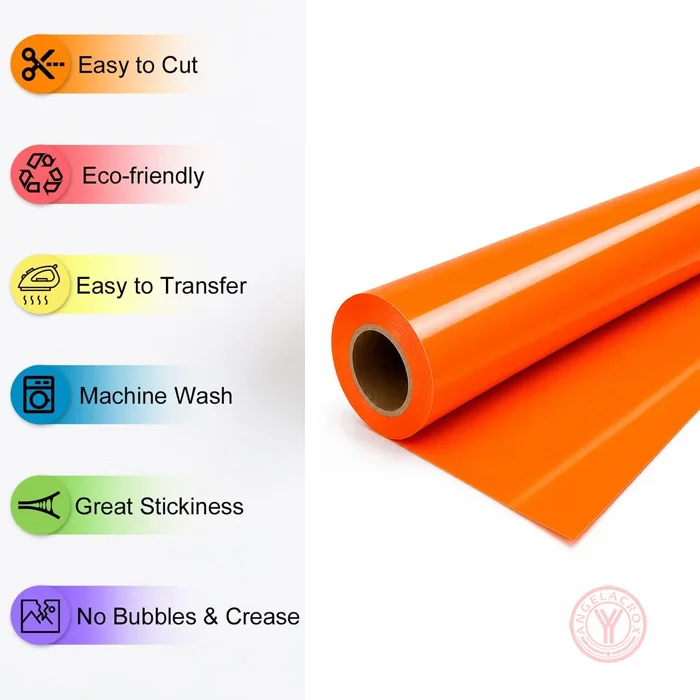
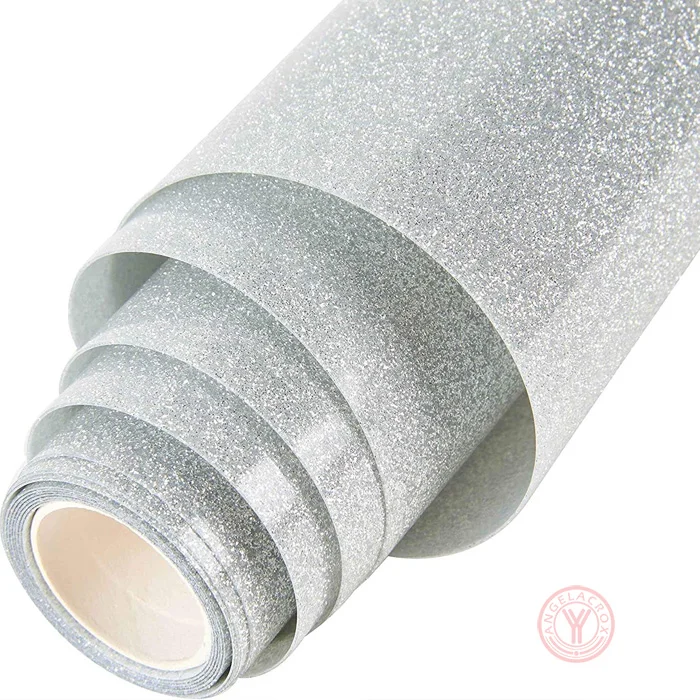
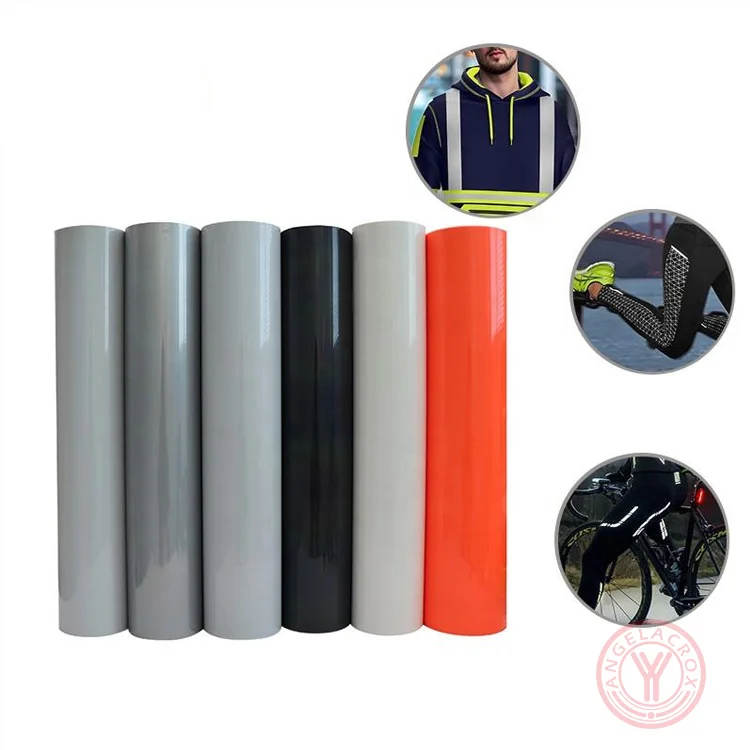
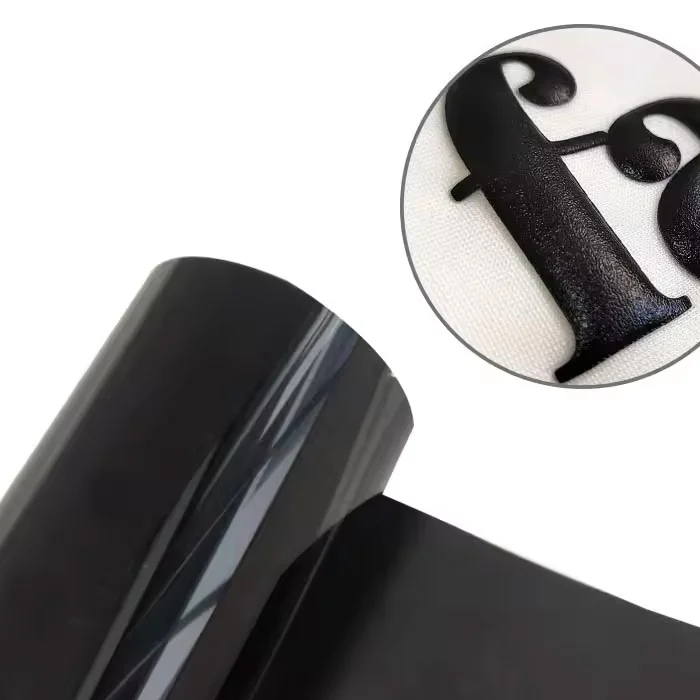
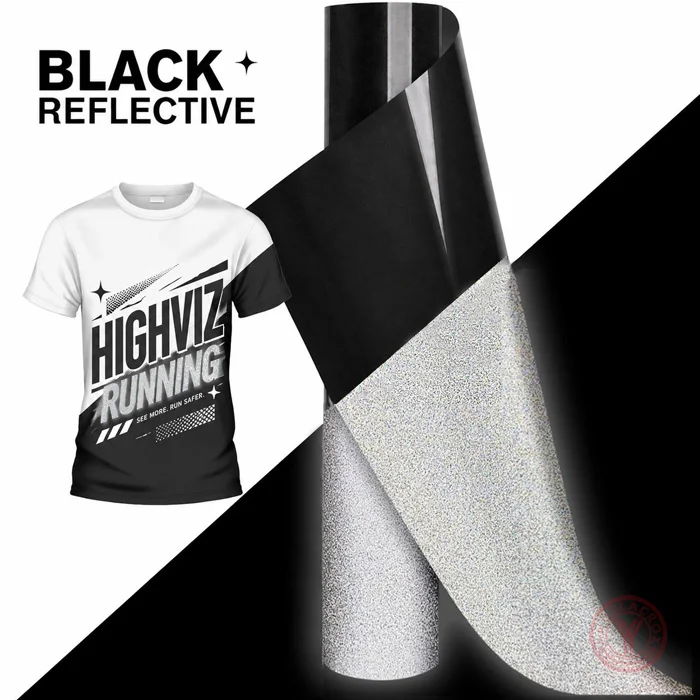
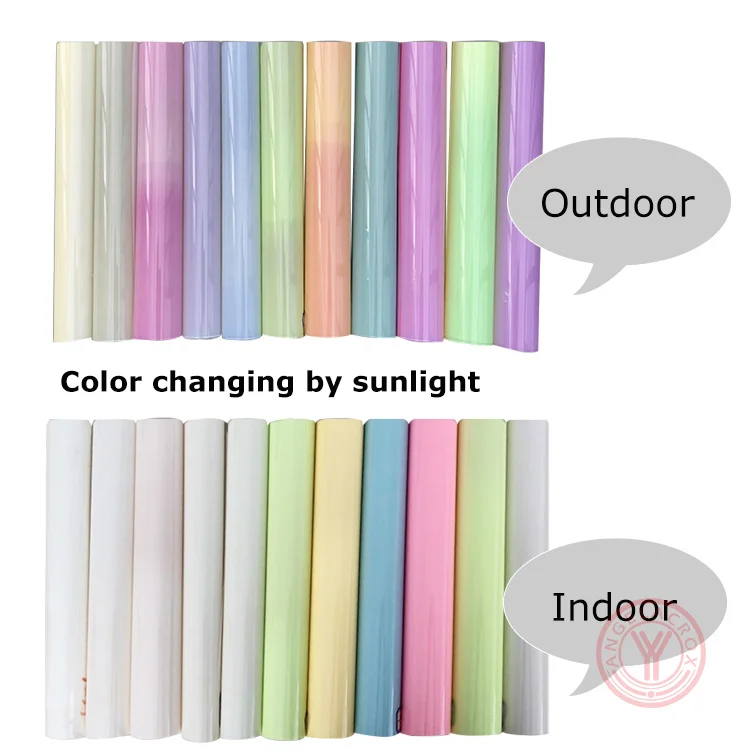
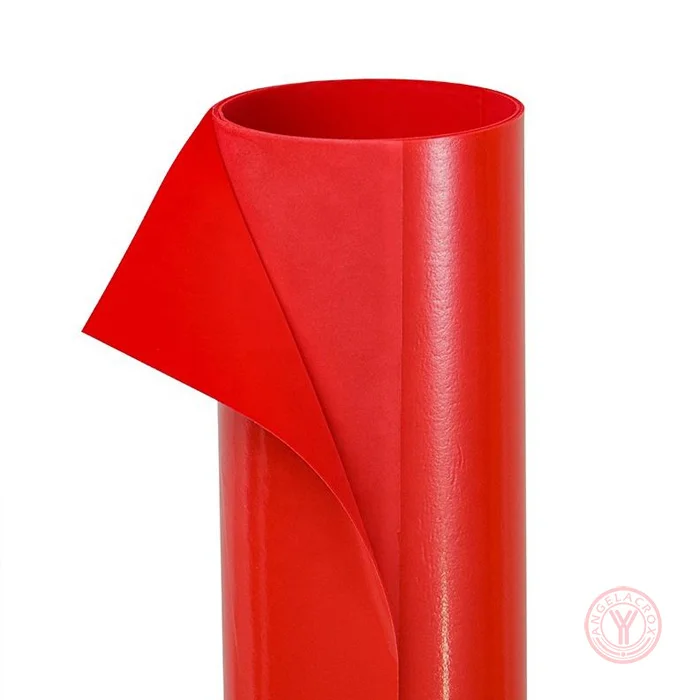
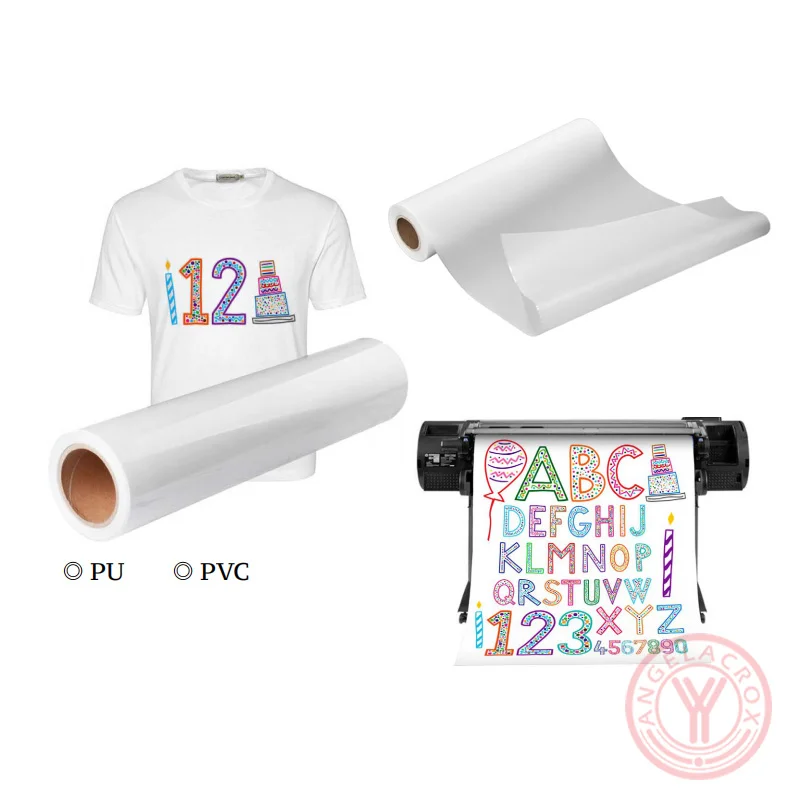
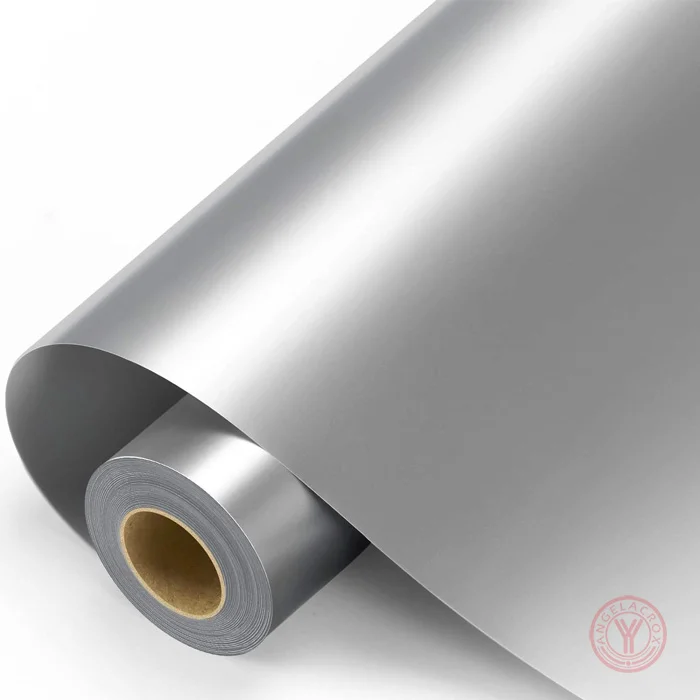
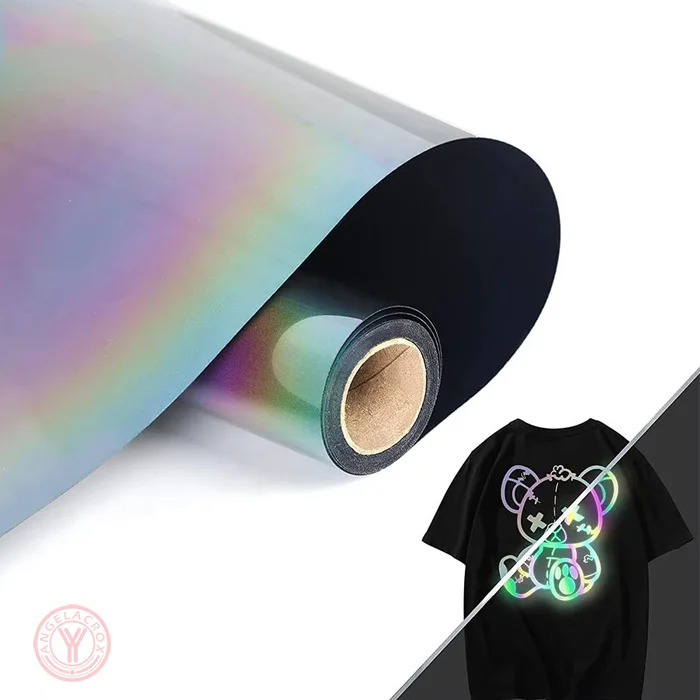
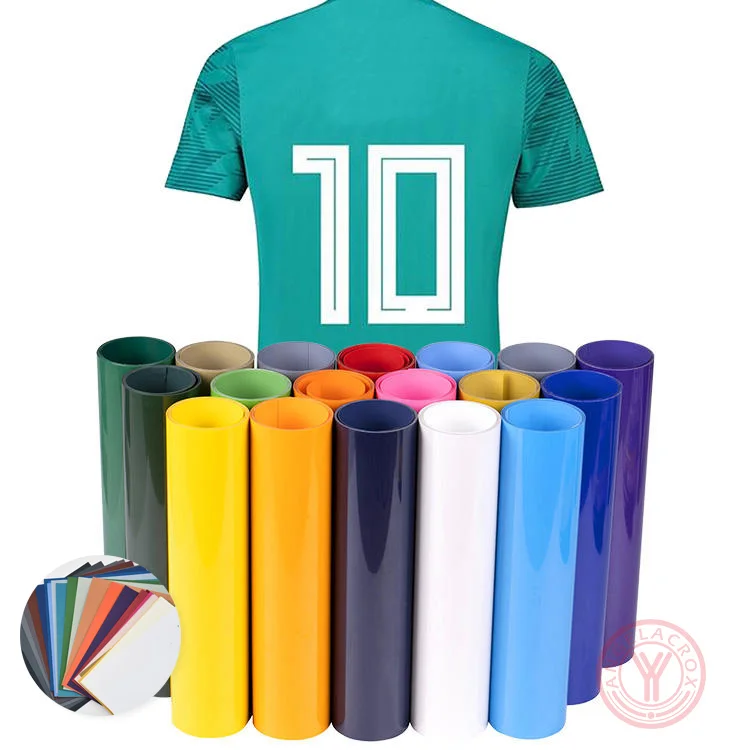
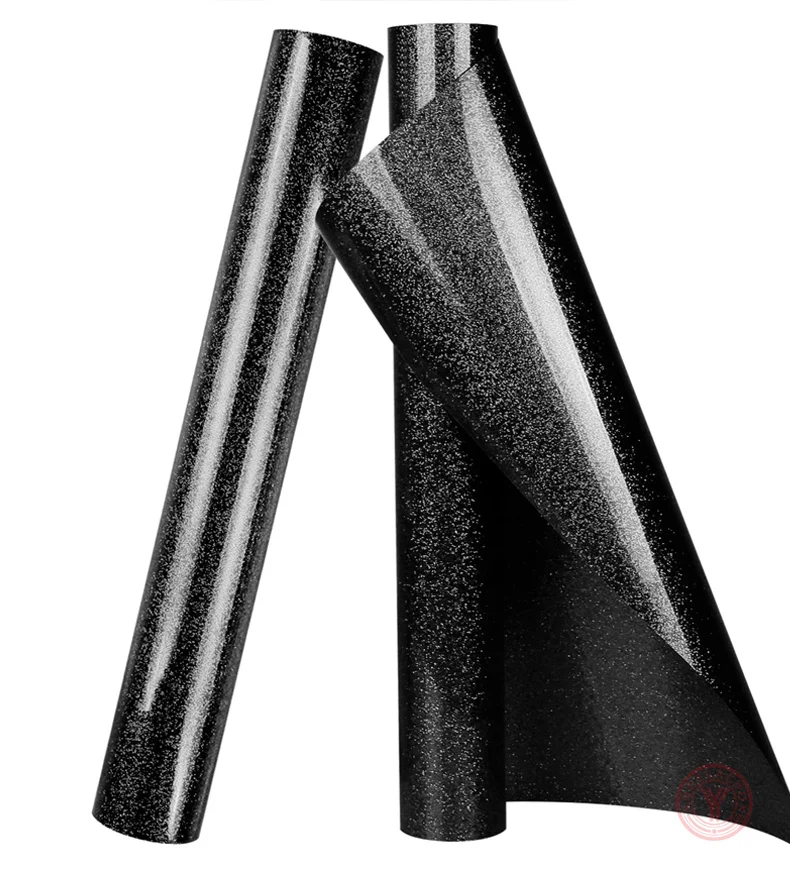
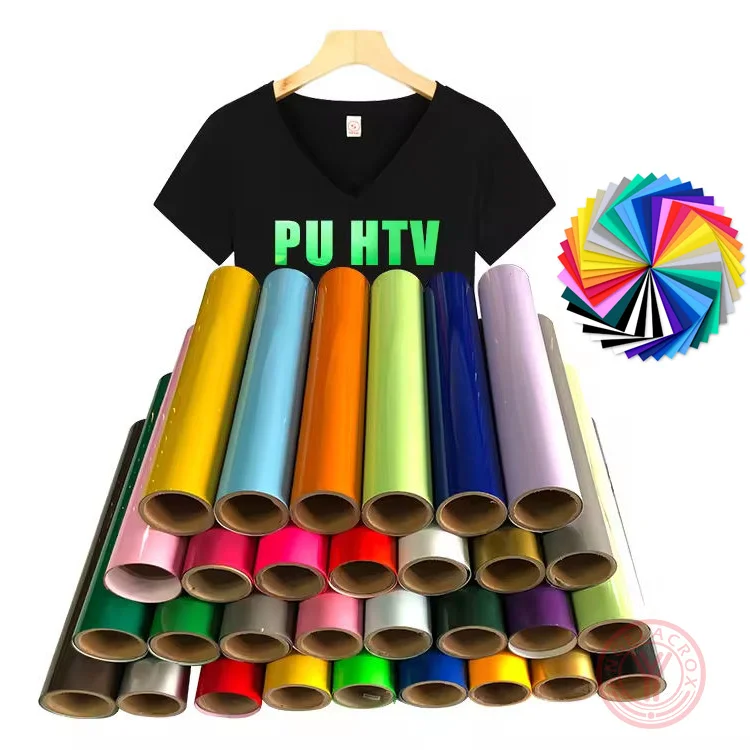
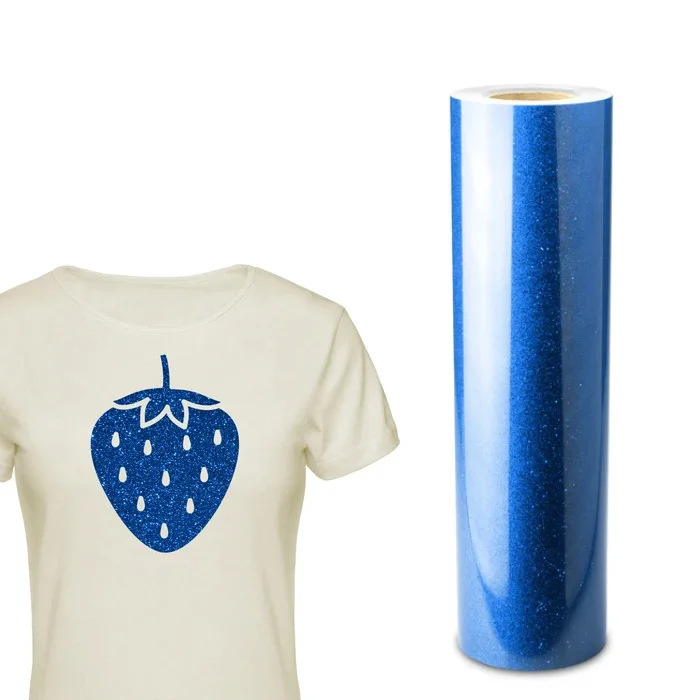
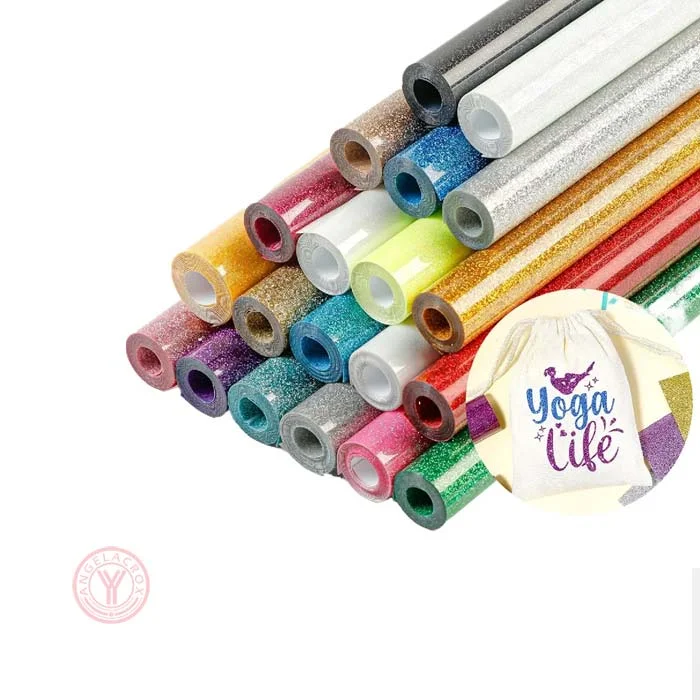
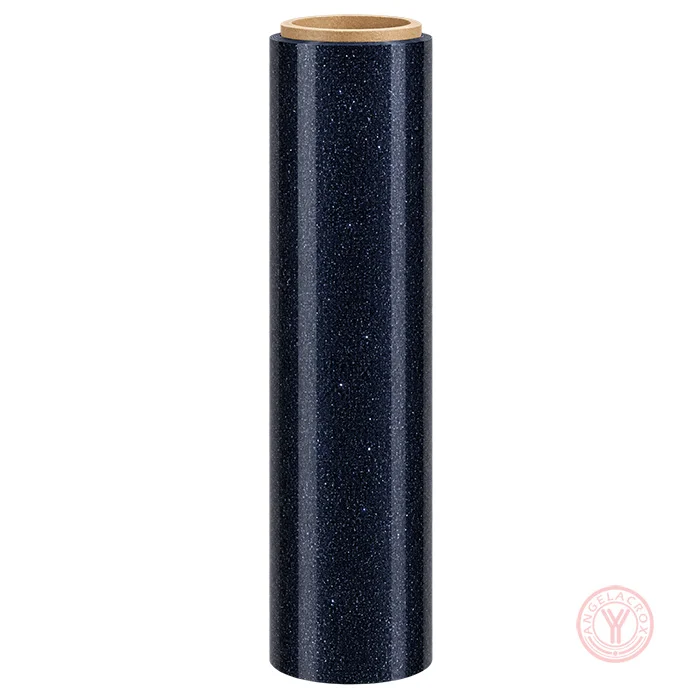
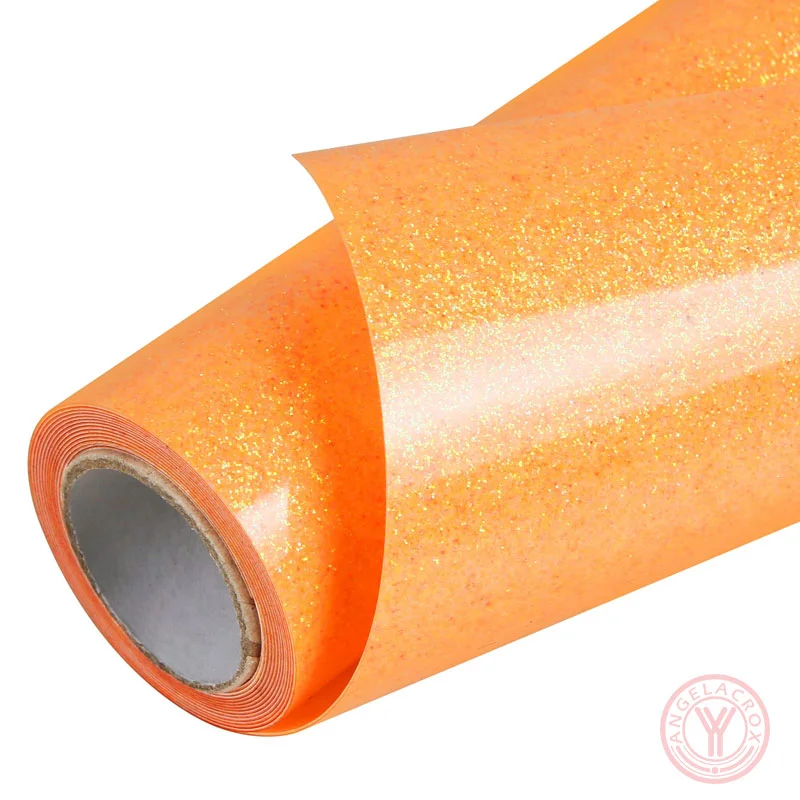
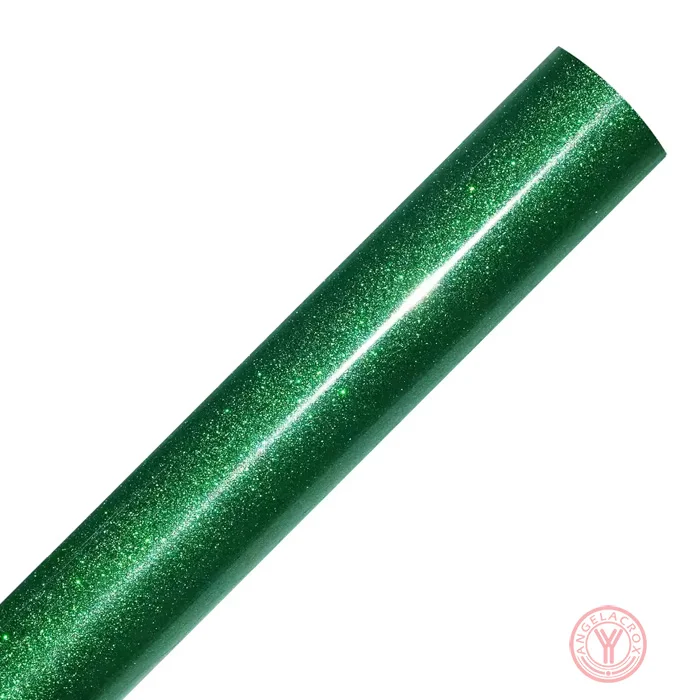
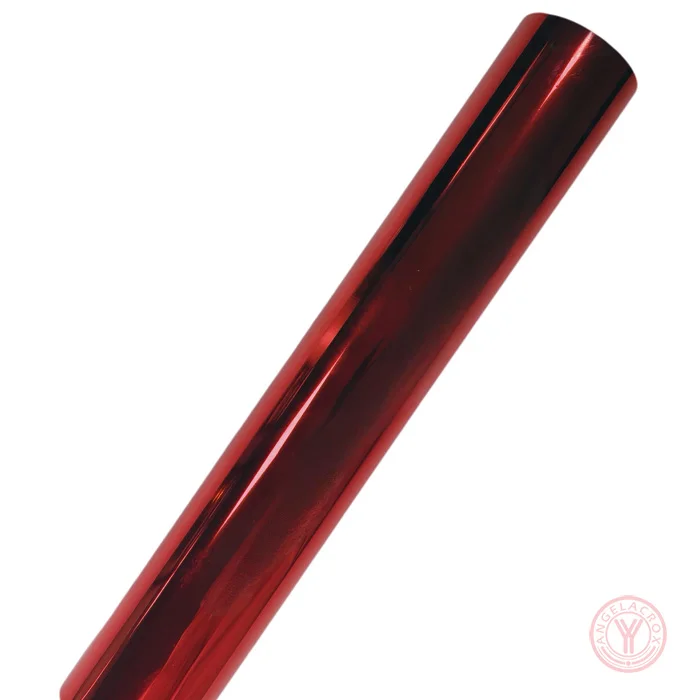
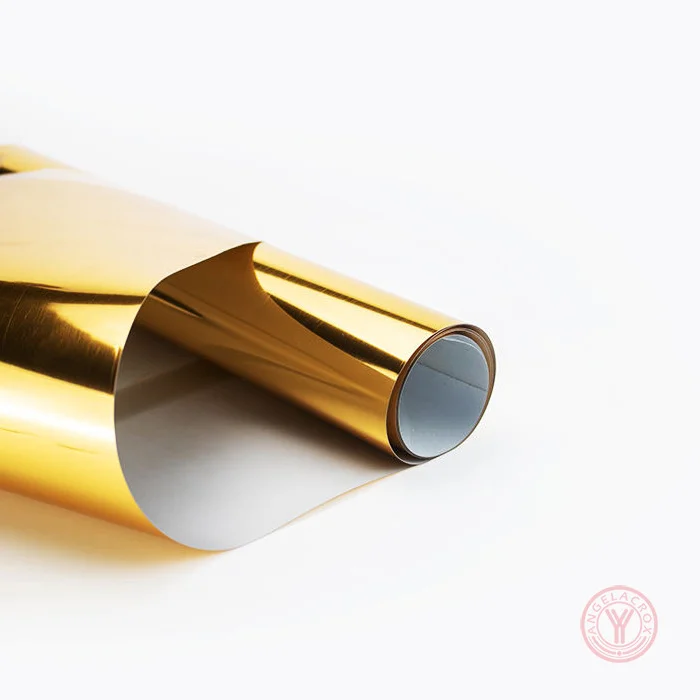
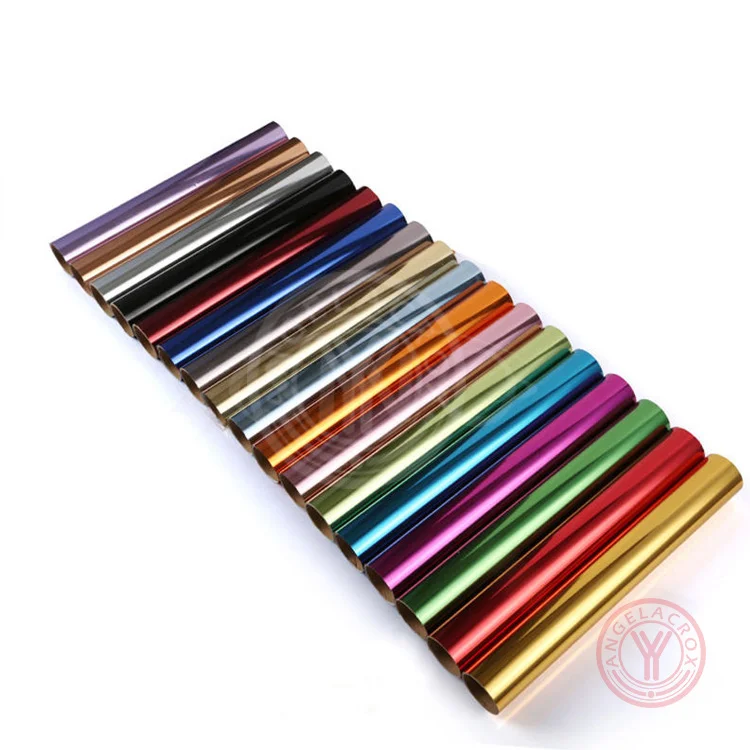
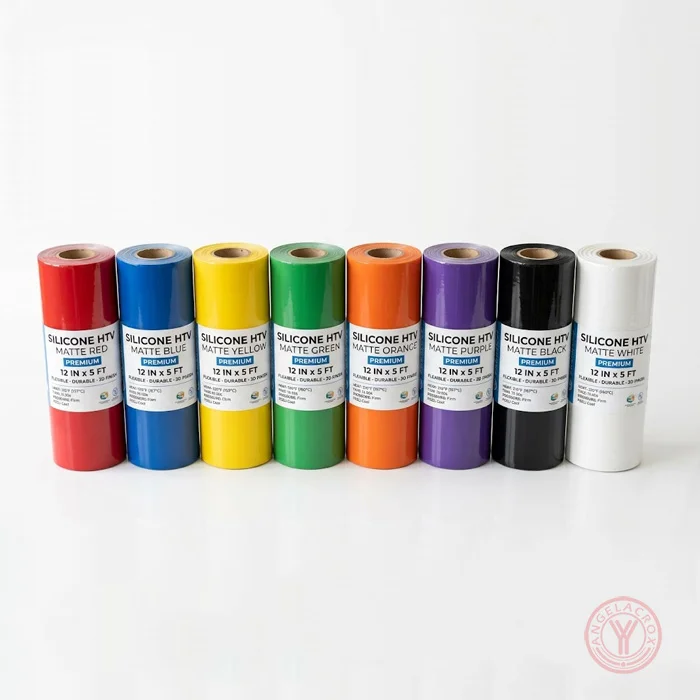
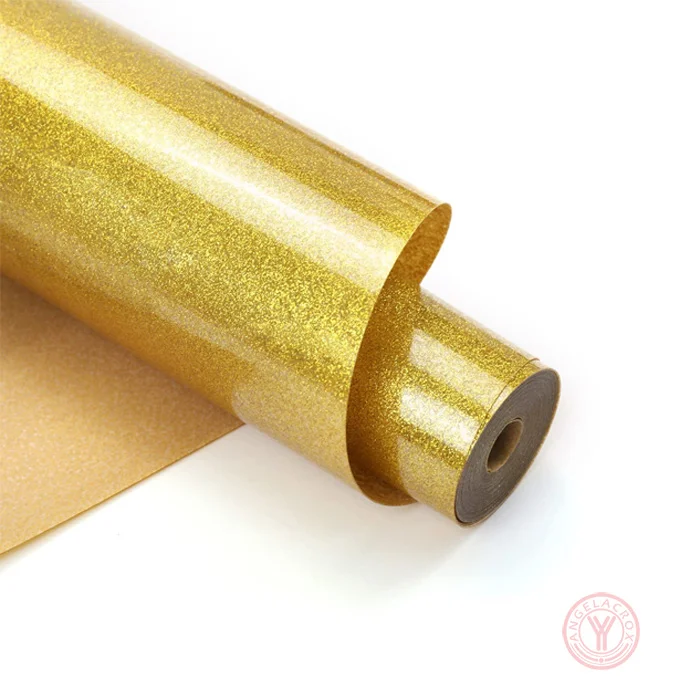
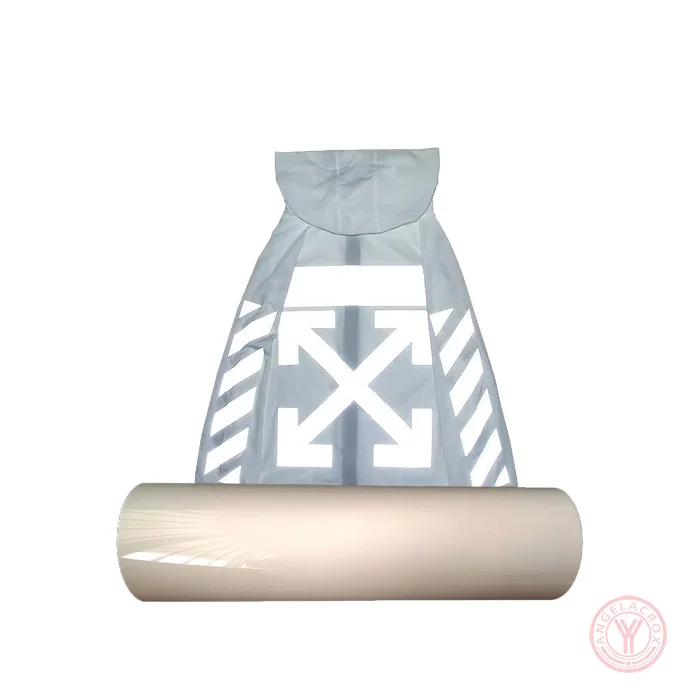
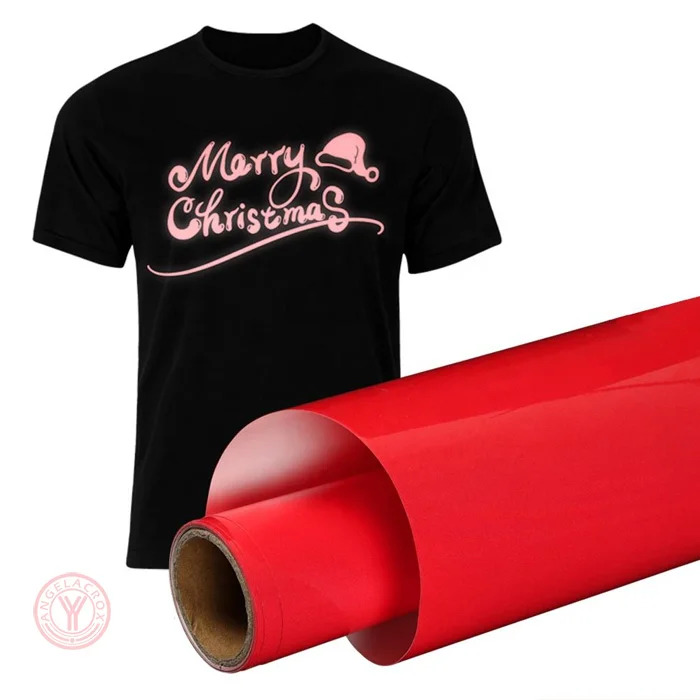
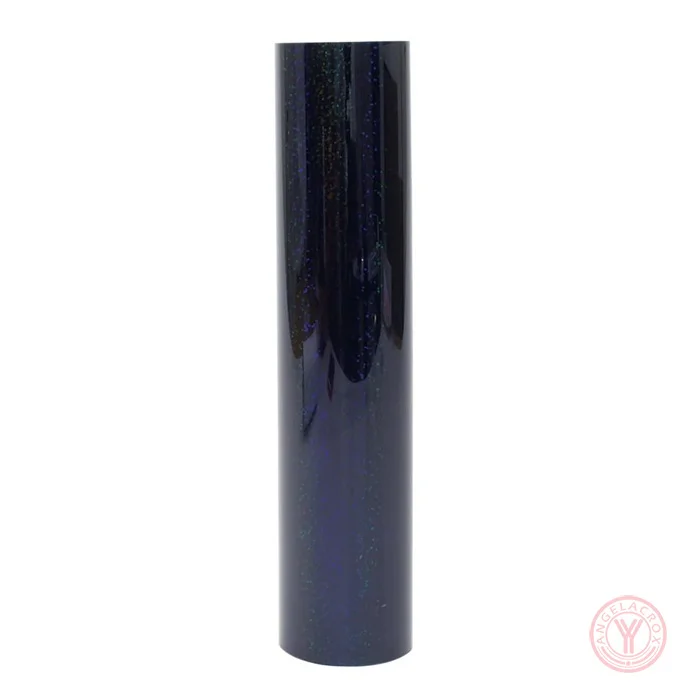
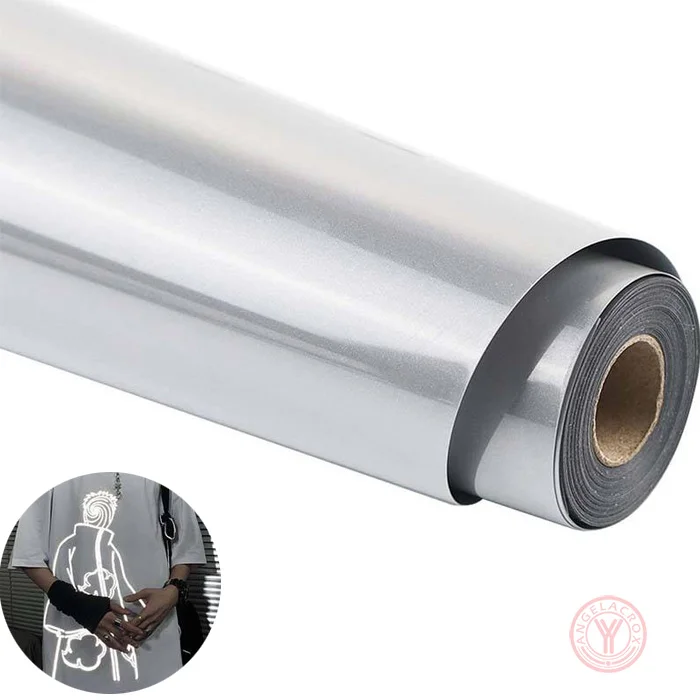
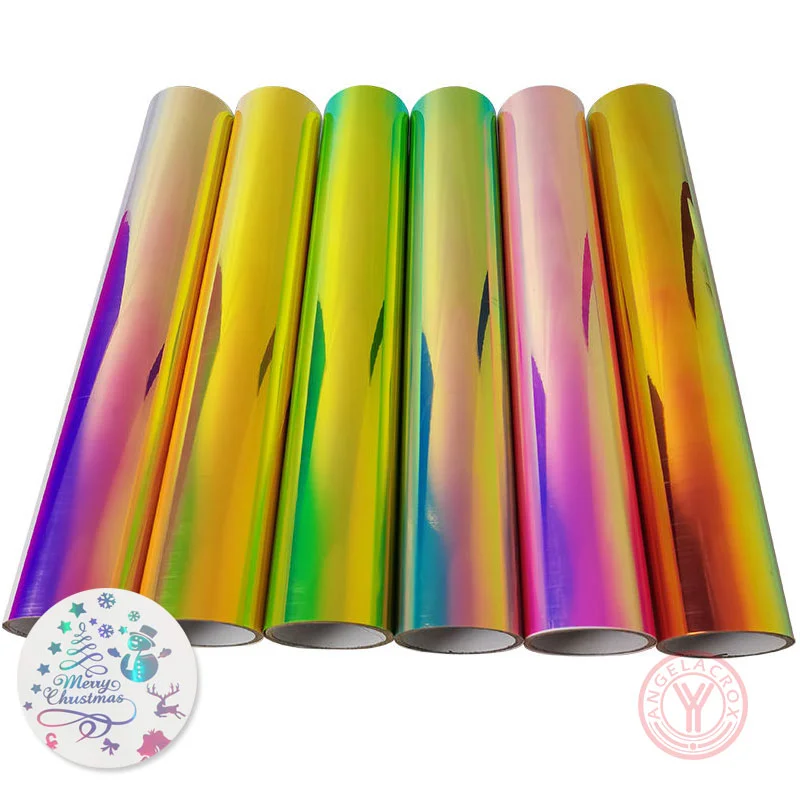
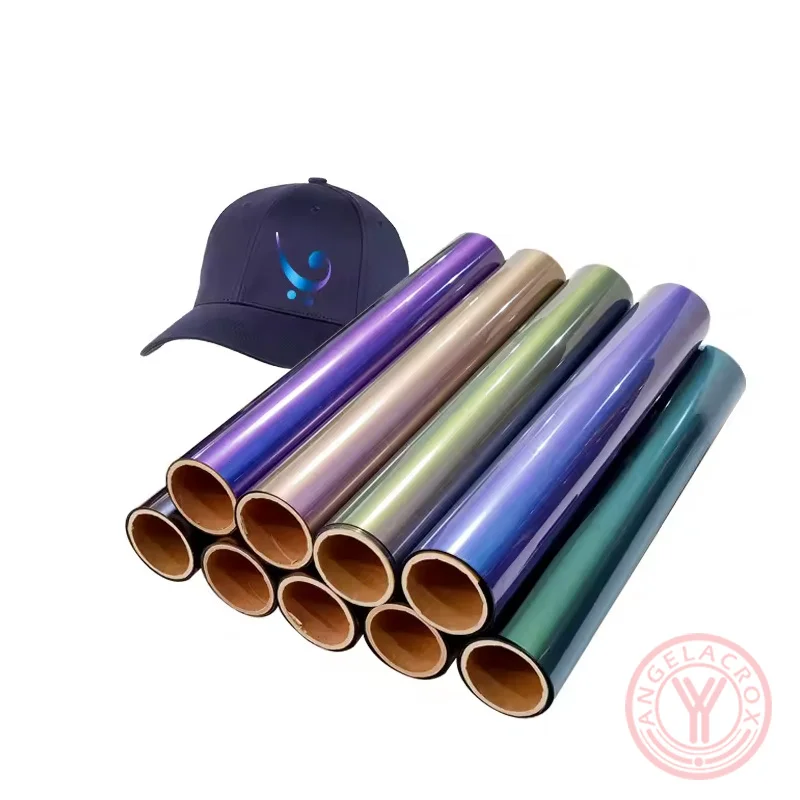
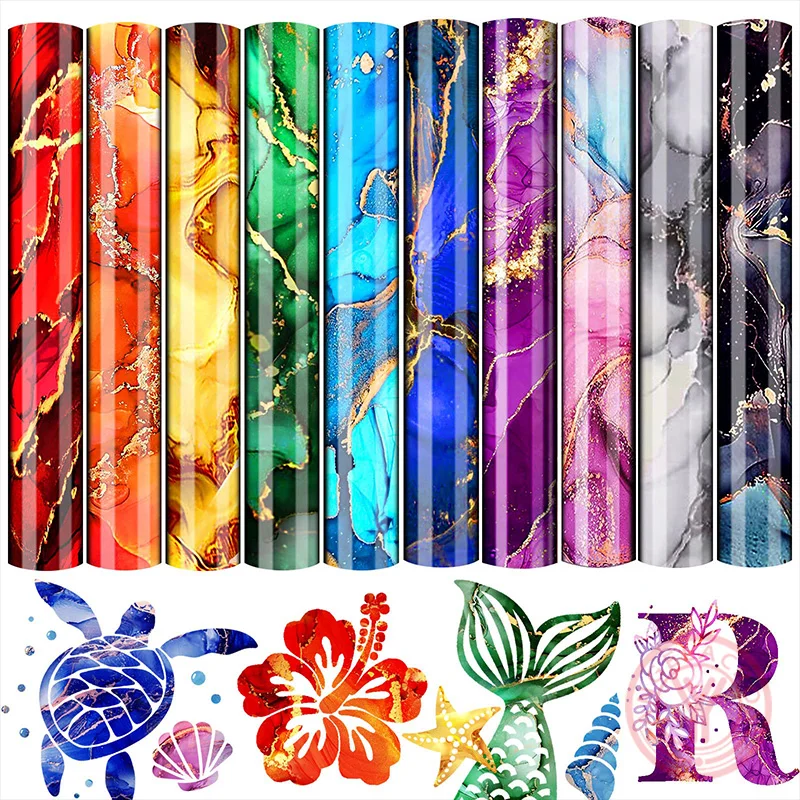
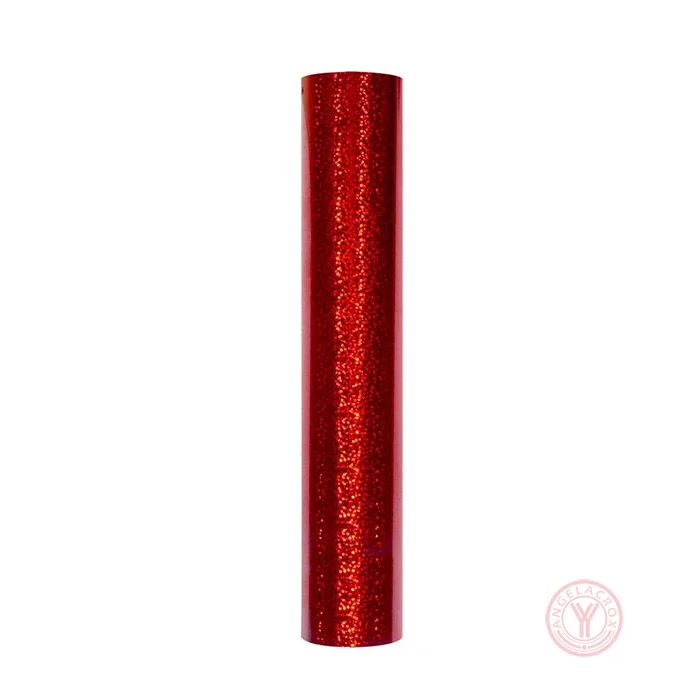
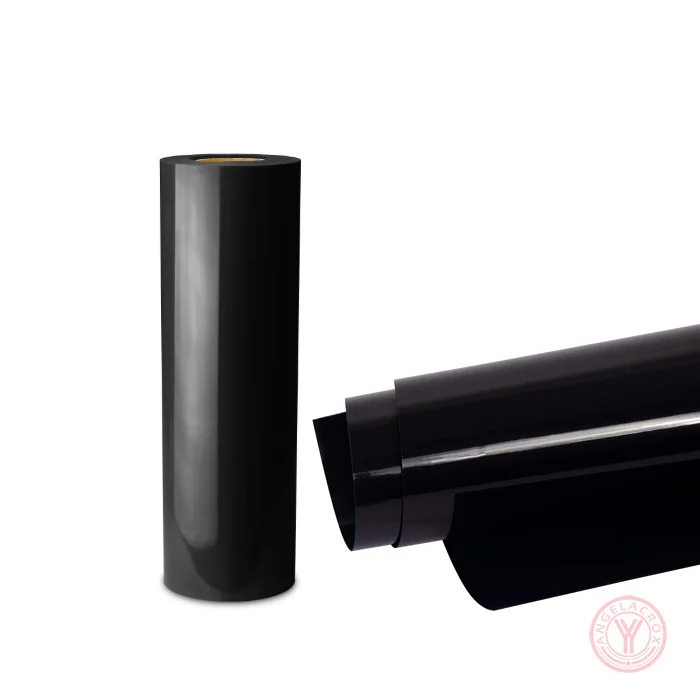
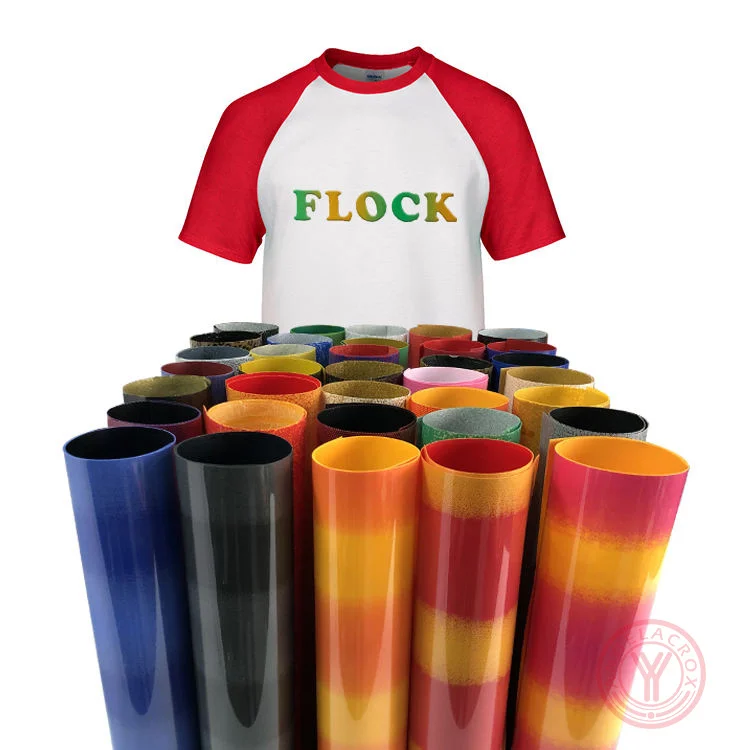
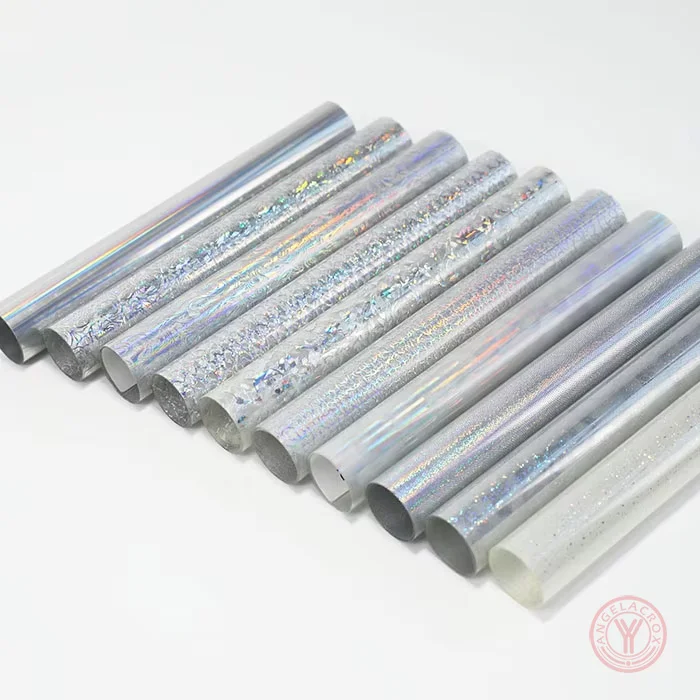
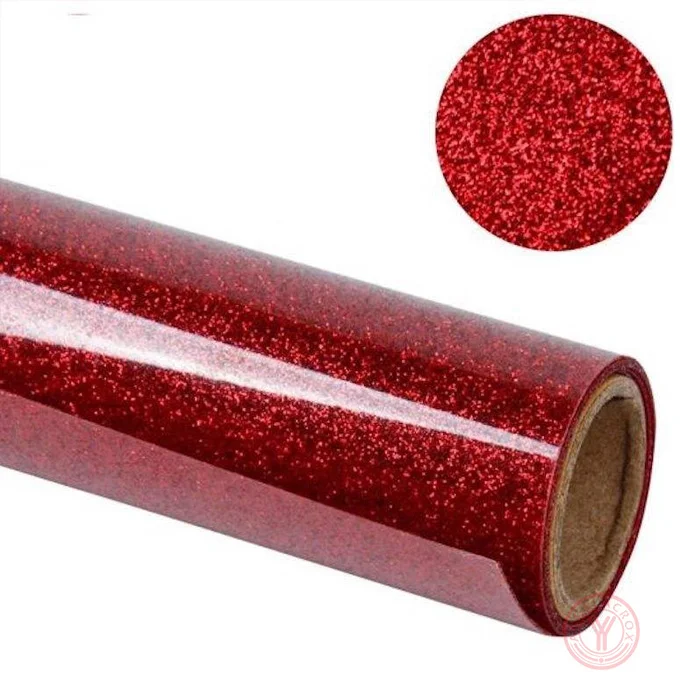
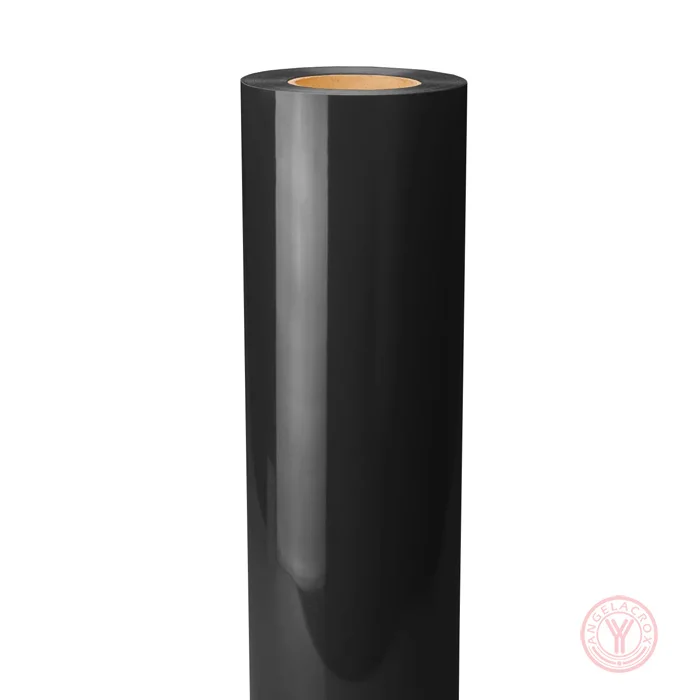
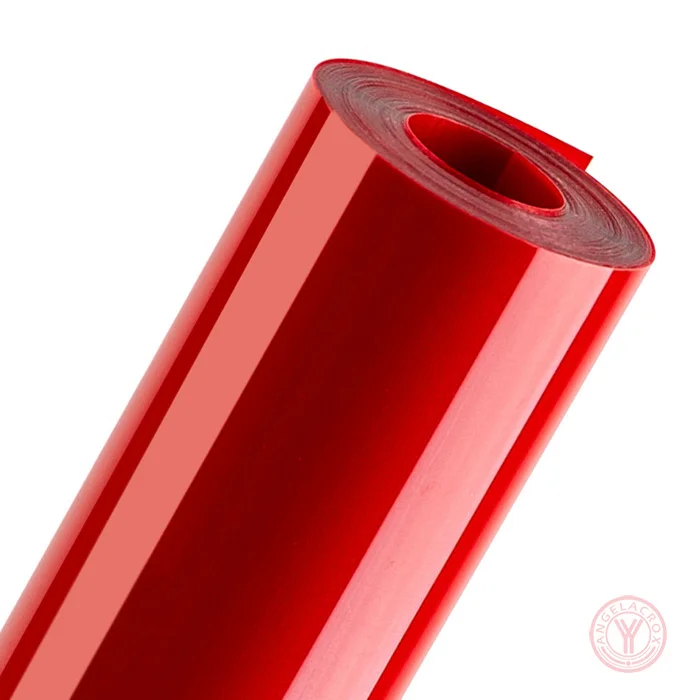
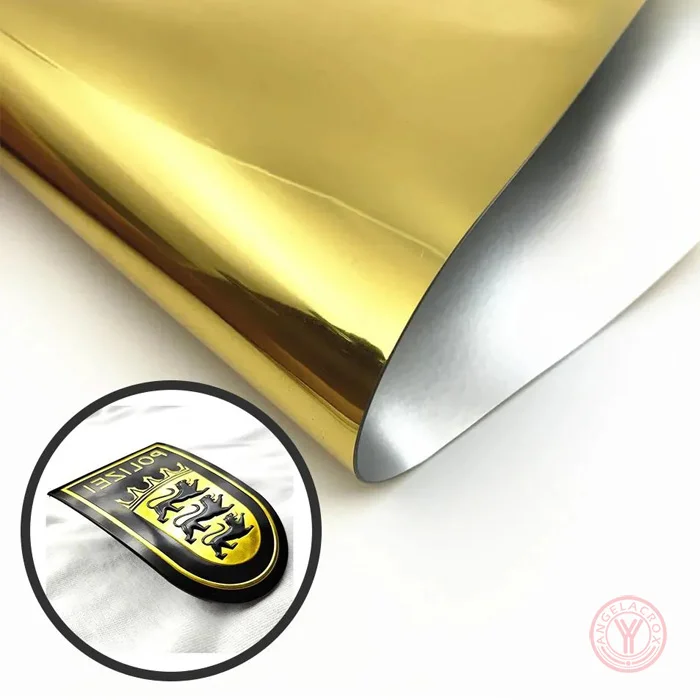
- Multiple Finishes — Matte, glossy, reflective, glitter, puff, flocked and special-effect options
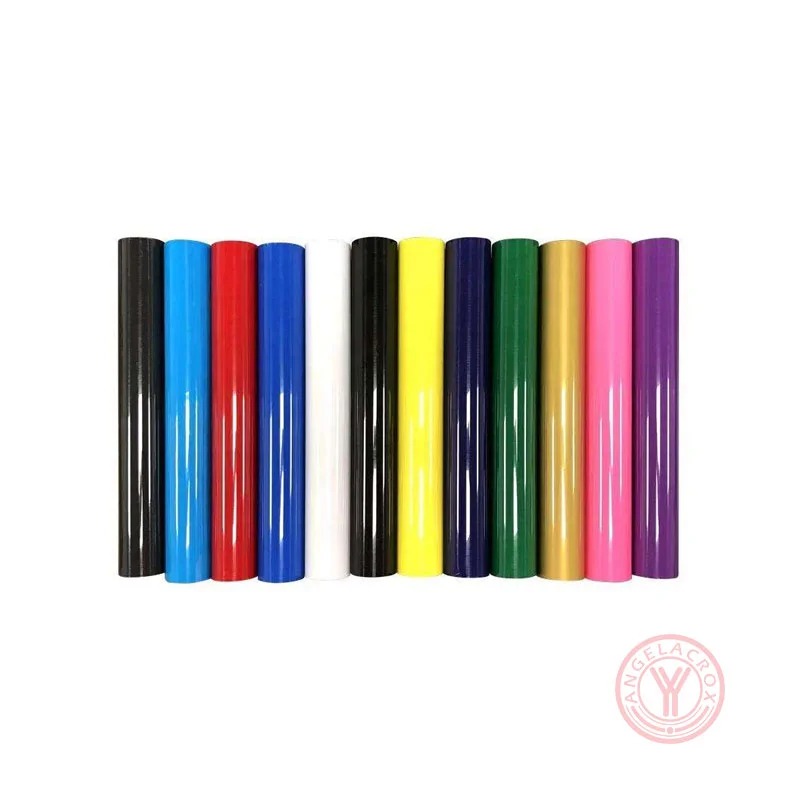
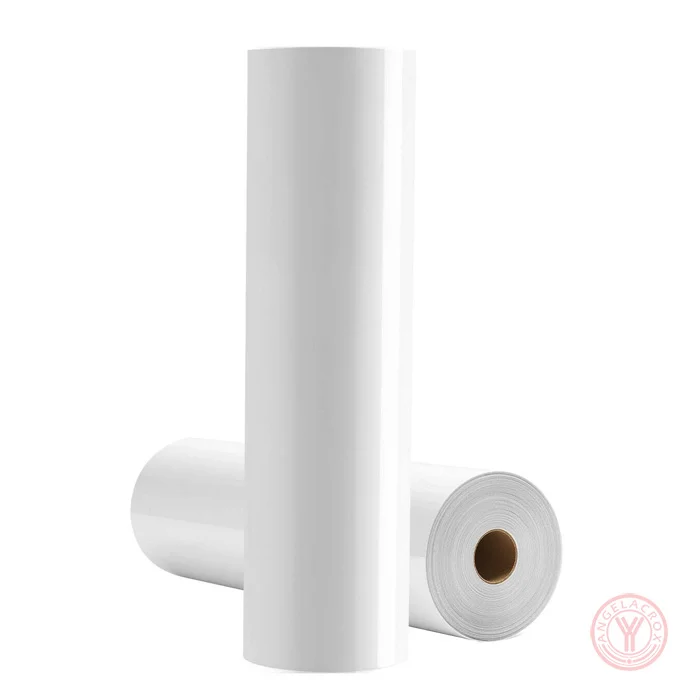
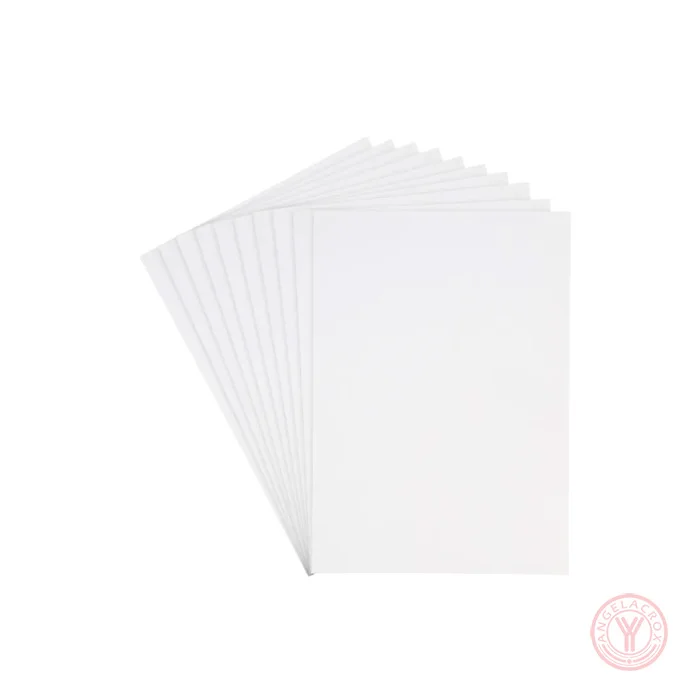
- Rolls & Sheets — Available in roll and sheet formats for different production needs
- Material Options — PU, TPU, PET, PVC and silicone constructions available
- Custom Specifications — Custom finish, size, thickness and material
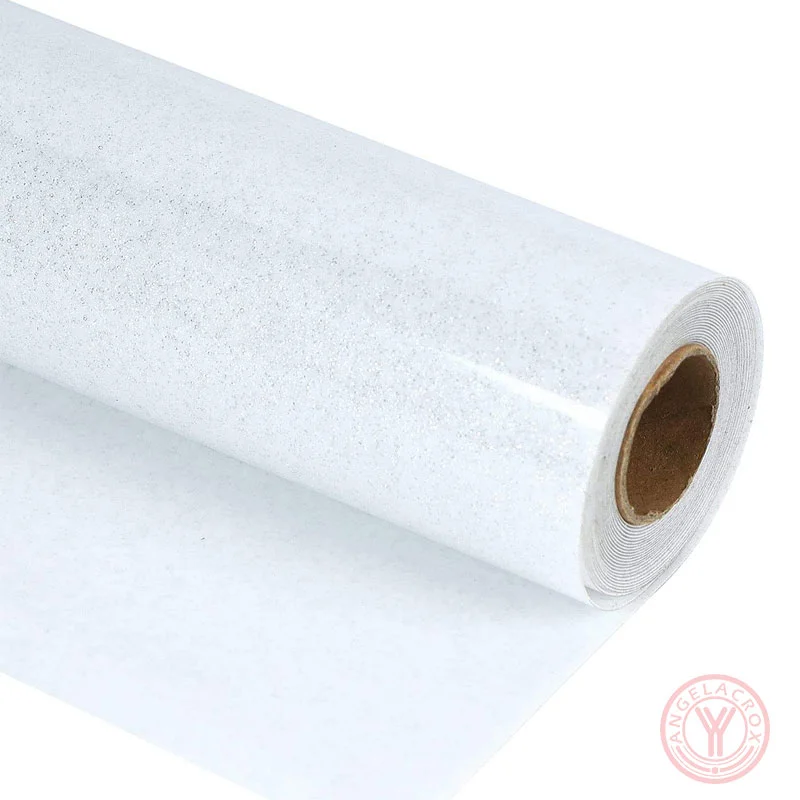
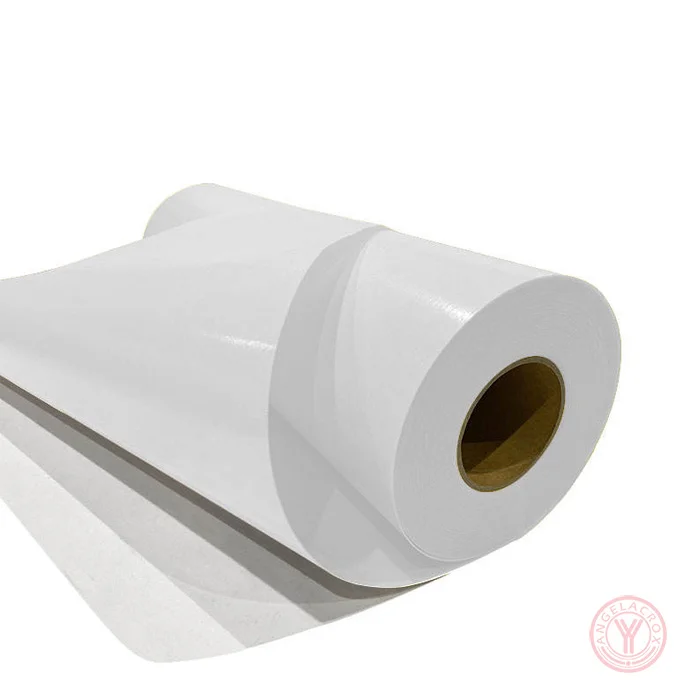
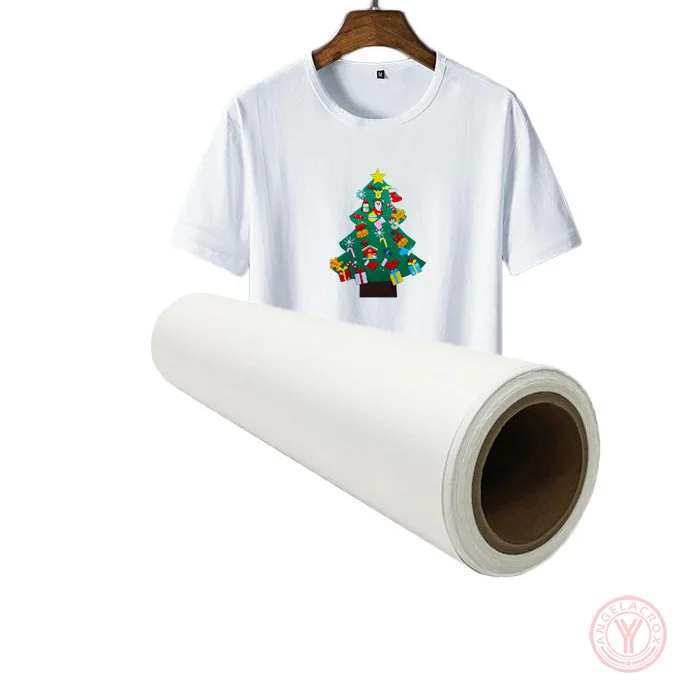
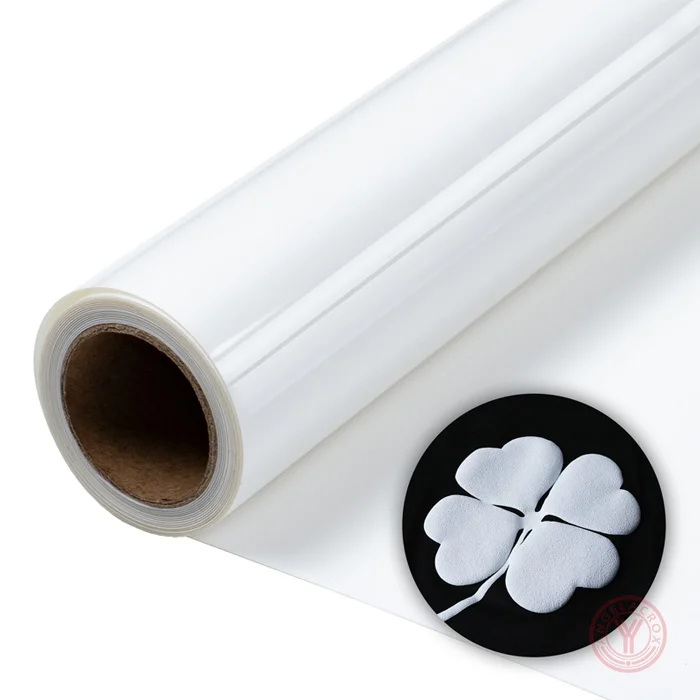
- Strong White Coverage — Clean, solid white appearance with good visual definition
- Flexible Supply — Free samples, flexible MOQ, OEM/ODM and bulk production support
Specifications
| Color | White |
| Size | 50cm*25m;Customization |
| Formats | Rolls and Sheets |
| Materials | PU, TPU, PET, PVC, Silicone |
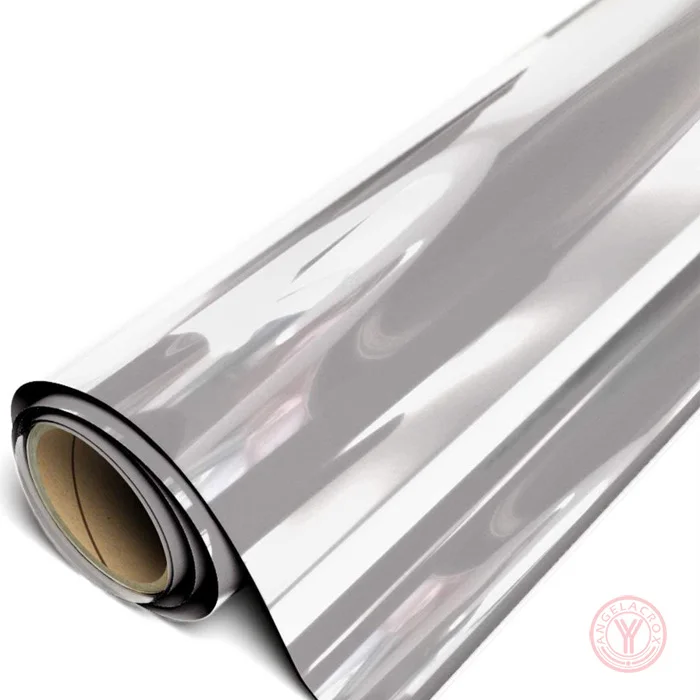
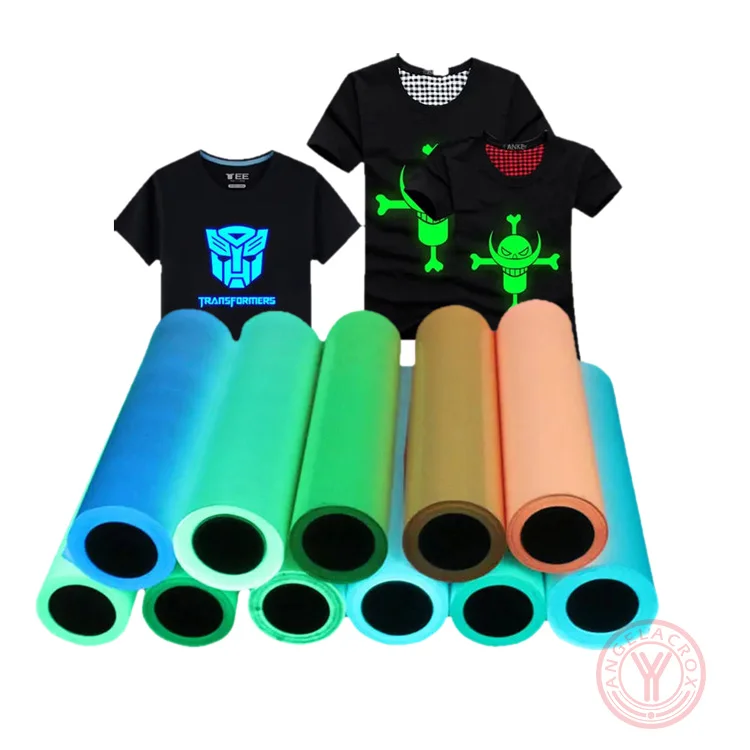
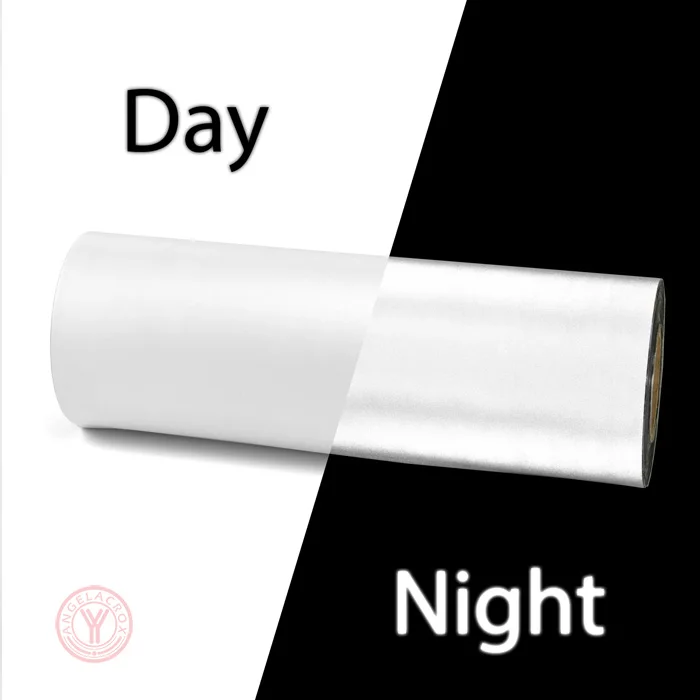
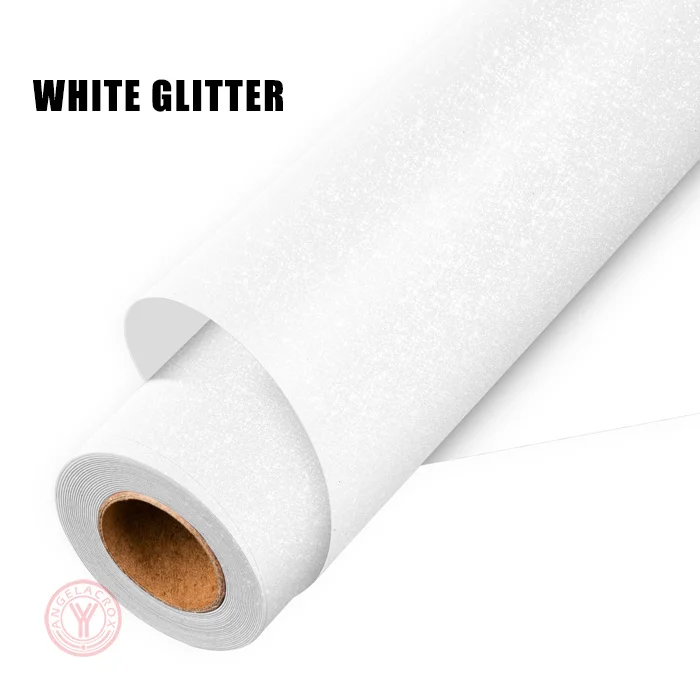
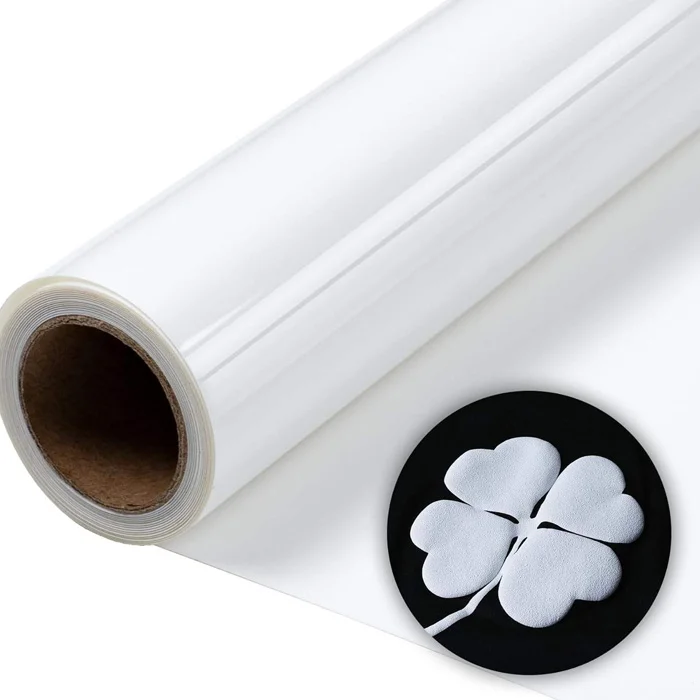
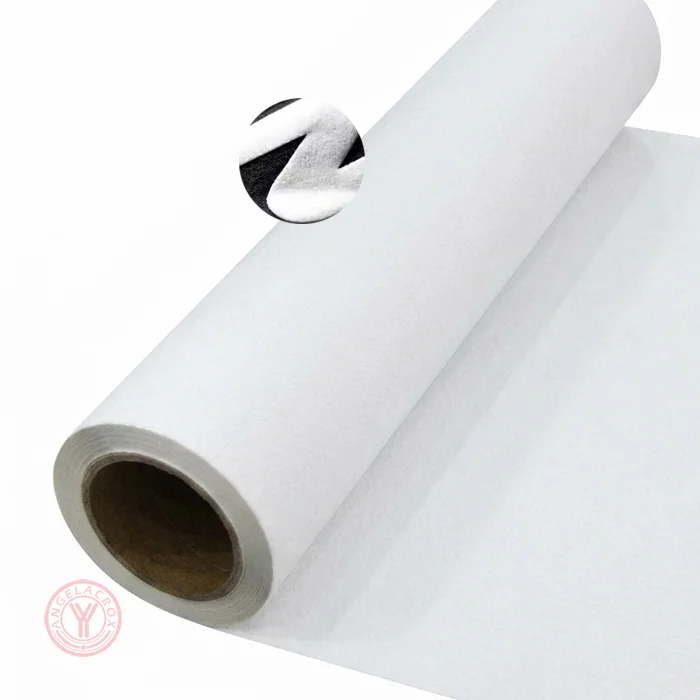
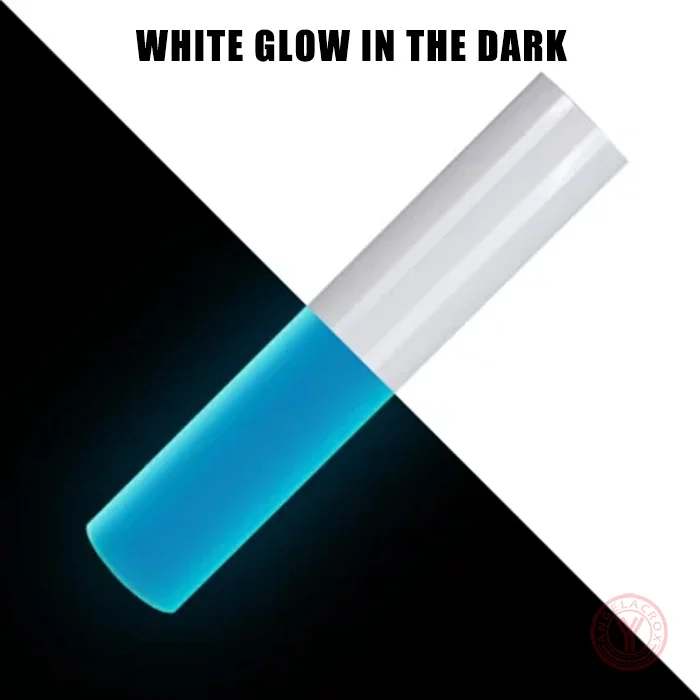
| Finishes | Matte White, Glossy, Foil, White Glitter, White 3D Puff, White Flock, White Reflective, Printable, Glow in the Dark |
| Thickness | 0.1mm;Customization |
| Transfer Temperature | 140–145°C (284–293°F) |
| Pressing Time | 8 - 15s |
| Pressure | Medium |
| Peel | warm or cold peel |
| Fabric Compatibility | Cotton, polyester and selected fabric blends |
| Sample | Free sample |
| MOQ | 1 roll |
How to Use White HTV Vinyl
- Create Your Design — Prepare the artwork and mirror it before cutting.
- Cut the Vinyl — Set the cutting machine according to the selected HTV material and thickness.
- Weed the Design — Remove the excess vinyl and keep the required graphic on the carrier film.
- Preheat the Garment — Preheat the fabric for a few seconds to remove moisture and wrinkles, helping create a clean transfer surface.
- Press onto Fabric — Place the design on the garment and apply the recommended temperature, pressure and pressing time for the specific HTV.
- Peel the Film — Peel the carrier film according to the product's hot, warm or cold peel requirement.
- Finish the Transfer — Allow the garment to cool and check that the edges and details are firmly transferred.
Note: Transfer settings vary between matte, glossy, glitter, puff, flock, printable and other White HTV finishes. Always follow the recommended settings for the selected product.