


What is Puff Heat Transfer Vinyl?
Puff Heat Transfer Vinyl (often called Puff HTV) is a special type of heat transfer vinyl that expands when heat is applied, creating a raised, 3D foam-like effect on fabric.When you press it with a heat press or iron , the vinyl contains a heat-activated foaming agent. Under temperature and pressure, it “puffs up,” making the design look soft, thick, and embossed instead of flat.
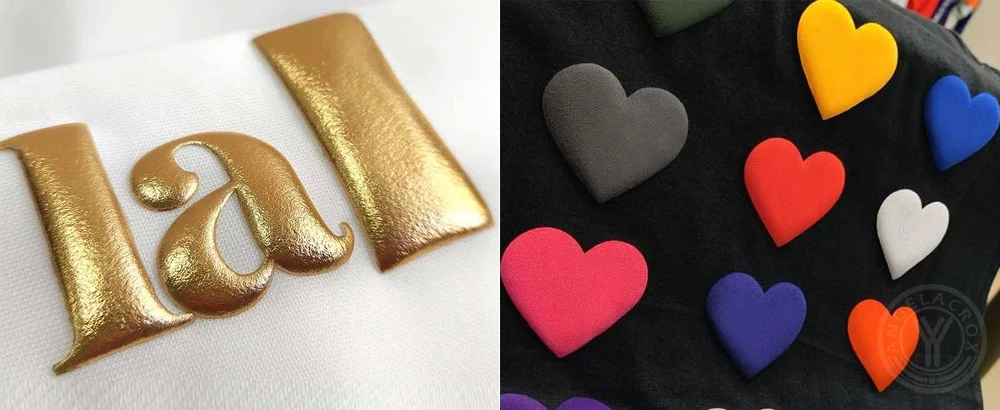
Key features of Puff HTV
Puff HTV stands out because it transforms a flat graphic into a tactile design:
- 3D raised effect: Expands into a soft foam texture after pressing
- Bold visual impact: Makes logos and text look more “premium” and eye-catching
- Soft touch feel: Slightly spongy compared to regular vinyl
- Works on cotton, polyester blends, and more (depends on brand)
What is the Difference Between Puff HTV and Regular HTV?
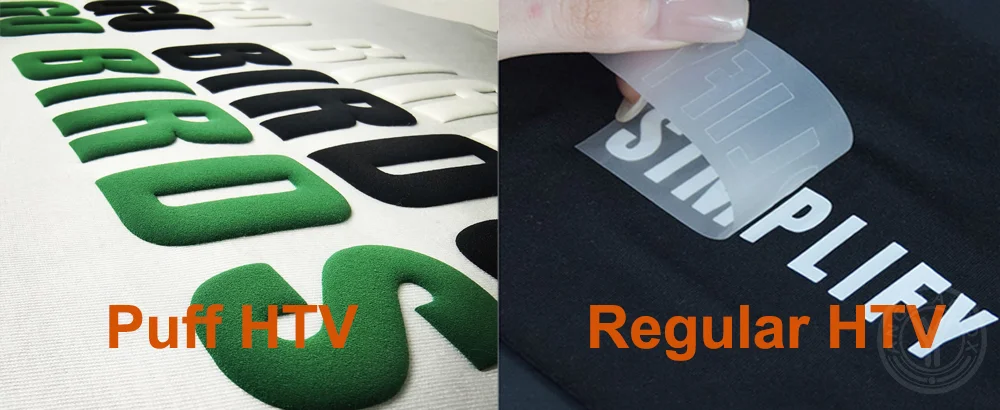
The main difference between puff HTV (Puff Heat Transfer Vinyl) and regular HTV (Heat Transfer Vinyl) is the visual and physical finish after pressing.
Regular HTV stays flat after heat pressing. It creates a smooth, even layer of color or pattern on fabric and is commonly used for logos, text, and detailed designs. It’s durable, flexible, and works well for everyday apparel because it doesn’t change the texture of the garment surface much.
Puff HTV, on the other hand, is designed to expand when heat is applied, creating a raised, 3D foam-like effect. After pressing, it “puffs up” into a soft, embossed texture that adds depth and a more premium, tactile look. It’s often used for bold graphics, streetwear designs, and elements that need to stand out visually. The trade-off is that puff HTV is usually less suitable for very fine details compared to regular HTV, since the expansion can slightly blur small lines.
What Colors and Effects Are Available for Puff Heat Transfer Vinyl?
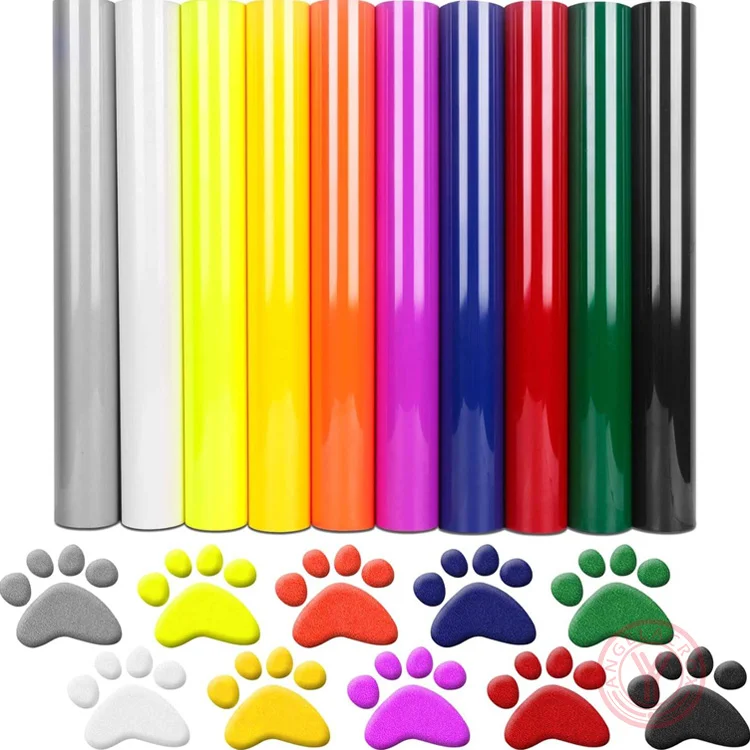
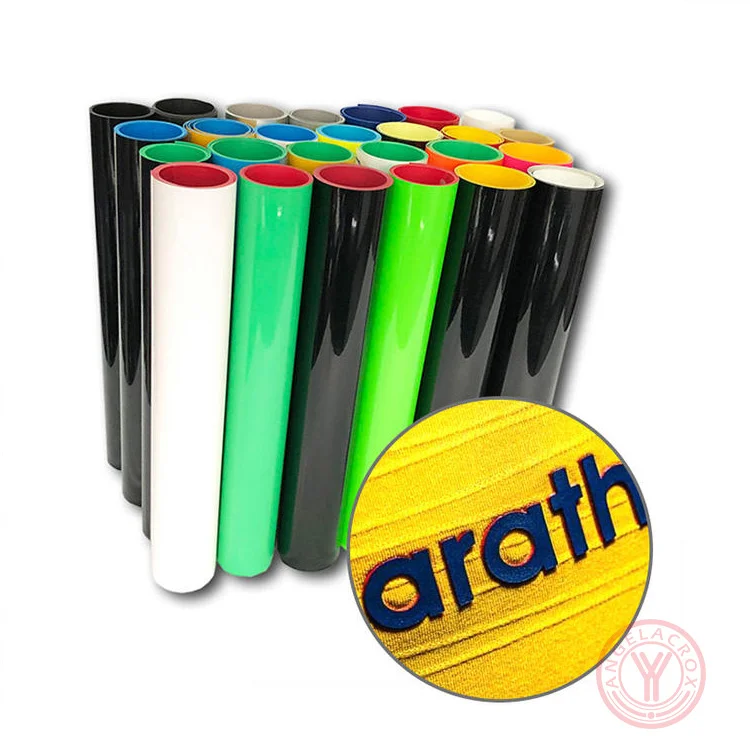
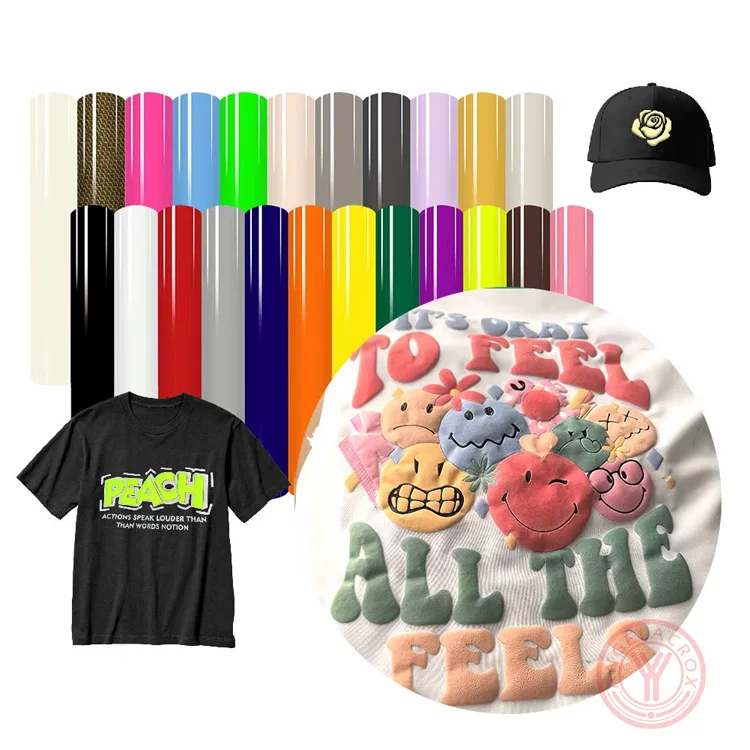
Puff heat transfer vinyl comes in most of the same color ranges as standard HTV, including:- Solid colors: Classic staples like white, black, red, navy, royal blue, kelly green, orange, yellow, purple, pink, gray ,and more.
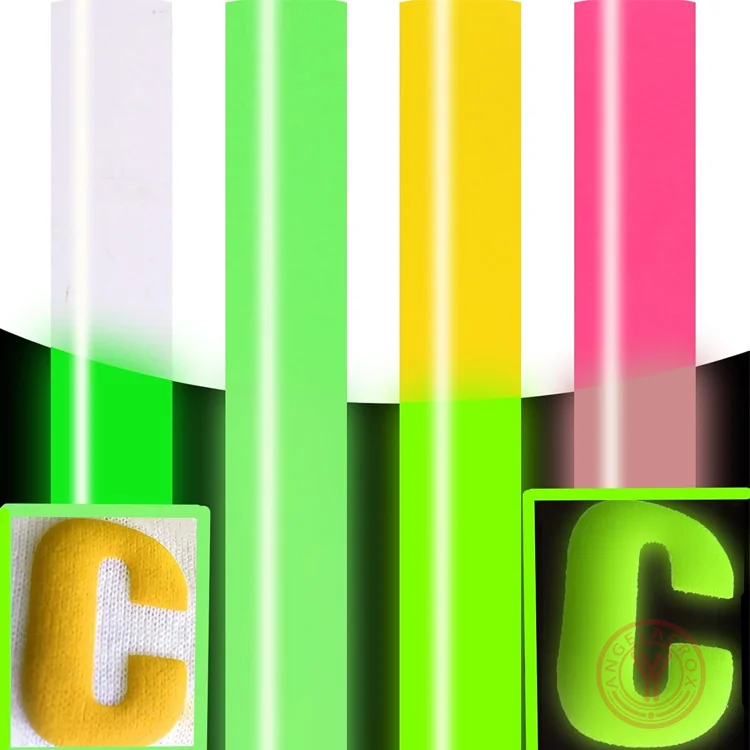
- Neon/fluorescent shades: Bright, highly visible options such as neon pink, neon green, neon orange, neon yellow ,and more.
- Pastel tones: Soft pink, baby blue, mint green, lavender ,and more.
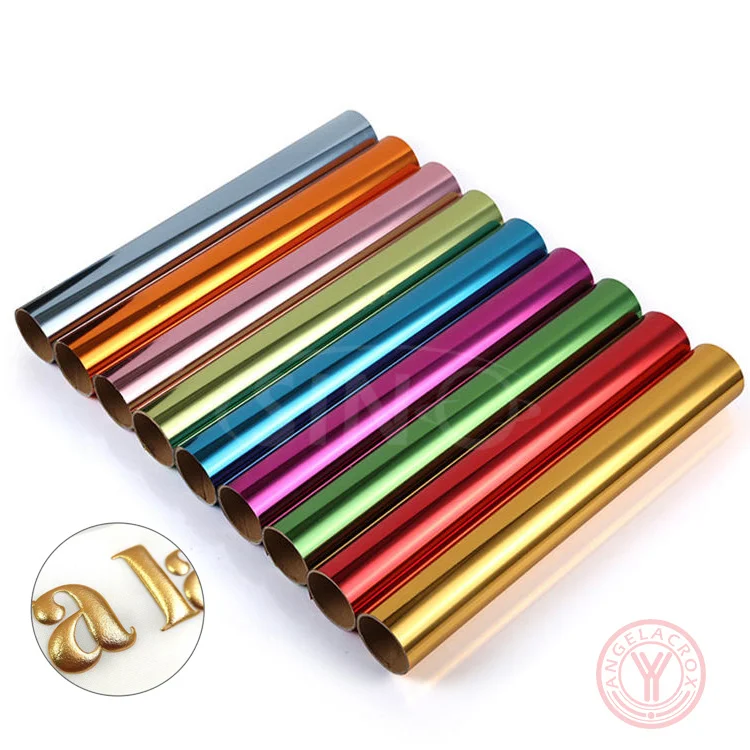
- Metallics: Sheen-rich options like gold, silver,rose gold,and other metallic finishes.
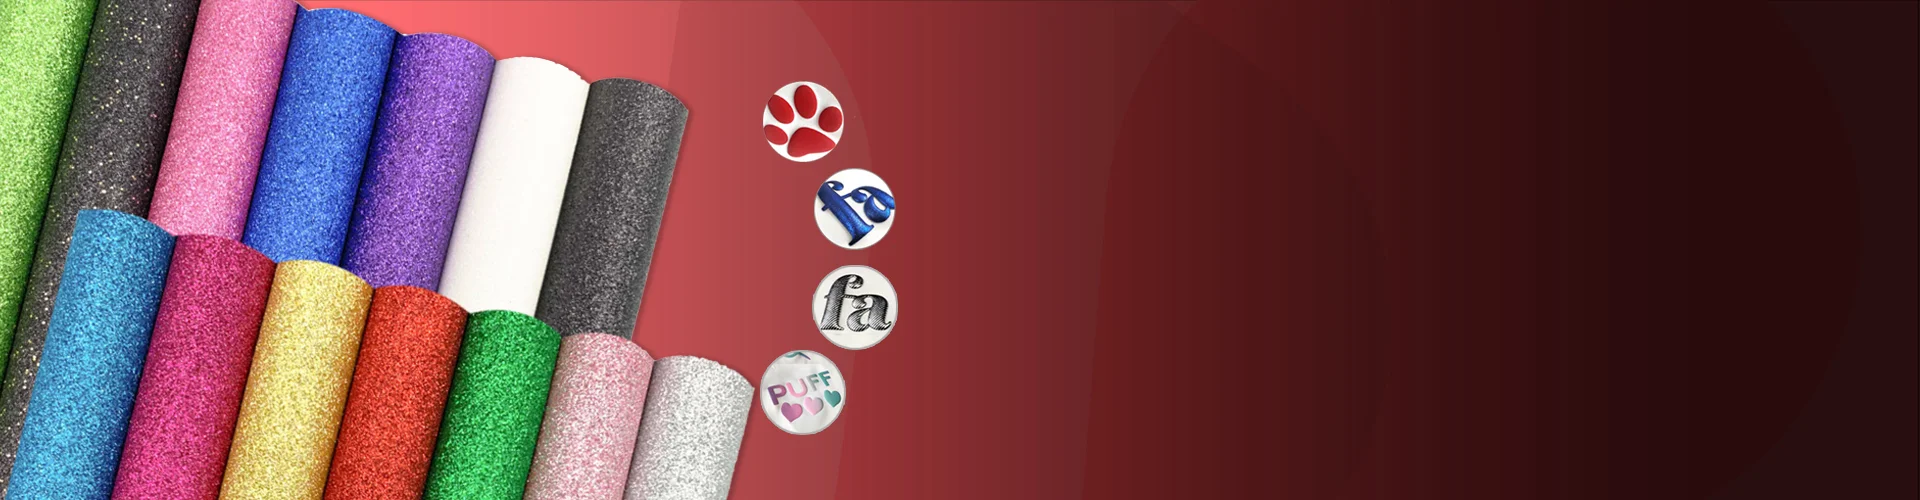
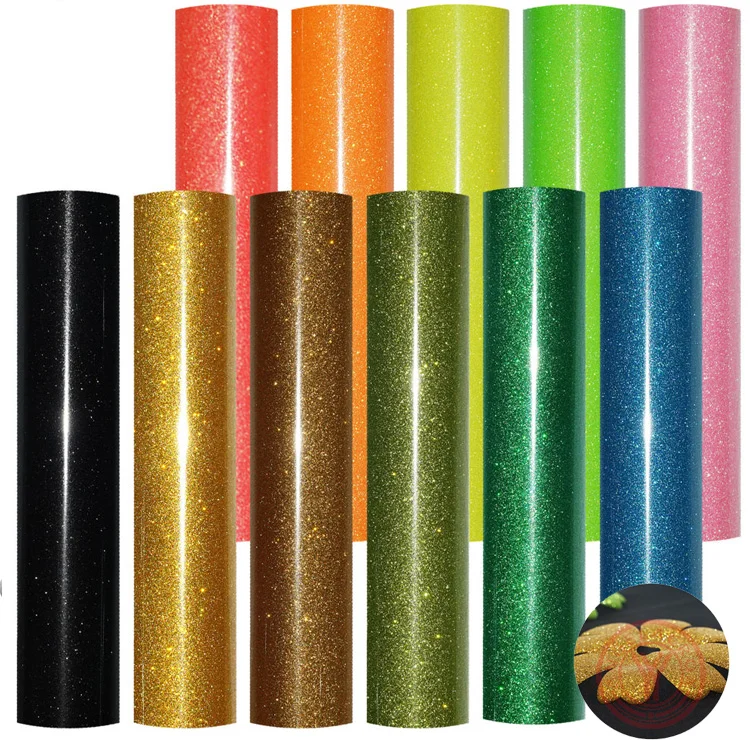
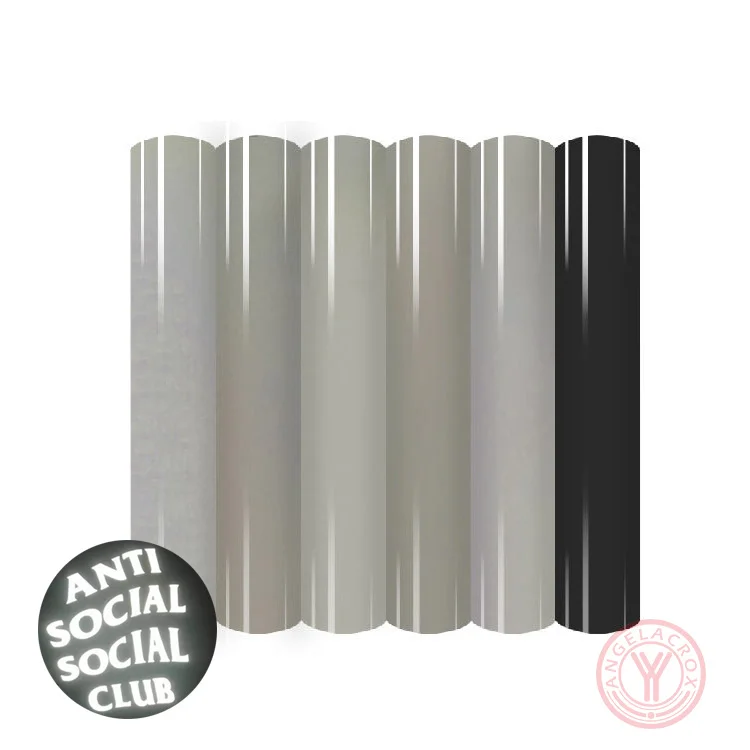
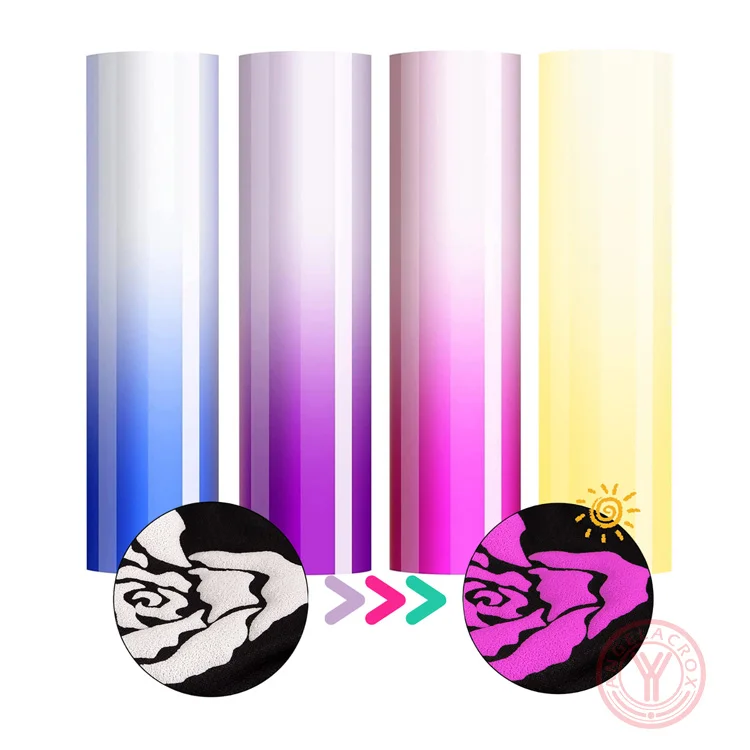
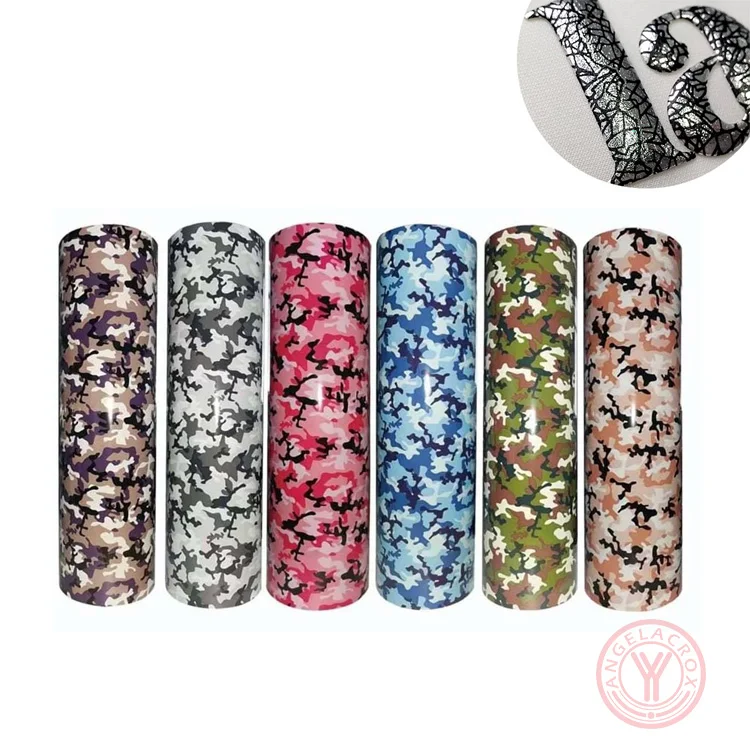
- Specialty colors/effects: Glow-in-the-dark, UV color-changing (which shift hue in sunlight), reflective ,flock ,holographic,pattern,glitter puff, and more.
-
Custom colors/finish: available for OEM
What are the Applications of 3D Puff Heat Transfer Vinyl (HTV)?
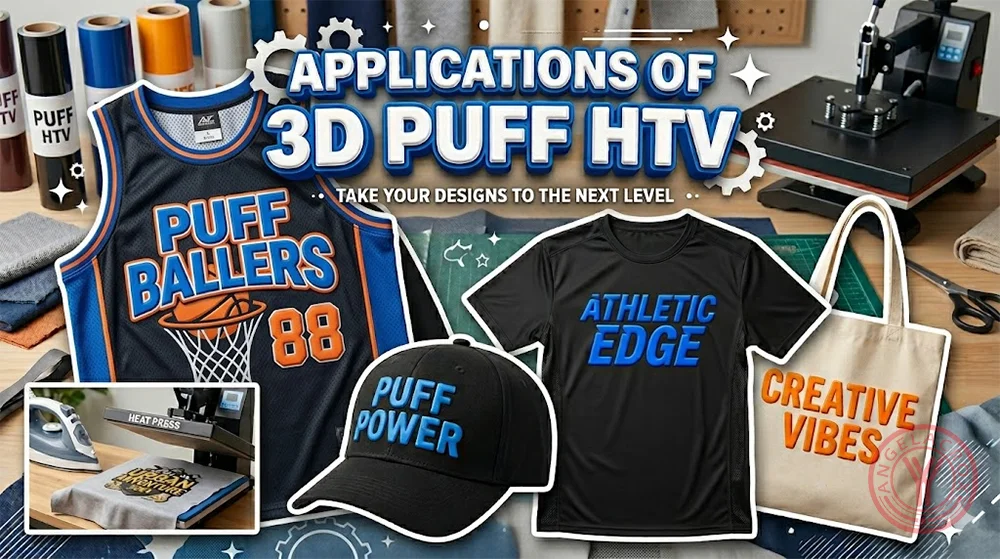
3D puff heat transfer vinyl (HTV) is mainly used in applications where a raised, soft, dimensional effect is needed to make designs stand out visually and tactilely. Because it expands under heat, it’s especially popular in apparel and branding-focused products.
- Streetwear & fashion apparel: Hoodies, T-shirts, joggers with standout logos and typography
- Sportswear & uniforms: Team names, numbers, and logos with better visibility
- Caps & hats: 3D logo effects similar to embroidery but more cost-effective
- Promotional products: Branded merch like tote bags and event shirts
- Kidswear: Fun, soft, raised cartoon and graphic designs
- Accessories: Backpacks, pouches, and canvas items
- Limited edition fashion: Premium collections with textured, high-impact designs
Puff Heat Transfer Vinyl Instructions
What You'll Need
- Puff HTV
- Vinyl cutter (Cricut, Silhouette, etc.)
- Heat press or household iron
- Weeding tool
- Teflon sheet or parchment paper
- Cotton/cotton-blend garment (works best)
Step 1: Design & Cut
- Mirror your design before cutting. Puff HTV uses a carrier sheet, so always cut with the shiny carrier side down and foam side up.
- Use higher pressure than standard HTV. For Cricut, use “Iron-on” or increase pressure slightly. Always do a test cut.
Step 2: Weed the Design
- Remove excess vinyl around the design, leaving only the artwork on the carrier sheet.
- Use a fine-tip weeding tool for small details, as puff HTV can be more delicate.
Step 3: Preheat the Garment
- Preheat the fabric for 5–10 seconds to remove moisture and wrinkles for better adhesion.
Step 4: Apply Heat
- Temperature: 305°F (150–170°C depending on brand)
- Time: 10–15 seconds
- Pressure: Medium (avoid heavy pressure to preserve puff effect)
- Cover with a Teflon sheet or parchment paper and press onto the garment.
Step 5: Peel
- Peel the carrier sheet while warm (or cold depending on product instructions). Peel slowly and evenly.
Step 6: Second Press (Recommended)
- Cover the design with a Teflon sheet and press again for 5–10 seconds without the carrier sheet to fully activate the puff effect.
Tips for Best Results
- Do not overheat: Excess heat can flatten the puff effect.
- Avoid pressing directly after washing with a hot iron, as it may flatten the texture.
- Wash inside-out in cold water and dry on low heat or air dry to preserve durability.
- For layering, apply puff HTV last to avoid damaging the texture.
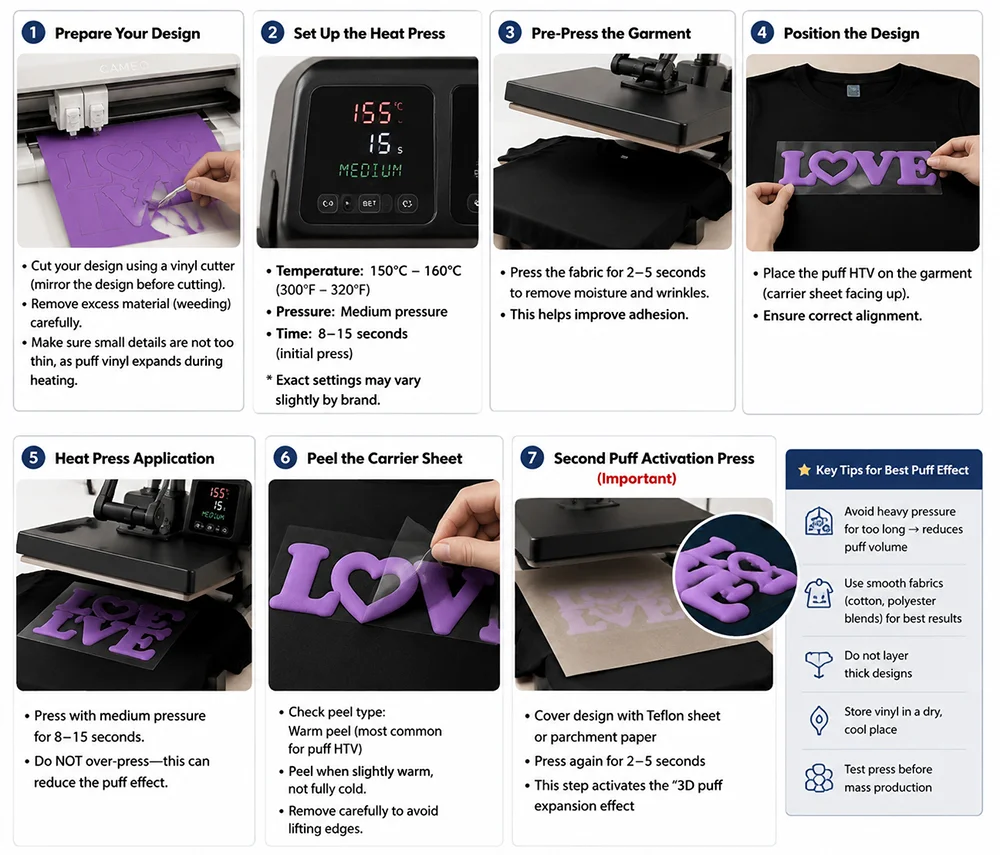
For detailed application instructions, cutting settings, heat press recommendations, and care tips, please refer to our guide,《How to Use Puff Vinyl》.